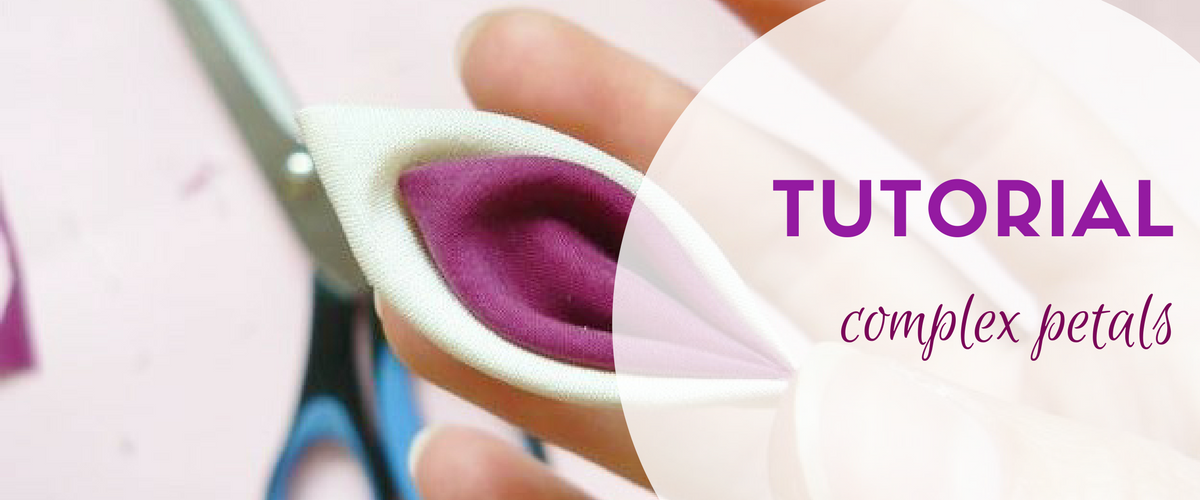
Learn how to create complex petals to use in innovative, lovely designs. Use your new skills to create your own flowers and insects.
This tutorial is for you if:
- You recently started learning the tsumami kanzashi technique and like making fabric flowers or insects.
- You would like to know how to make the more complex petals that are used in some of my tutorials or other designs out on the web.
- You want to start experimenting with your own designs and need ideas on how to combine petals.
You will learn how to make three types of complex petals, which you can use for lotus flowers, butterflies and many other designs.
I will not explain again how to cut and glue the ends, as these explanations are in the previous tutorials, for the easier to make petals. After making a few petals you come up with your own way of finishing them off, depending on your tools and experience. I will however make some relevant observations during the tutorial.
Skip to the other tutorial.
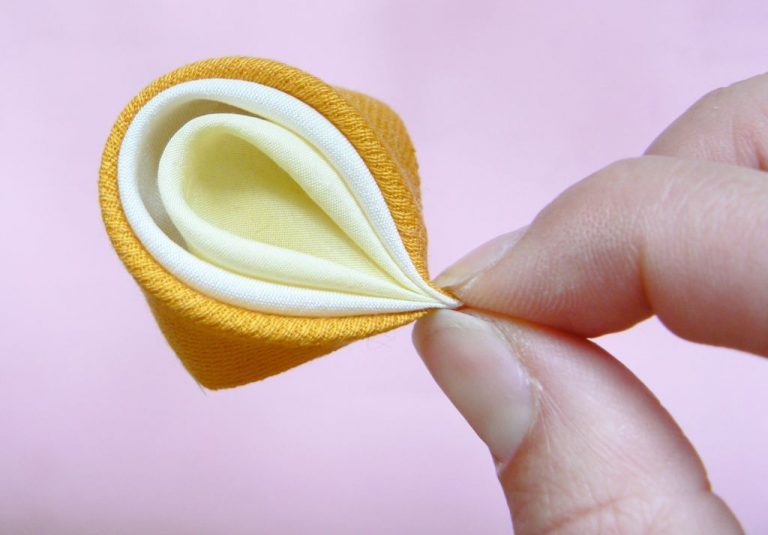
Round and pointy petal combination
First make a round petal, then create a pointy petal around it.
The square for the round petal should be slightly smaller than the other square. You can adjust the final dimensions while builing the petals, but it saves fabric if you plan the two different sizes before you cut the fabric.
You can use this petal for lotus flowers or as a butterfly wing.


When the two layers are attached, you can seal the bottom as in the tutorial, making a thinner petal. You can also let it be wider, by not gluing the two bottom sides together, sealing them individually with a little glue.
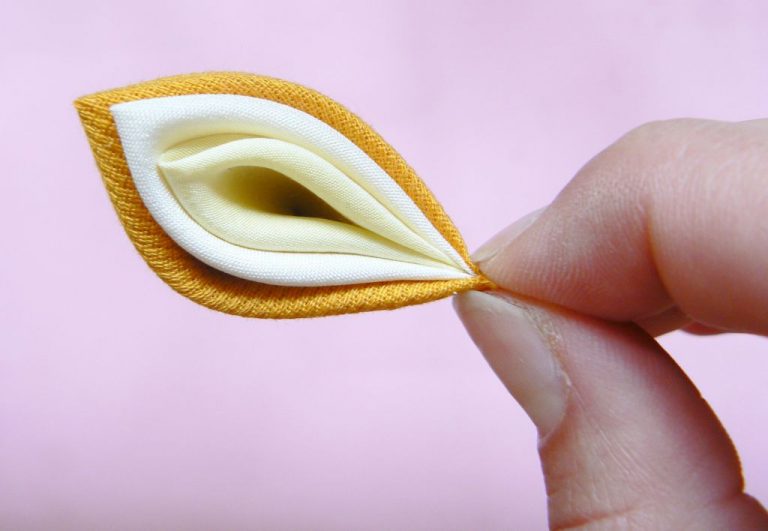
Two pointy petals combination
This one uses two kinds of pointy petals that are similar in construction. The pointed round petal is shorter and wider than the simple pointy petal and fits perfectly, even when made with squares of the same size.
These petals may also be used for lotus flowers, chrysanthemums and upper wings in butterflies.


Three petal combinations
You can layer round petals or pointy petals, to create some more complex ones.
It’s easiest to use squares that are larger towards the outside.
For making the round layered petal, fold all the squares along the diagonal and then place them one on top of the other.
The diagonal for each square should be offset by 2-3 mm (depending on the thickness of your fabric).
Then fold the tips normally, starting with the innermost square.
When all the tips are folded to the middle, pinch them together and cut and glue them all at the same time, making sure that the glue reaches all the layers. Glue the bottom on both sides to prevent fraying. Cut off the excess glue at the bottom.
It’s easier to make the triple layered pointy petal.
First make a pointy petal with the smallest square. Then make the next and glue it around the first. Do the same with the third square. You can also layer them all and then cut and glue them together, for a neater finish. Glue the bottom and cut off excess.
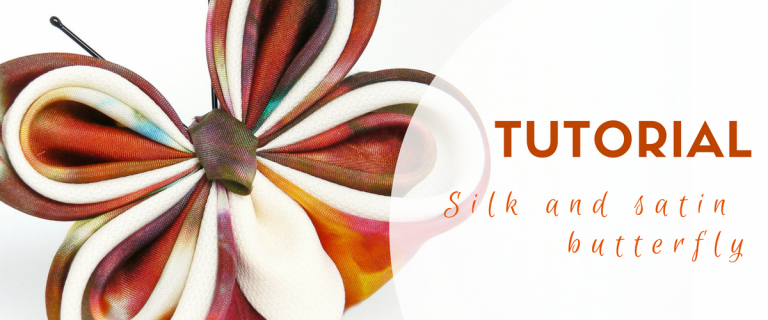
These two layered petals, used together, can form half of a butterfly.

What can you make with these petals?
So far, I have written several tutorials that use these or similar tutorials. Check them out (click on each image for the tutorial).
I hope you try some of these tutorials and let me know how they go in the comments below.
Lots of love,
Andrea