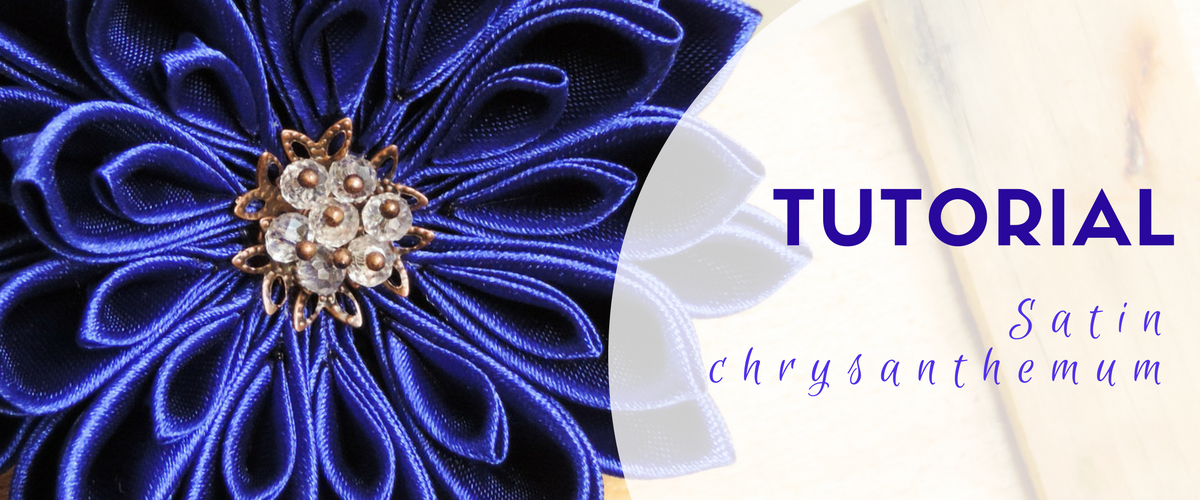
Do you want to create a large and beautiful chrysanthemum, but you don’t know all the steps? I created this tutorial for you. Follow the steps from each photo to end up with a gorgeous flower that you can wear anywhere.
Skip to the steps.
Two summers ago I created a new flower for a challenge with a wedding theme.
Back then I didn’t really know what I was doing, but I wanted to combine some petals to create something new, more detailed and interesting.
I cut the petals, I glued them together and ended up with a large chrysanthemum, with many, many petals. I loved it and I think I still have it somewhere hidden in my workshop.
Some time went by before I made the second one with colored satin ribbon. I learned a lot in the mean time about working with satin and it wasn’t as difficult as the first time. It was a commissioned order and I had a lot of fun making it.
Since then, I’ve made this design in almost all the colors of ribbon in my workshop and have created more designs based on it, it’s just that easy to make.
I have improved the technique and now I can share it with you.
I hope you enjoy the tutorial and then pass it on to your friends, as well as create your own designs.
Learn to make the petals from this tutorial (link).
Each step is described below the photo.

Materials needed: 36 squares of 5×5 cm ribbon, 12 squares of 2.5×2.5 cm ribbon, felt, brooch pin or hairclip, filigree accessories for the center of the flower, a glue gun, scissors and pliers.

Create the petals: first 24 large pointy petals, 12 small pointy petals and 12 large pointy petals cut in half by height and straightened at the base. If you’re using satin ribbon, it’s easier to work with a candle instead of glue to make the petals.

Start assembling the petals: first glue the large petal inside the shallow large petal and then the small petal inside the large one. Keep 12 large petals to the side.

This is what one set of three should look like.
These are all the finished petals.

Prepare the base: cut a round piece of felt, around 4-5 cm in diameter. Cover in hot glue almost one third of the base, then attach four sets of petals.

After attaching the first four sets on the base, cover another third of the base in hot glue.

Attach four more petals on the hot glue and prepare the last section.

Finish adding the petals to the base and prepare for adding the final row of petals. You can also stop here if you like the way it looks.

Add glue and push a large petal in between each set of petals.
Go around the flowers and fill all the remaining spaces. Let these petals open up the flower by hanging a bit lower than the ones in the center.

This is what the flower looks like with all the petals are attached.

Now you should attach the base of the flower, depending on what you have prepared. I connected a hairclip to the base using another piece of felt.
The next and final step is preparing and attaching the piece in the center. You can use beads, filigree elements, stamens or even wrapped wire as a central element that represents the natural center of the flower.

Your flower is ready, now enjoy it or share it

Center detail
I hope you enjoyed the tutorial and the creation process.
If you have any questions or suggestions, I welcome them in the comments section, I answer everyone gladly.
Thank you for supporting and sharing my tutorials.
I hope they bring you joy and happiness!
Cheers,
Andrea
Like this:
Like Loading...