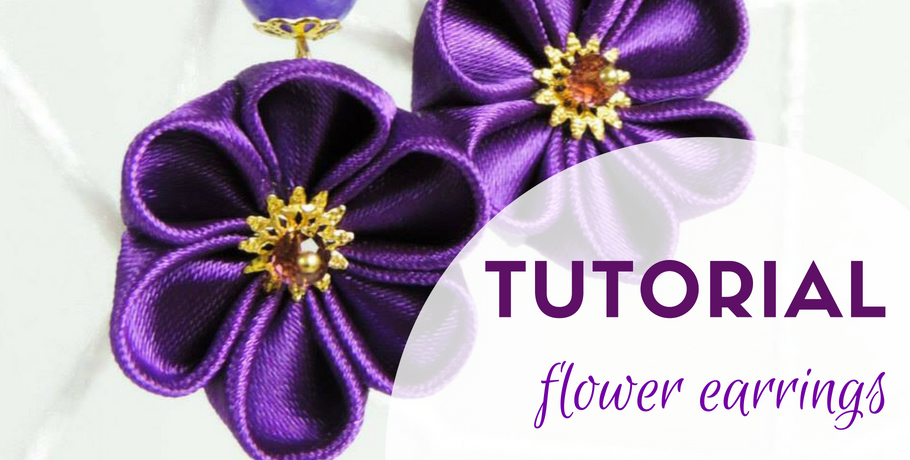
What do you need to do to have one pair of those gorgeous fabric flower earrings? It’s not complicated, you can learn it all from this tutorial I made for you.
After many experiments, I finally came up with a method for creating these pretty earrings that’s easy to apply and to remember.
The steps are described before each photo, for ease of navigation.
Enjoy!
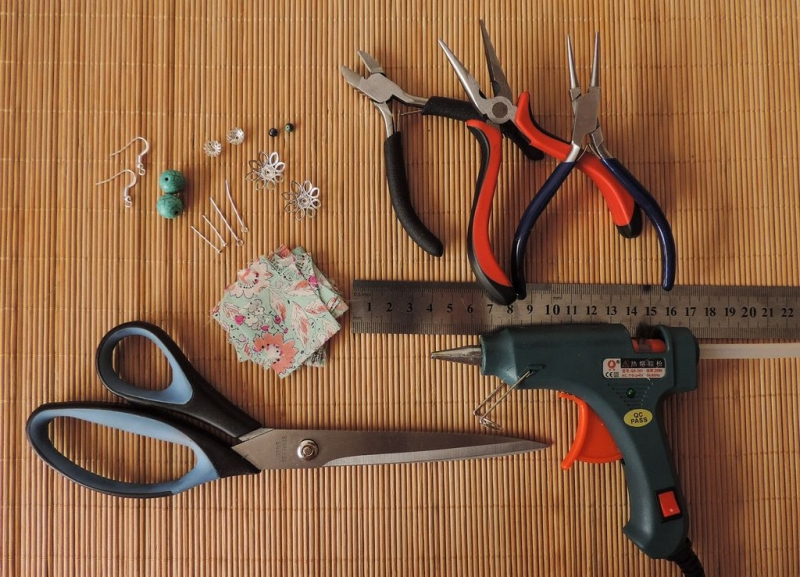
You will need:
- squares of fabric – 10 5×5 cm (2″ x 2″) squares of silk, polyester or cotton, just make sure it’s woven, not knit;
- metallic accessories:
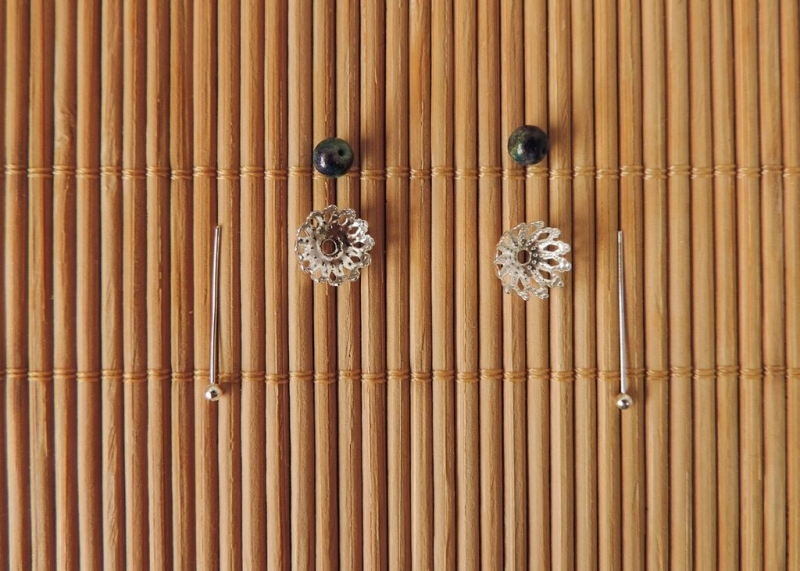
- bead caps in two dimensions – two large and two medium sized;
- earring hooks;
- metallic pins – two loop pins and two flat head pins for the flower center;
- beads – two large beads and two small beads for the flower center;
- scissors;
- pliers;
- glue gun or fabric glue.
If you have never worked with pliers before, it’s best to first learn the technique of opening and closing wire loops. There are many helpful tutorials online.
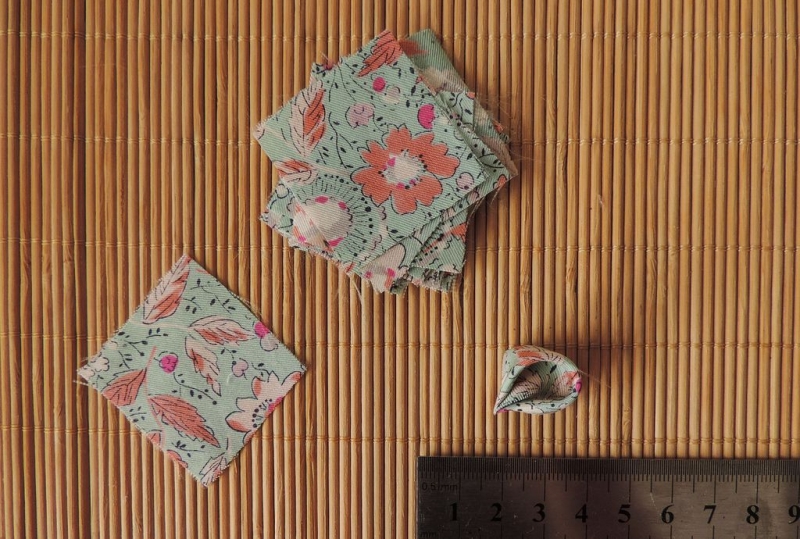
First step: Make the petals
Using the squares, start making round petals. Don’t finish the edges, only glue the tip of each petal.
Second step: Assemble
Once all the petals are done, it’s time to assemble them. Glue them side by side, just like in this cherry blossom tutorial.
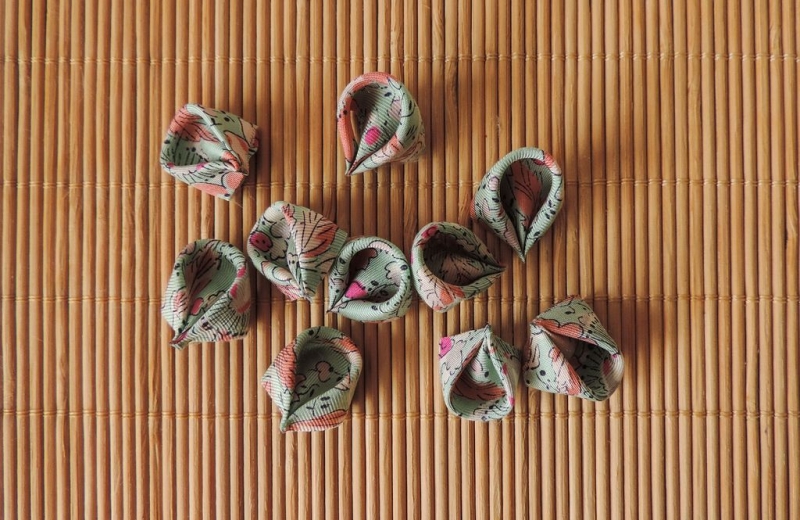
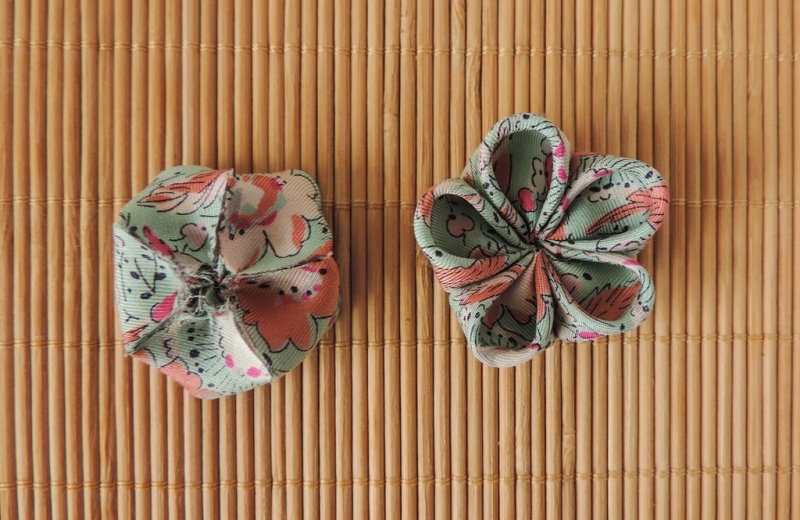
The back of the flower seems unfinished, but this is where you want to glue the large metal bead cap after you flatten it using the pliers.
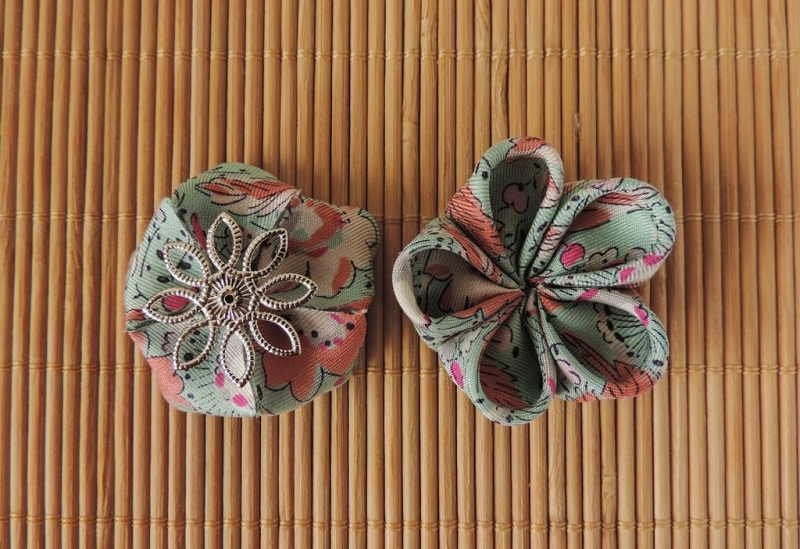
Third step: Embellish
You can attach the earring hooks to one side, for both earrings.
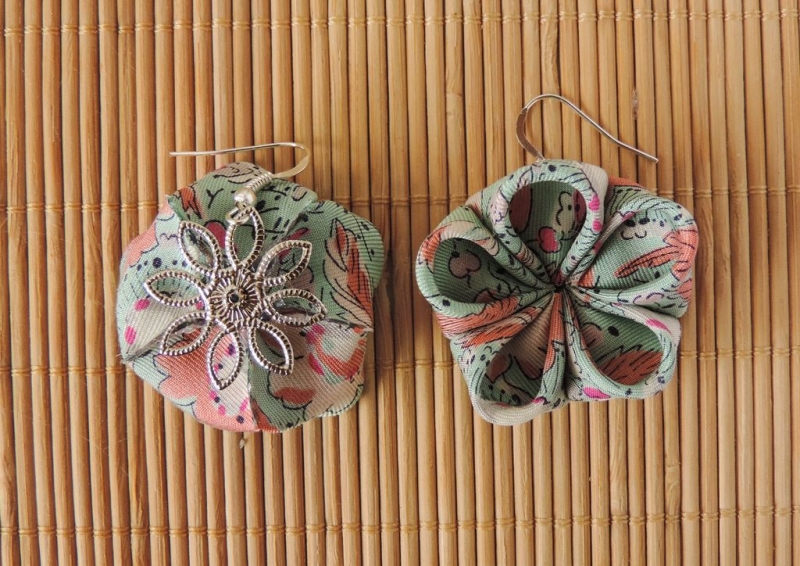
Next, attach the large bead to the other side. You can also insert the large bead between the flower and the hook (see some examples in the gallery below), but I wanted to experiment a bit more with earring shapes.
Prepare the bead by running the loop pin through one bead cap, the bead and then the other bead cap. Lock everything in place with a new loop.
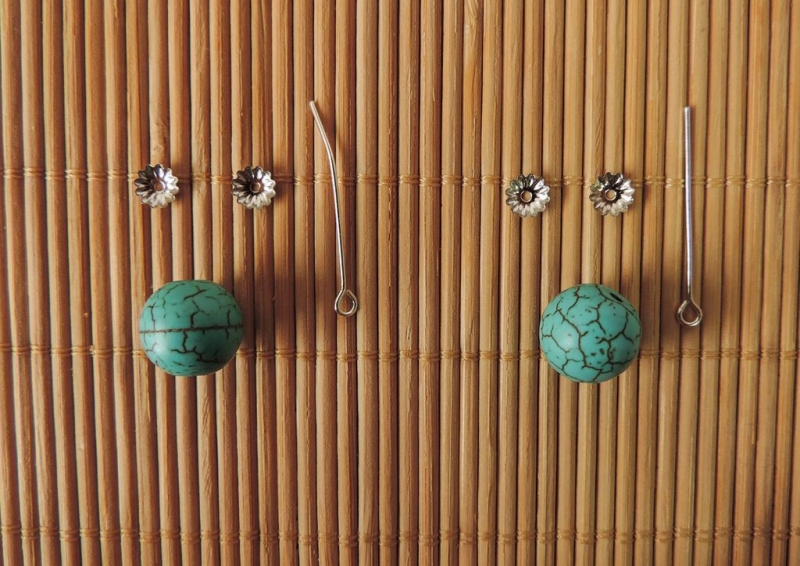
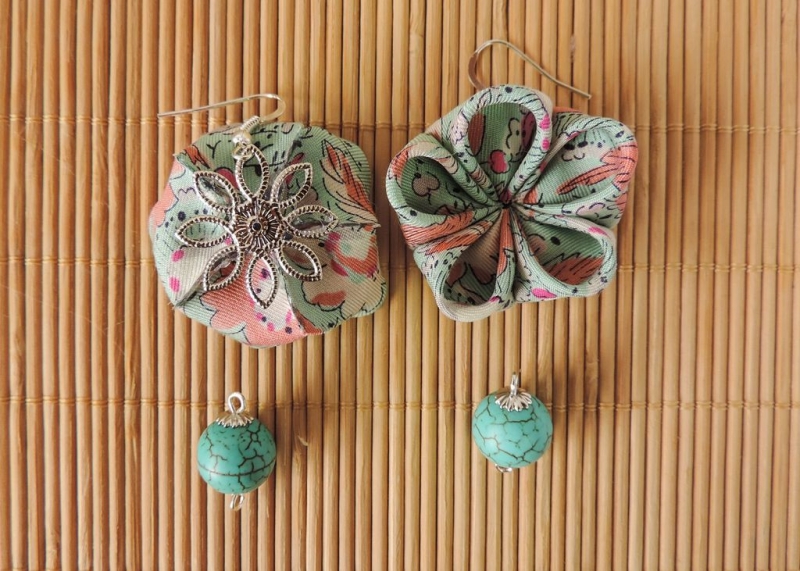
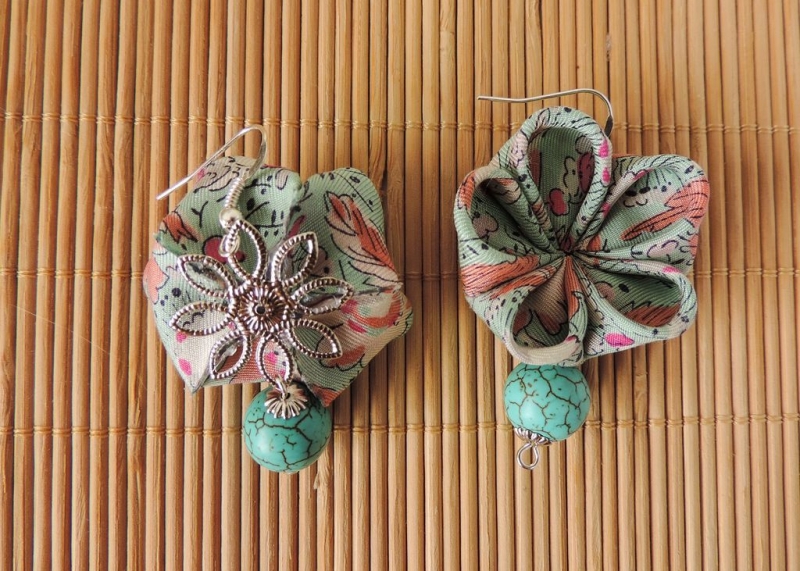
The only thing left to do is attach the flower center. Prepare it by passing the pin through the bead and the bead cap, then creating a tight loop. You then glue the loop in the middle of the flower and the hole will help keep the center from falling off (that happens if you just cut off the excess and glue the pin straight).
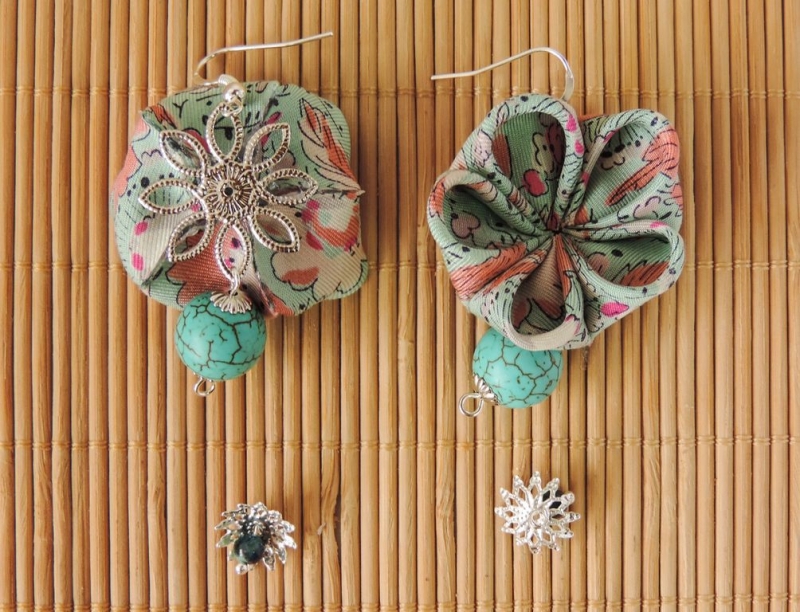
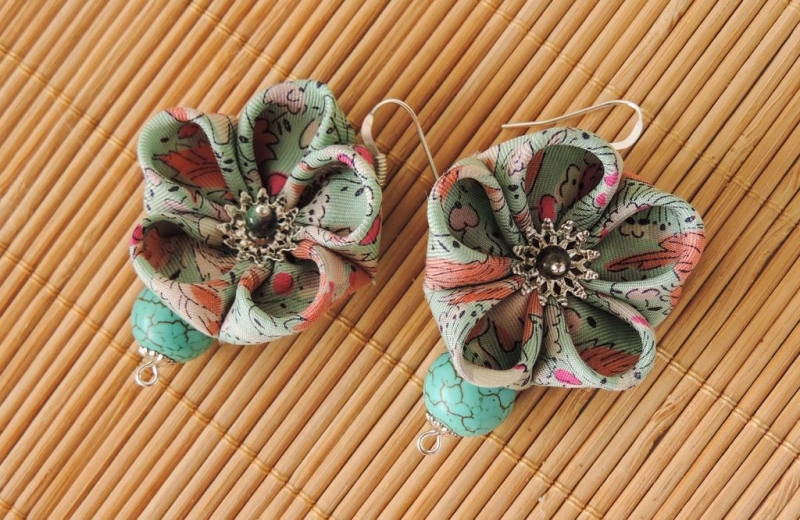
Now your pretty flower earrings are ready to go out and party. You’ll be the star of the evening wearing such a stunning pair.
Now that you know the technique, go ahead and make some changes to the design.
Here are some examples to get you started:


If you want to make the flowers out of synthetic fabrics, it’s easier to use a candle to get the edges lightly melted. This way you will not need the glue gun, only fabric glue.
Don’t forget to share the tutorial with your crafty friends and to come back later for more original tutorials.
Keep up the awesome work!
Hugs,
Andrea
