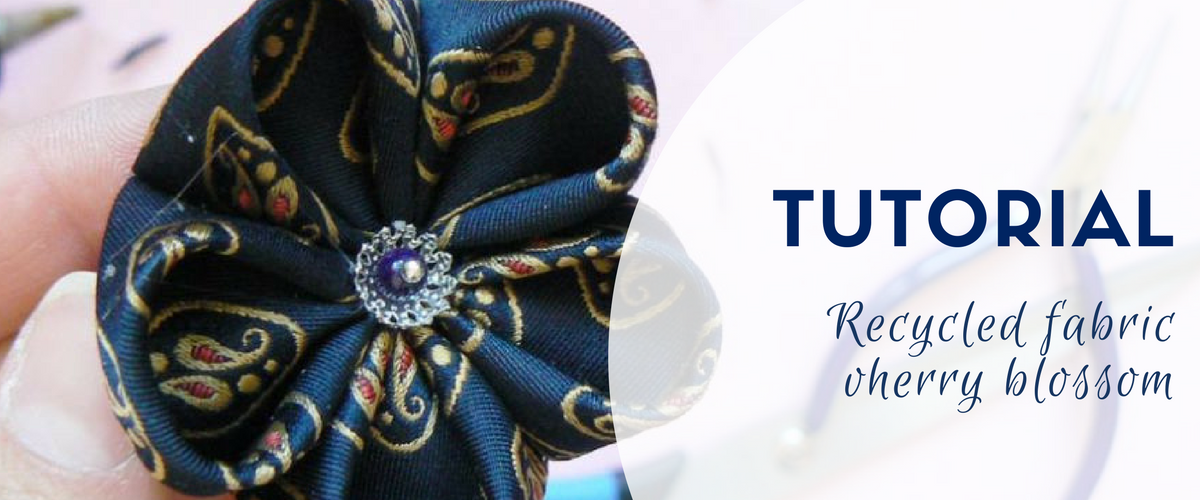
The cherry blossom, that elegant symbol of spring, will surely become your best friend after you learn how to make one to your own liking.
Try different fabrics, make more or less petals, play around with the design and experience the joy of making one (or many) of these lovely flowers, for yourself or a loved one.
The steps are detailed before each picture.
Enjoy!
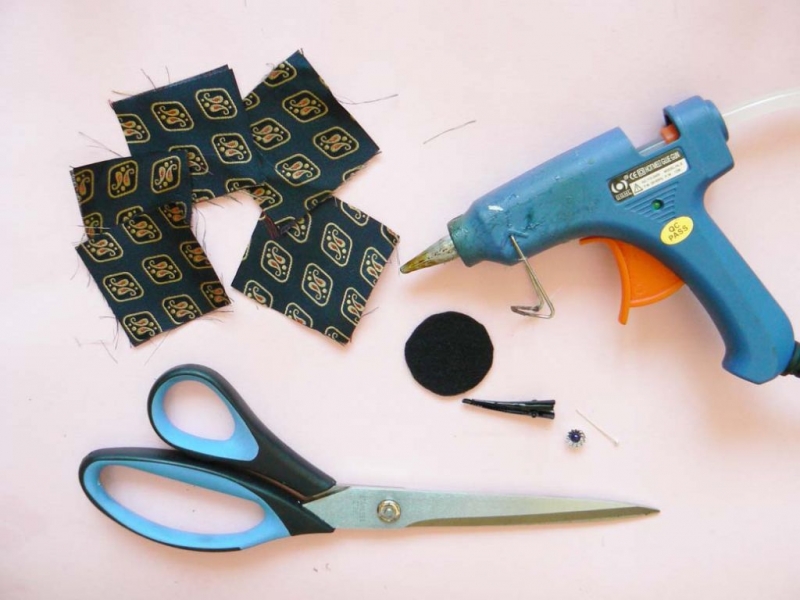
You will need:
- 5 squares of fabric – make sure it’s woven, not knit, and cut along the grain; the size varies with your preferences, I recommend starting with 5×5 cm (2″x2″);
- glue gun or fabric glue;
- a round piece of felt in a color similar to your fabric;
- a pin or hairpin for finishing off the piece;
- central elements for the flower: pearls, stamens, a pin with a bead and a larger bead cap – these all work;
- a pair of fabric scissors.
First step: Prepare the tools and fabric
Step two: Make the petals
For a detailed explanation about the petals, please check out this tutorial.


Step three: Assemble the petals
Glue each petal to the next one, along one lower side (as pictured).
Glue the last to the first and you have a pretty basic flower.


Step four: Embellish
Attach the hair clip or brooch pin to the piece of felt and then glue them both to the back of the flower.
Shape up the center of the flower and glue in place.


That’s it, the flower is ready! Now enjoy and go around to collect your compliments.
I also made a video tutorial for this flower, check it out:
Try new fabric combinations and make the petals double for variation.
Check out some examples from my garden:


