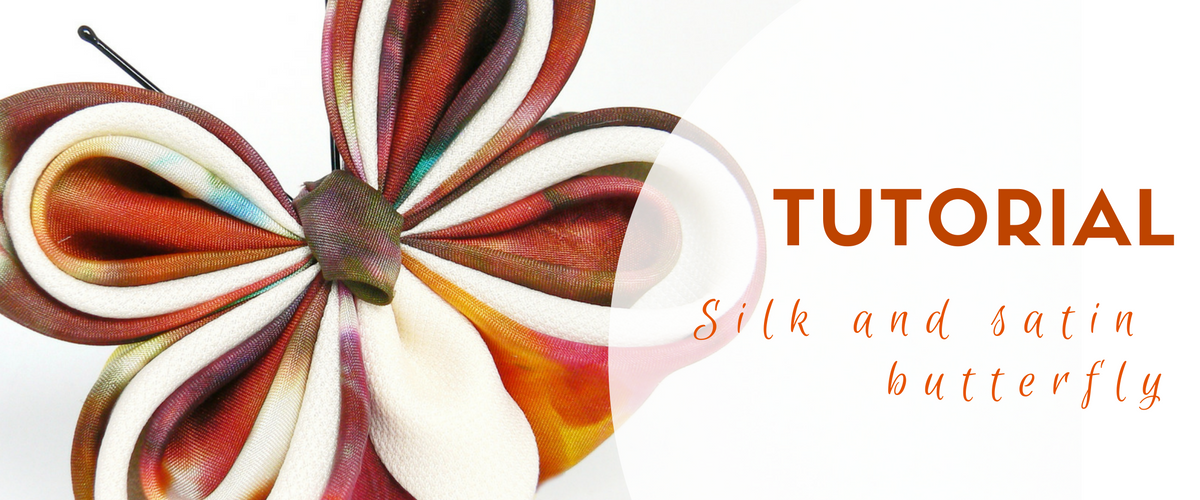
This photo tutorial will teach you, step by step, how to upcycle natural or synthetic fabrics and transform them into pretty butterflies by using the tsumami kanzashi technique.
If you are new to this technique, I recommend that you first learn how to make the simple petals, then the multi-layered petals for the prettiest handmade butterfly.
Maybe you’ve just tailored a new dress for yourself with satin and organza or voile, maybe you’ve just created something for the children’s room, maybe you have scraps of fabric from old projects or you just have a torn silk scarf that you love too much to throw away.
You can turn all these into butterflies that you can wear in your hair, on a hat or as brooches. They can be interior decorations, parts of bouquets and who knows what else. The possibilities are limitless.


Maybe you’ve heard that 2015 will be a year full of butterflies. In fashion and interior decor. So you can rock your classic outfits with new and fashionable accessories. Best of all, they’re affordable and high quality (after a few experiments, of course).
You can use a whole range of fabrics for them. So far I’ve used many kinds of upcycled silk, different kinds of polyester satin, brocade satin, different kinds of organza. The important aspect here is that the fabric is woven, not knit.
In this tutorial I worked with two different silks, one from a scarf and one from a shirt, but you can see in this gallery a few examples of fabric combinations that I made in 2013.
In this tutorial I’ve used triple petals, but to begin with I recommend trying to make the butterflies with simple or double petals, then taking the difficulty up a notch once you’re comfortable.
I’ve added the steps in the caption of each image, but you can also read them below the photos.
Fabrics & tools
- silk, satin or organza – my recommendation is for two different fabrics and colors. For double wings, you need 4 squares in one color and 6 squares in the other color (or 5 and 5, or 4 and 10 for triple wings). The size of the butterfly will depend on the size of your squares: for a 6 cm wide butterfly you use 5 cm wide squares. I suggest making the outer squares 0.5 cm or 1 cm larger than the inner ones;
- silicone glue gun – you can replace that with fabric glue, but it will take much longer to assemble – I always use the glue gun and I’m done in 20-30 minutes with one full butterfly;
- a bit of felt – a rounded rectangle 1×2 cm for the brooch pin or the hair clip;
- a brooch pin, hair clip or any other accessory;
- a bun bobby pin for the antennae or some modeling wire;
- large scissors; you can also use a pair of tweezers.

Steps
1. Prepare the fabrics: cut the necessary squares out of the chosen fabrics; you can use scraps of any size, just make sure you cut along the straight grain, do not cut on the bias, or else the wings will not keep their shape; read more about fabric grain in this great post;
2. Make the lower wings: you will use one square of each color for a double or triple round petal (the lower, rounded wing); superimpose the squares after folding them the first time; seal all the sides to prevent unraveling; this is the tutorial for making rounded petals;


3. Make the upper wings: first make a pair of smaller round petals out of the smaller squares, then surround them with one or two pointy petals for double or triple wings (for the pointy petals, fold the square once on the diagonal, then fold it in two again to make a smaller triangle, then fold it in two around your round petal); now is the perfect moment to measure all the wings and cut them to size; seal all the open edges;


4. Make the body: make a shallow pointy petal (cut off a bit from the base);
5. Make the torso/head: it’s a small/short pointy round petal (I’ll translate the two pointy petal tutorials soon and update these links, but you can find the Romanian versions here: pointy petal tutorial and pointy round petal tutorial);


6. Assembly:
- one upper wing gets glued to one lower wing, do the same with the other two;
- put a drop of glue 2-3 mm from the top of the body, attach the two sides of the butterfly one by one; keep the wings steady while the silicone cools and hardens;
- put a drop of glue on the back of the head and attach it to the body – keep it there for a few seconds until the glue cools down;
- make the antennae out of wire or a bobby pin, put a bit of glue on the back side of the butterfly and attach the antennae;
- glue the hair clip to the bit of felt, use the felt to lock up the petals and cover the back side of the butterfly – you don’t want it to be too large, just enough to hold the clip in place.


Now your butterfly is ready to wear and get you a whole lot of compliments while wearing it.
I hope you enjoyed this tutorial and your new butterfly is gorgeous.
Here are some examples from my garden, all made with recycled fabrics, from newest to oldest.
If you want to share the tutorial with your crafty and talented friends, please do. All the text and photos are creative commons with attribution. So if you use them, just link back to the source.
If you’ve made this butterfly and want to share it, please leave a comment below with a link to a photo, upload the photo to my facebook page, or give me a tweet @andrea_bede.
I wish you happy crafting!
Andrea
Liked the new way to make flowers and butterflies. Thank you. Karen
Dear Karen,
Thank you and I hope you made a house full of butterflies with this tutorial 😉
Hugs,
Andrea