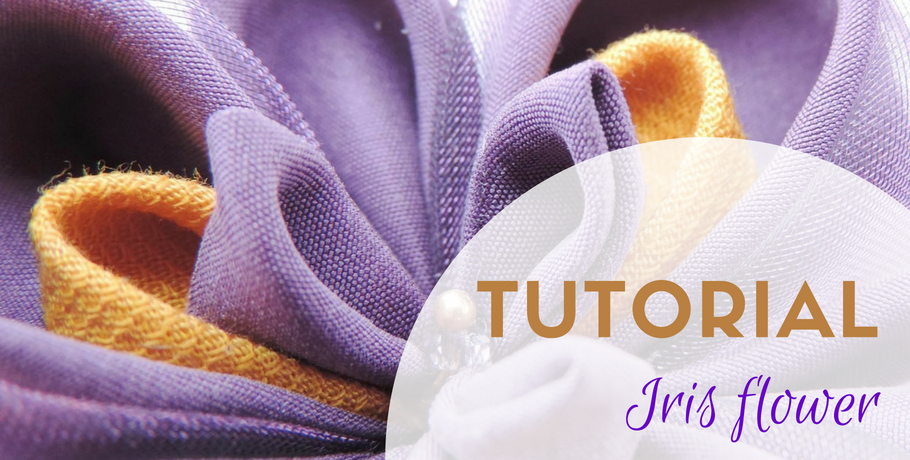
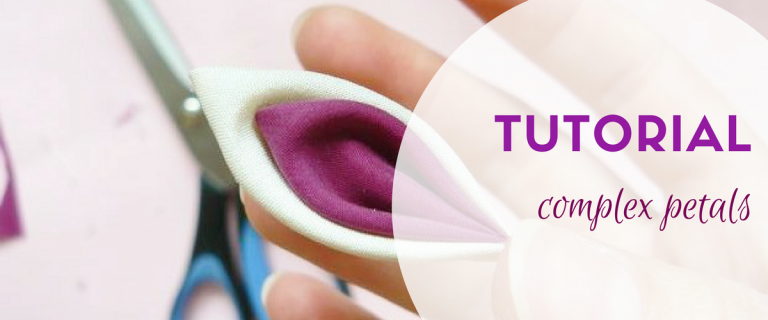
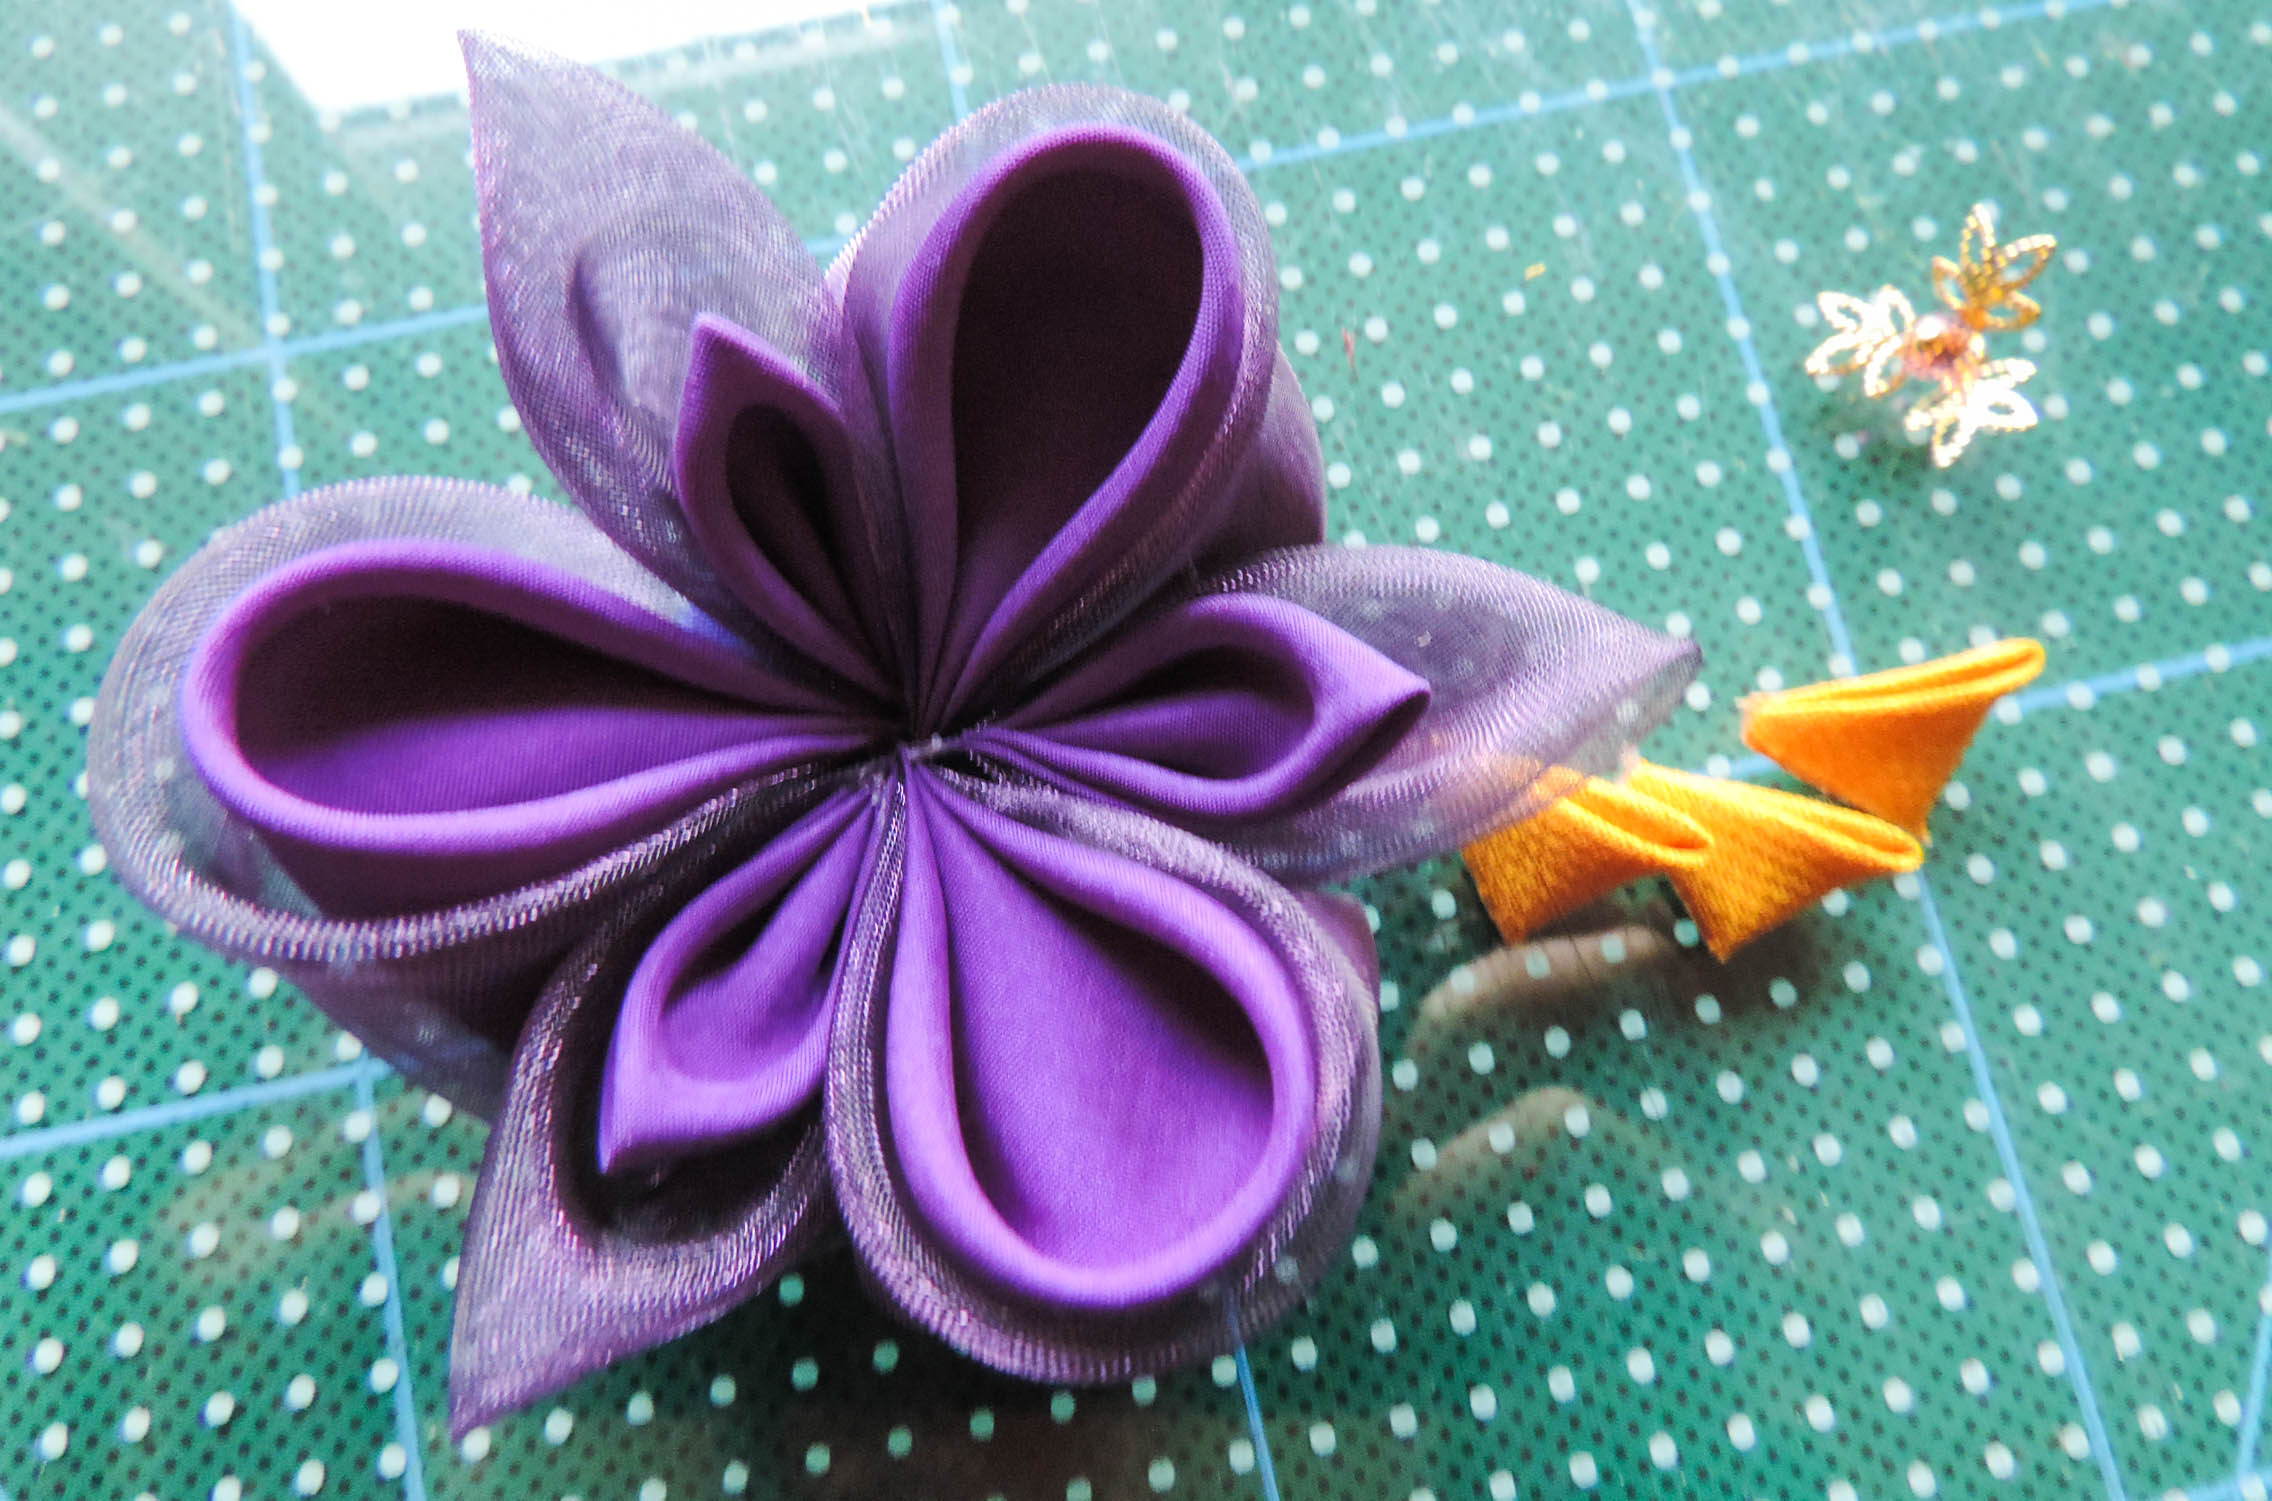
In this photo tutorial, I will teach you how to create this beautiful iris flower out of upcycled (or new) fabrics. Enjoy and share!
Skip to the steps.
It’s spring, the sun shines warmly and the bees are buzzing around, happily gathering nectar. The gardens have come back to life and the iris is a gorgeous purple splash of color in any garden.
There are iris flowers in the butterfly garden as well. Today I’ll teach you how to create a beautiful kanzashi flower to pin on your jacket, your handbag or even your hat.
The summer is around the corner and you’ll be turning all eyes on your delightful little creation.
In case you have some leftover fabrics around the house, turn them into this exquisite flower. It doesn’t require much effort, so I trust you to make it.
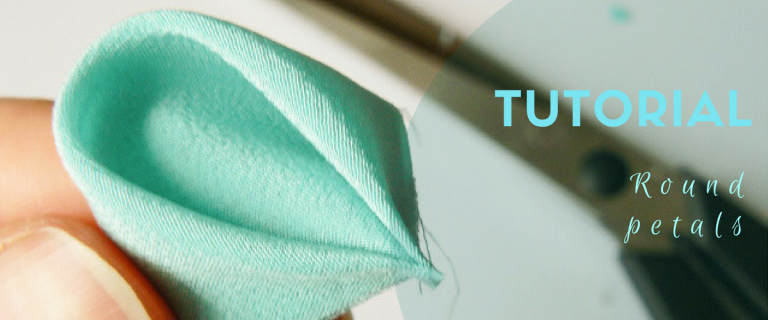
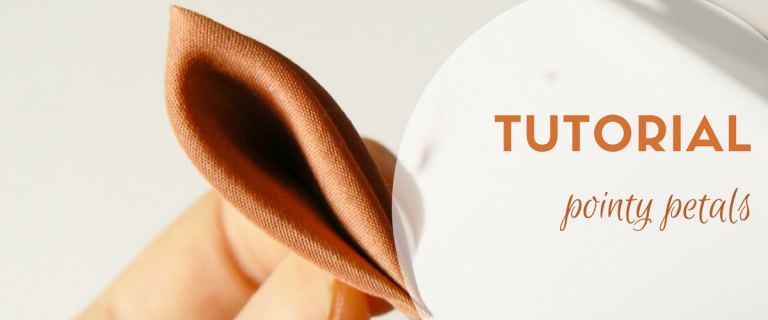
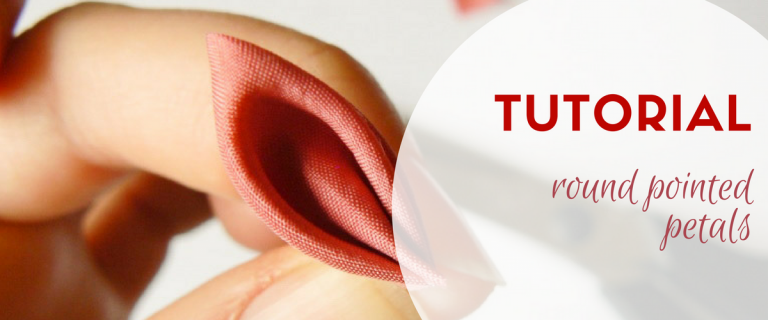
This is not a project for a complete beginner, as you need to know how to make the petals. Here are the petal shapes that you need to know before starting on this tutorial:
The first time I created this flower I was quite the beginner. It was two years ago…
I was new at combining fabrics and I forgot about it in the meantime. Thankfully, two very nice clients reminded me of this beautiful flower and made me recreate it.
The second time around I used a different shade of silk and it’s obvious how much more beautiful the new combination is. I have to make ten, so I decided that I should also create a tutorial for you.
Follow these steps and you will end up with a gorgeous flower that will bring you innumerable compliments.
What you need:
- fabric – preferably bits from previous projects, especially silk and organza (they look great together) – purple or white and any shade of yellow;
- glue gun or fabric glue;
- fabric scissors;
- felt and a brooch pin or a hair clip;
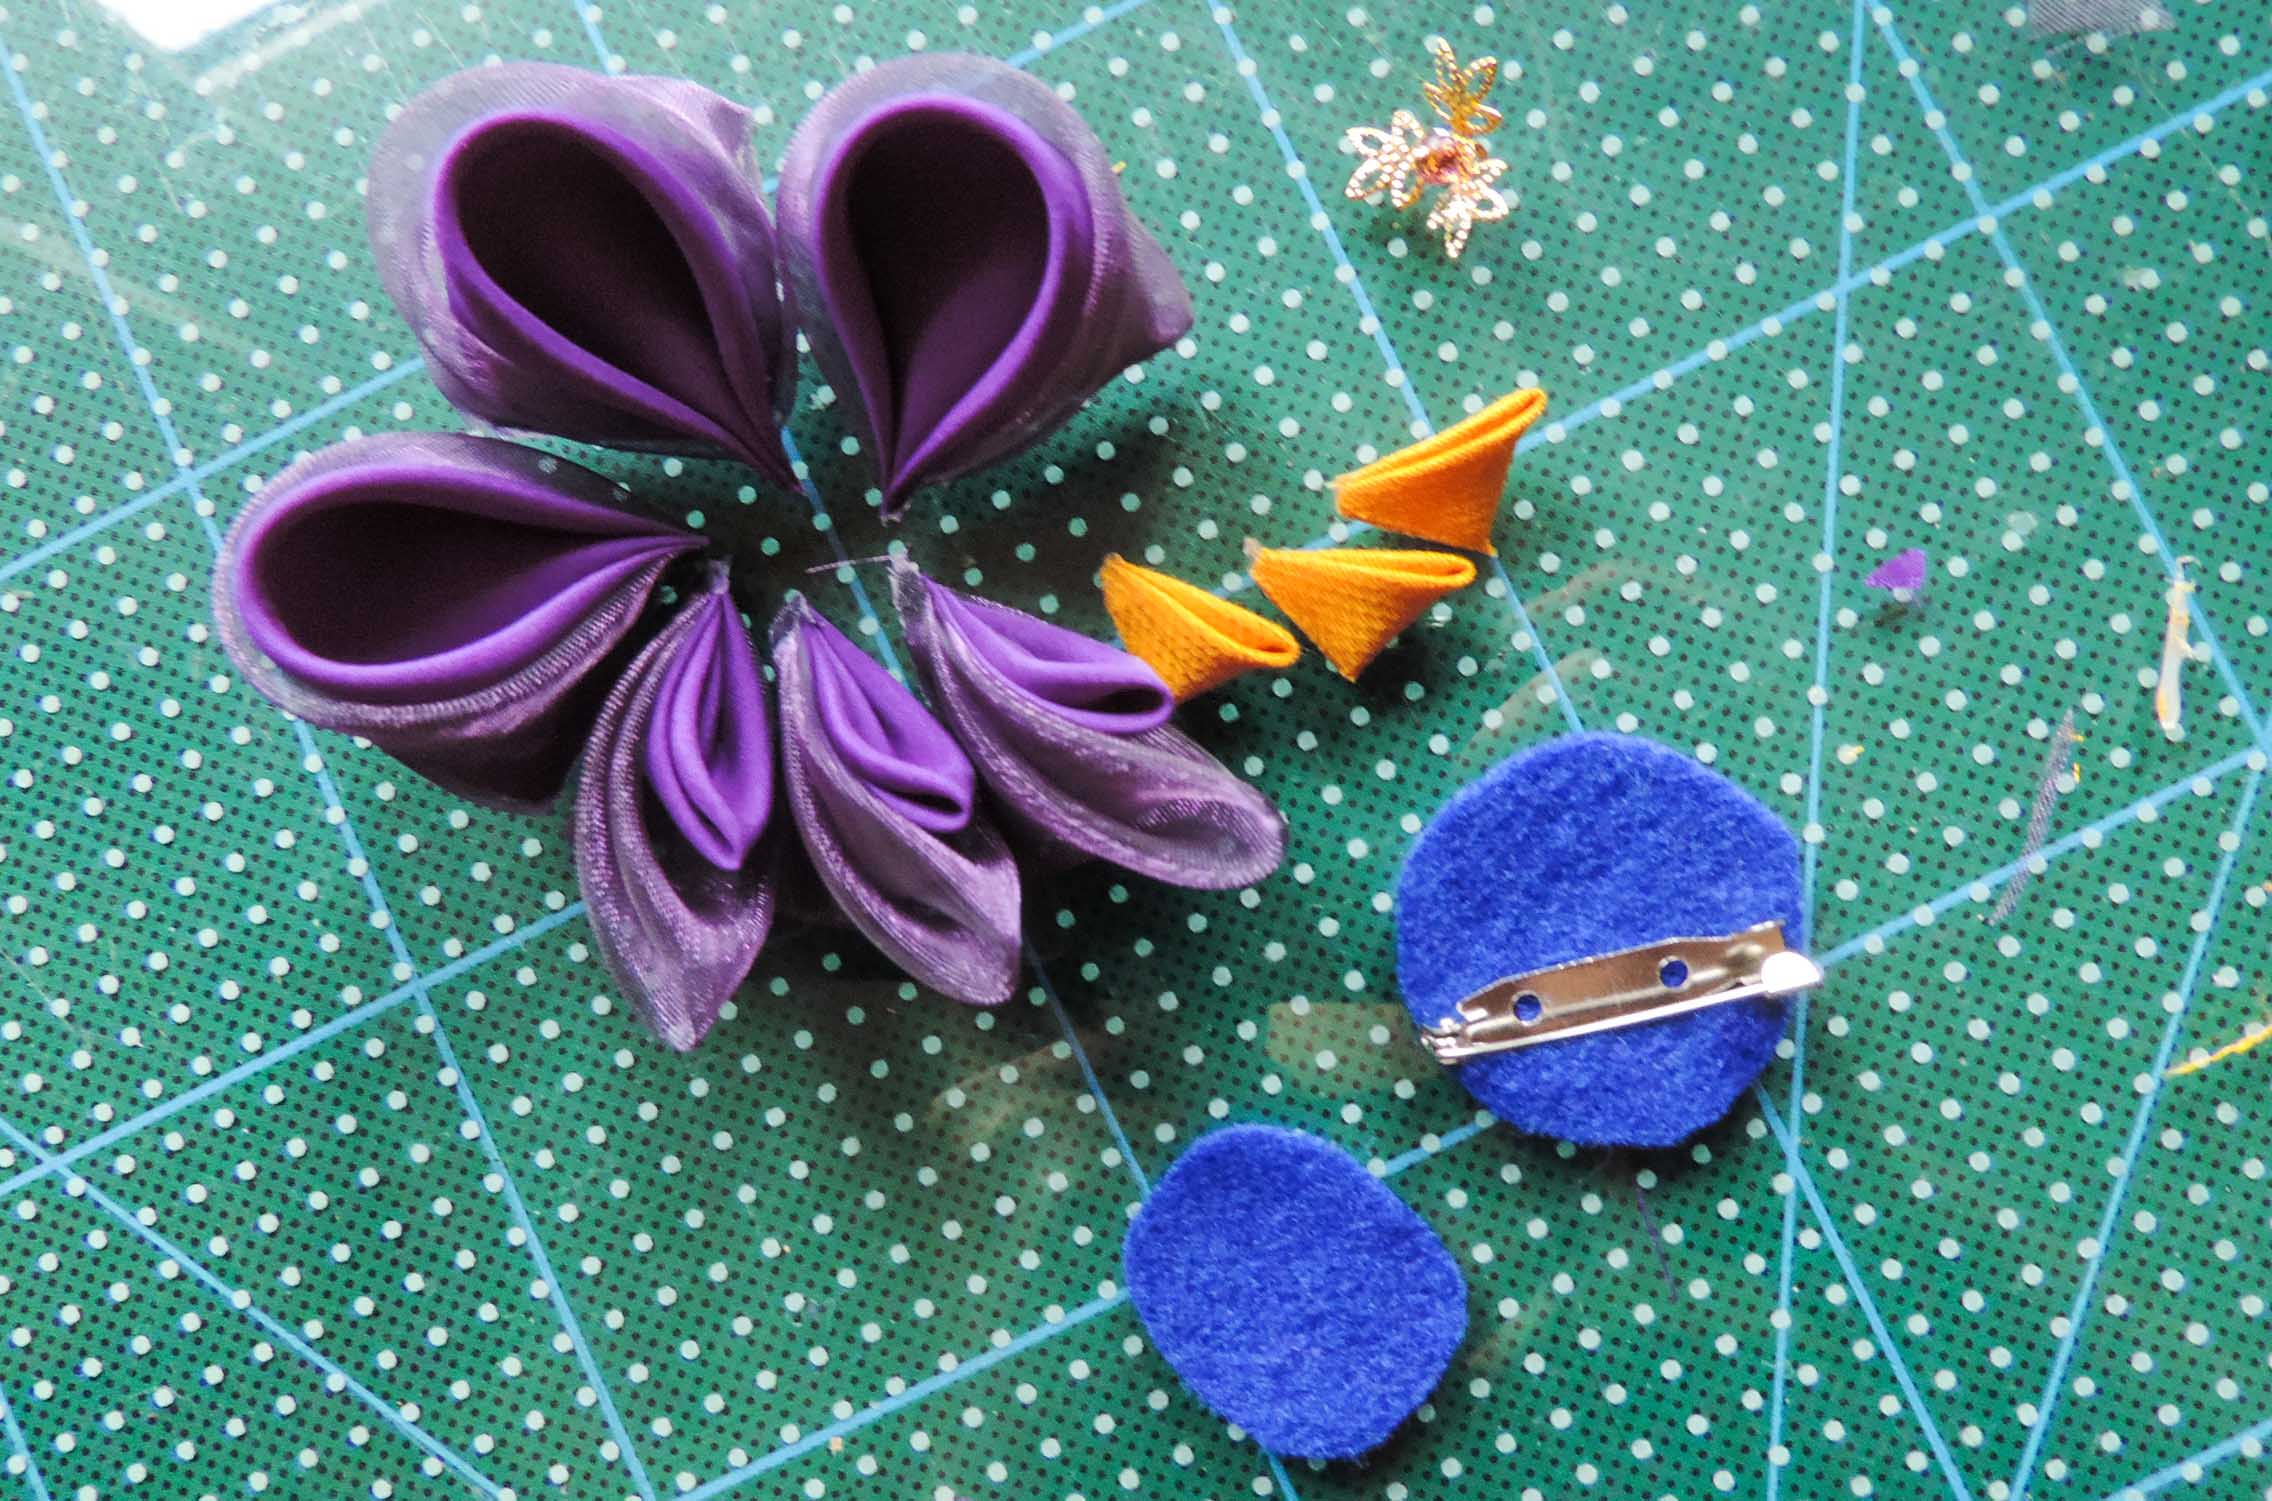
- center pieces – stamens or filigree metal accessories, beads and pins;
- pliers for the center piece.
Steps:
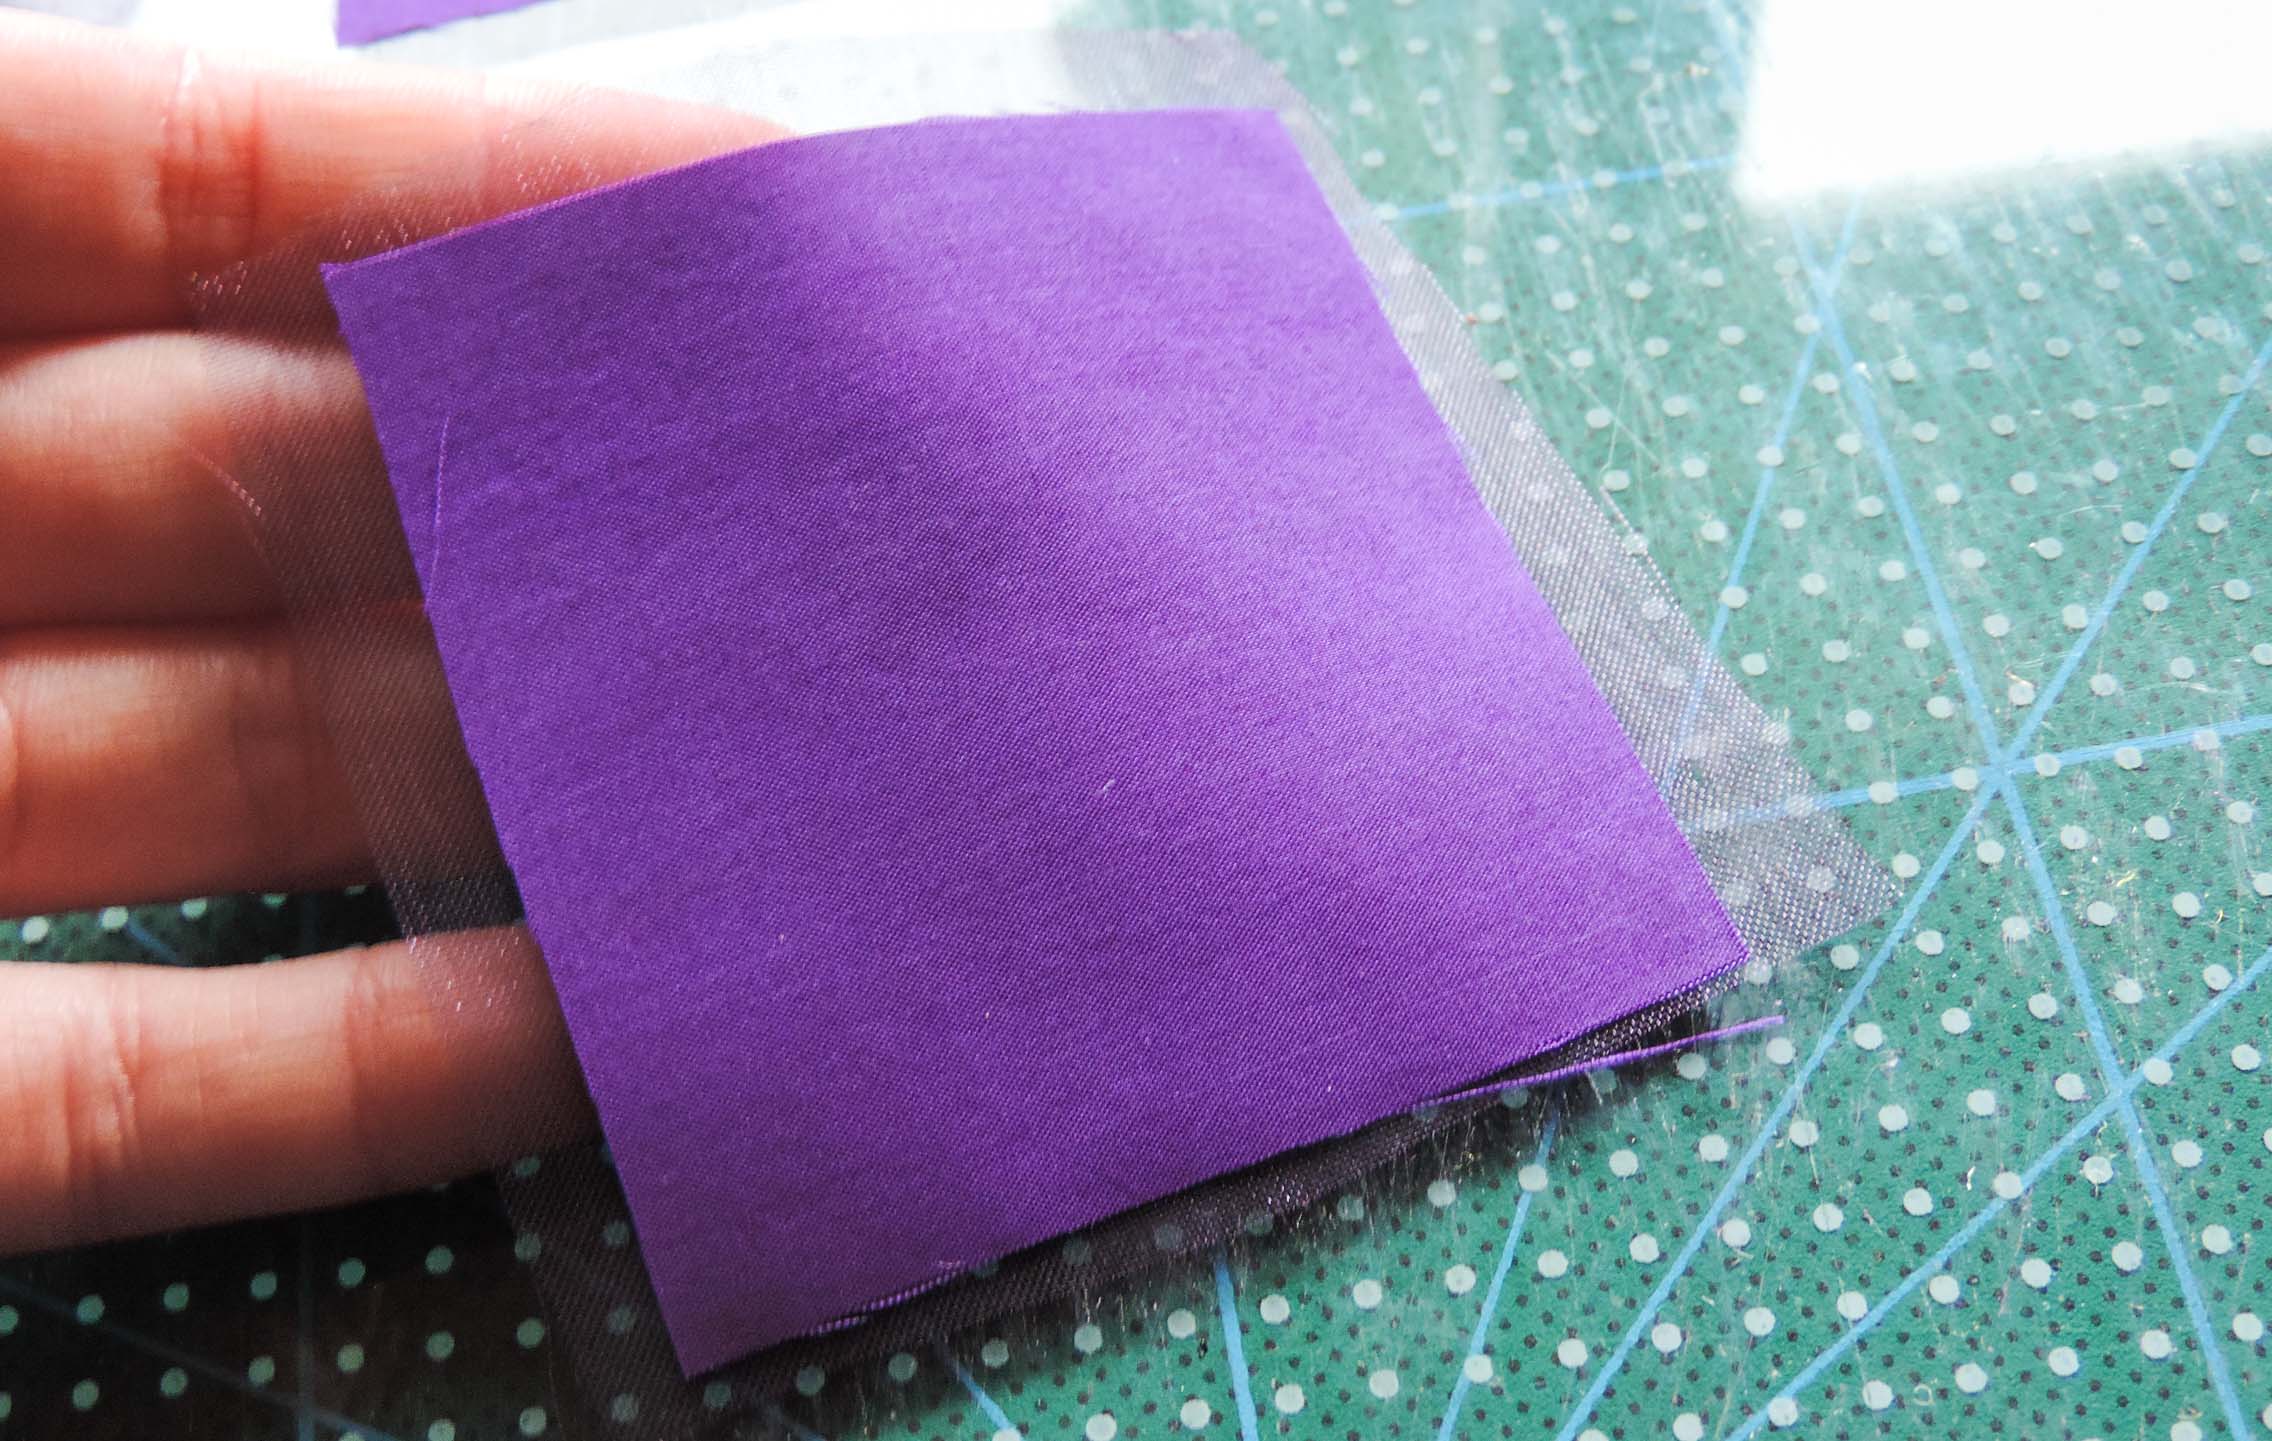
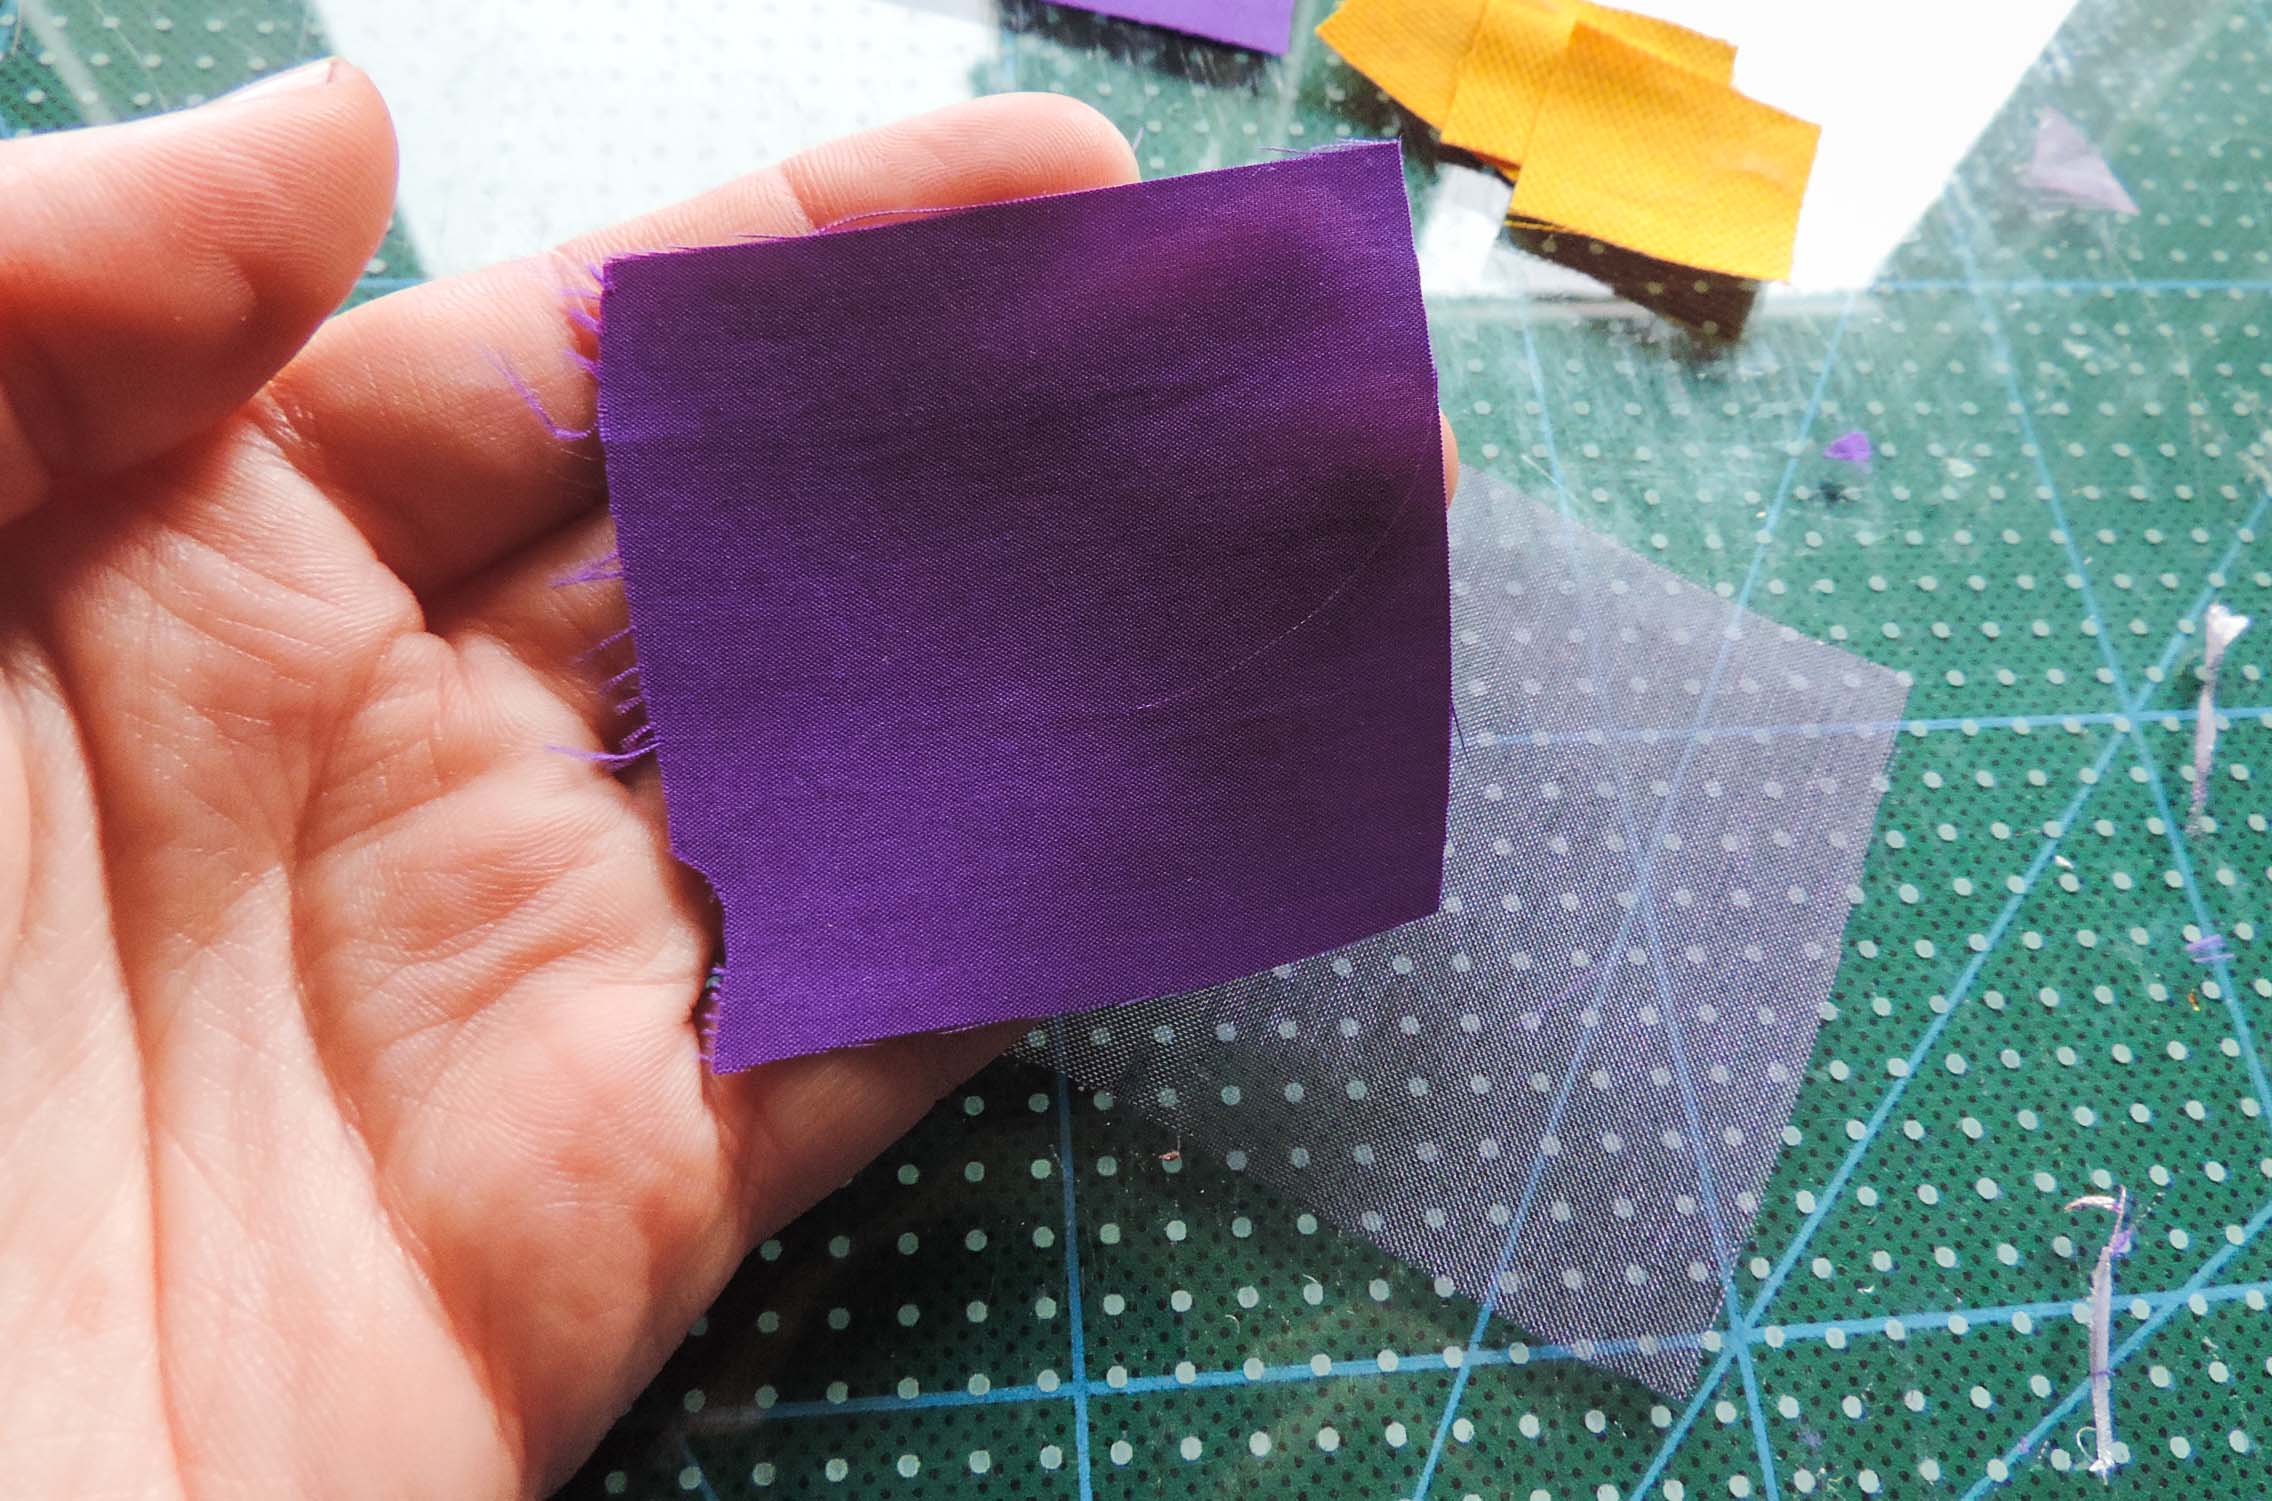
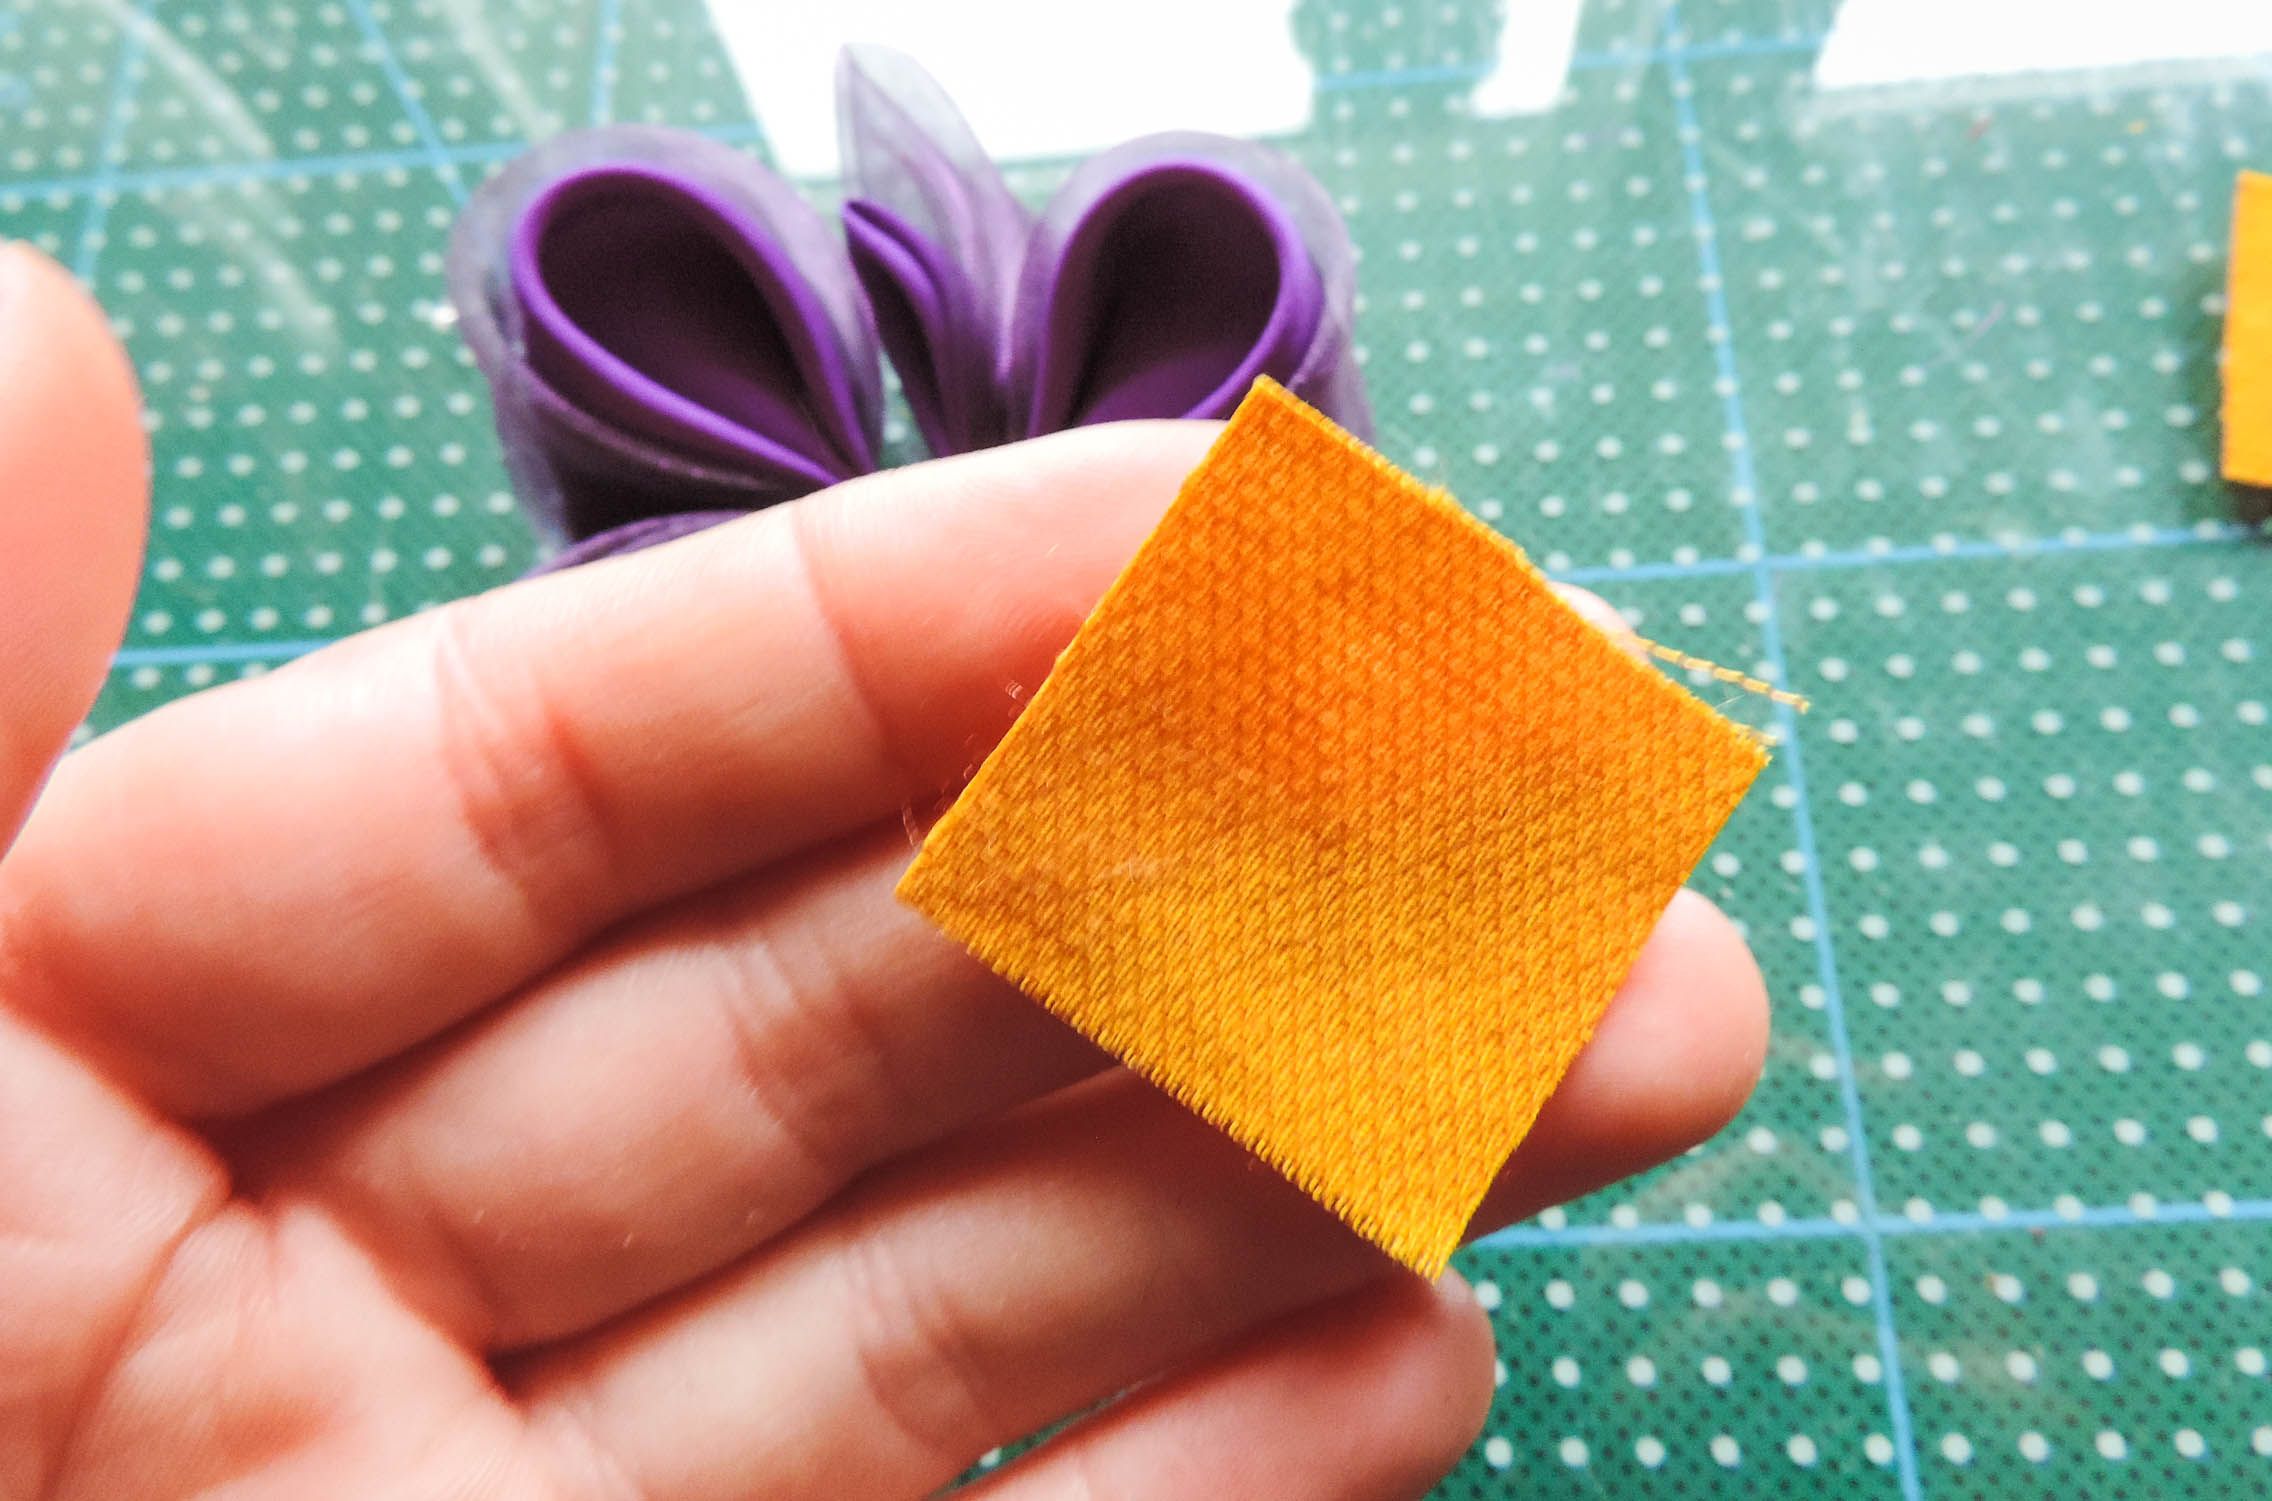
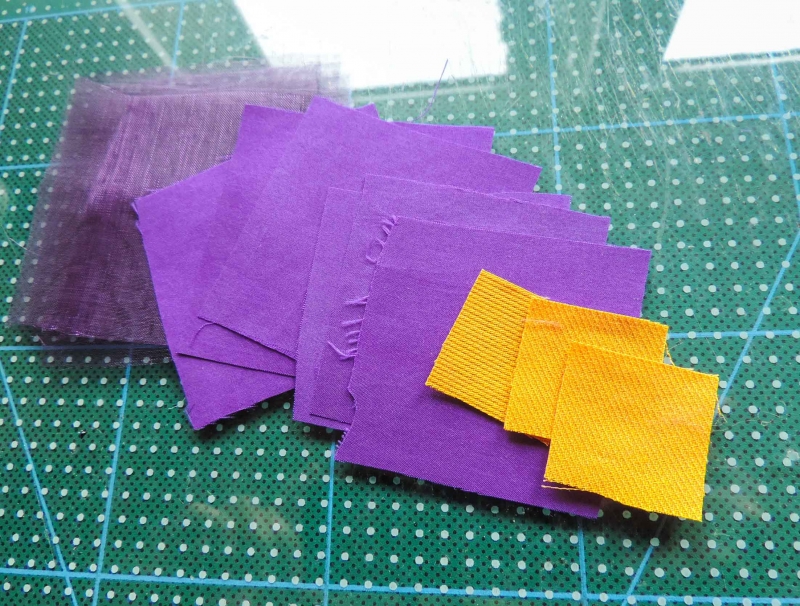
- Cut your fabric into squares; you will need six large (6×6 cm) purple silk pieces and six purple organza square pieces (or another combination, play with the fabrics) and smaller (2.5×2.5 cm) squares of yellow fabric – they will be large enough for a 6 cm flower.
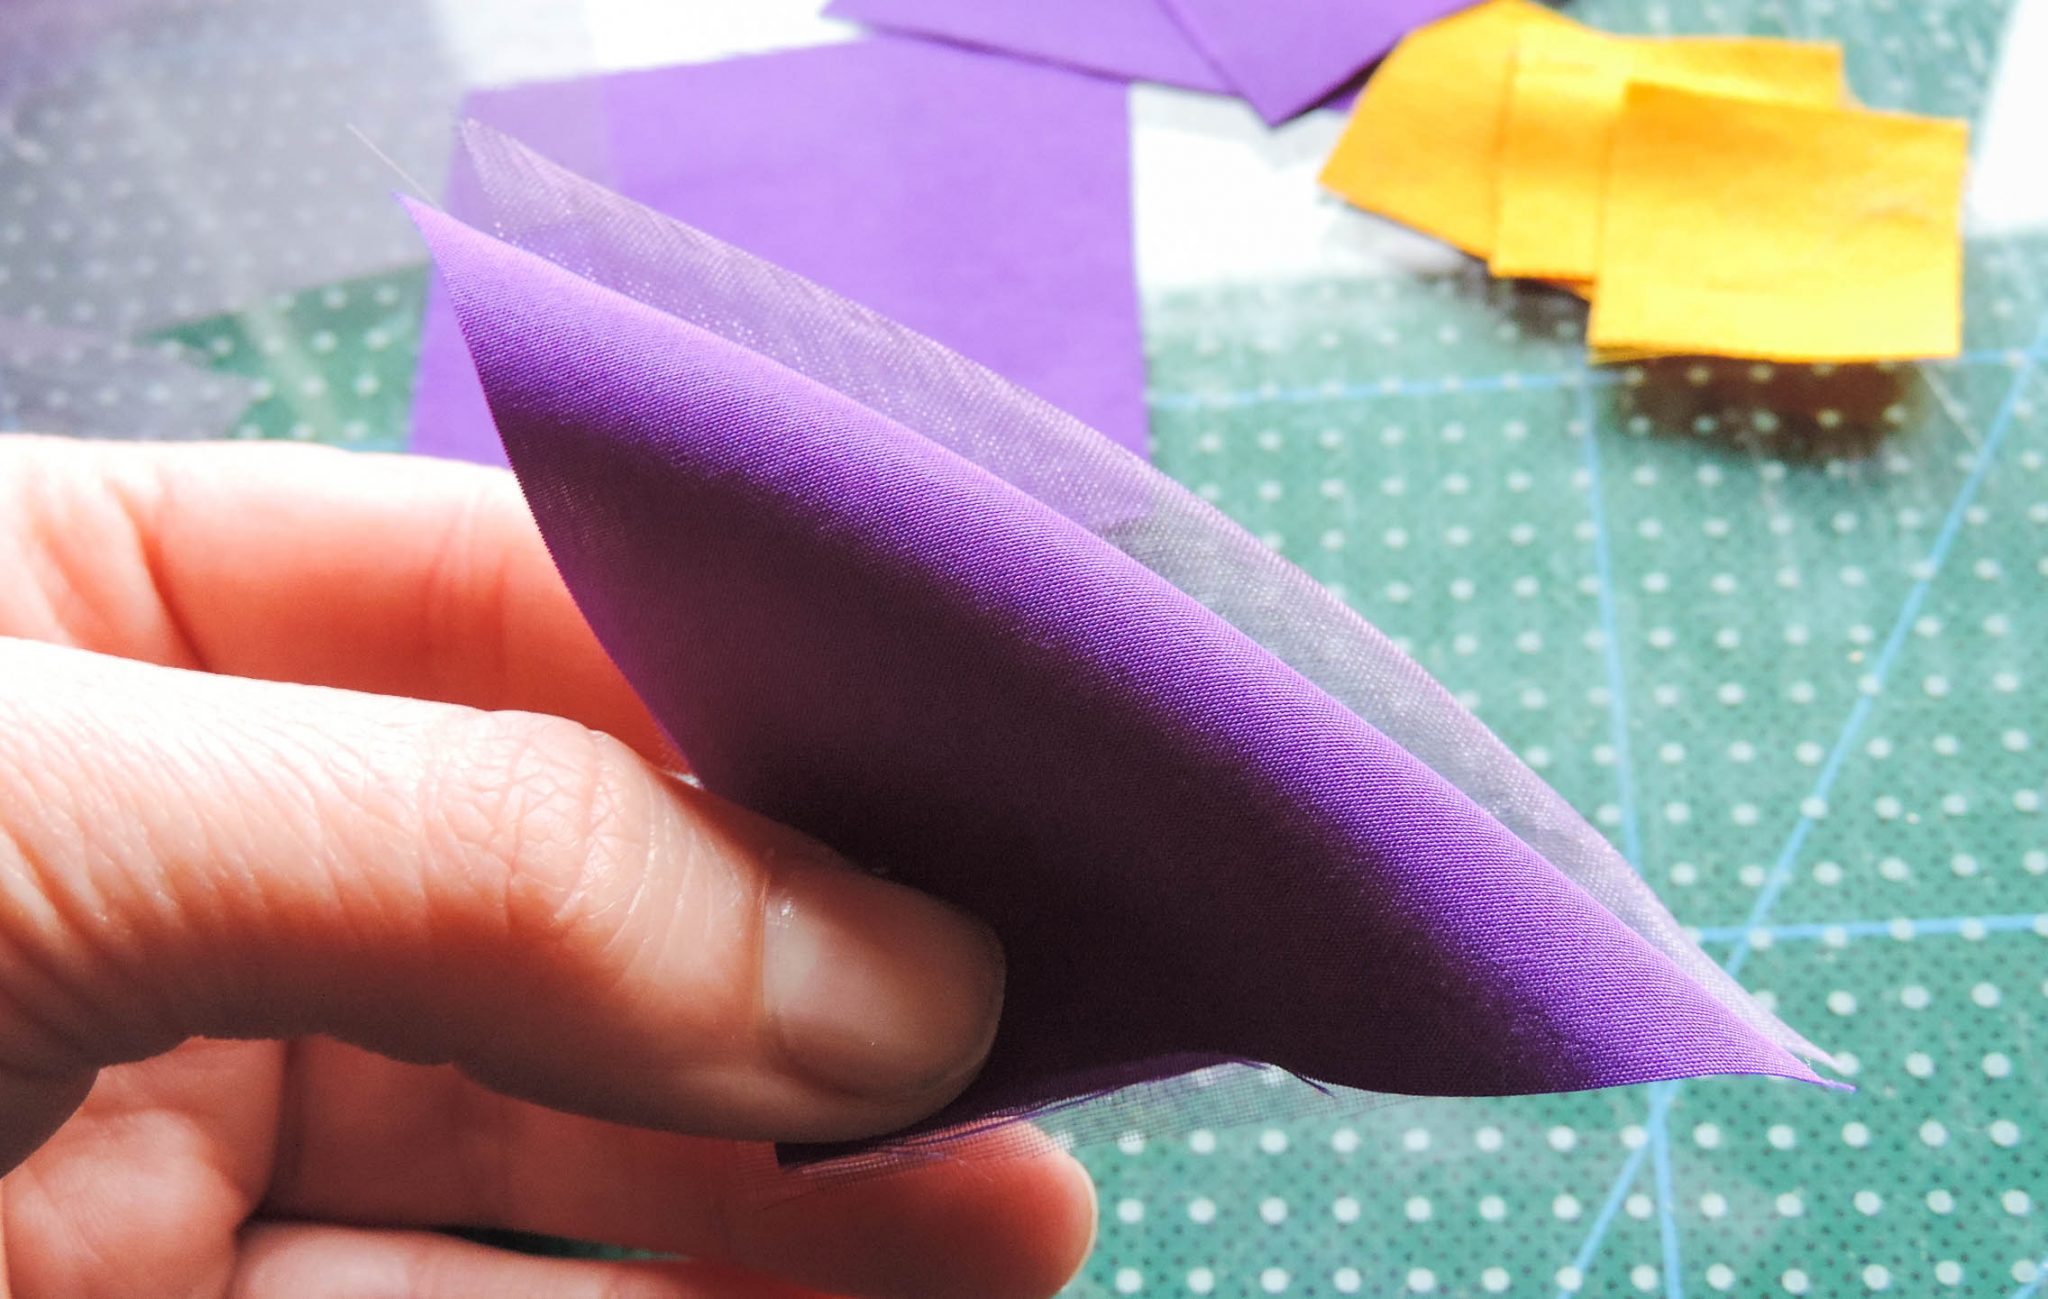
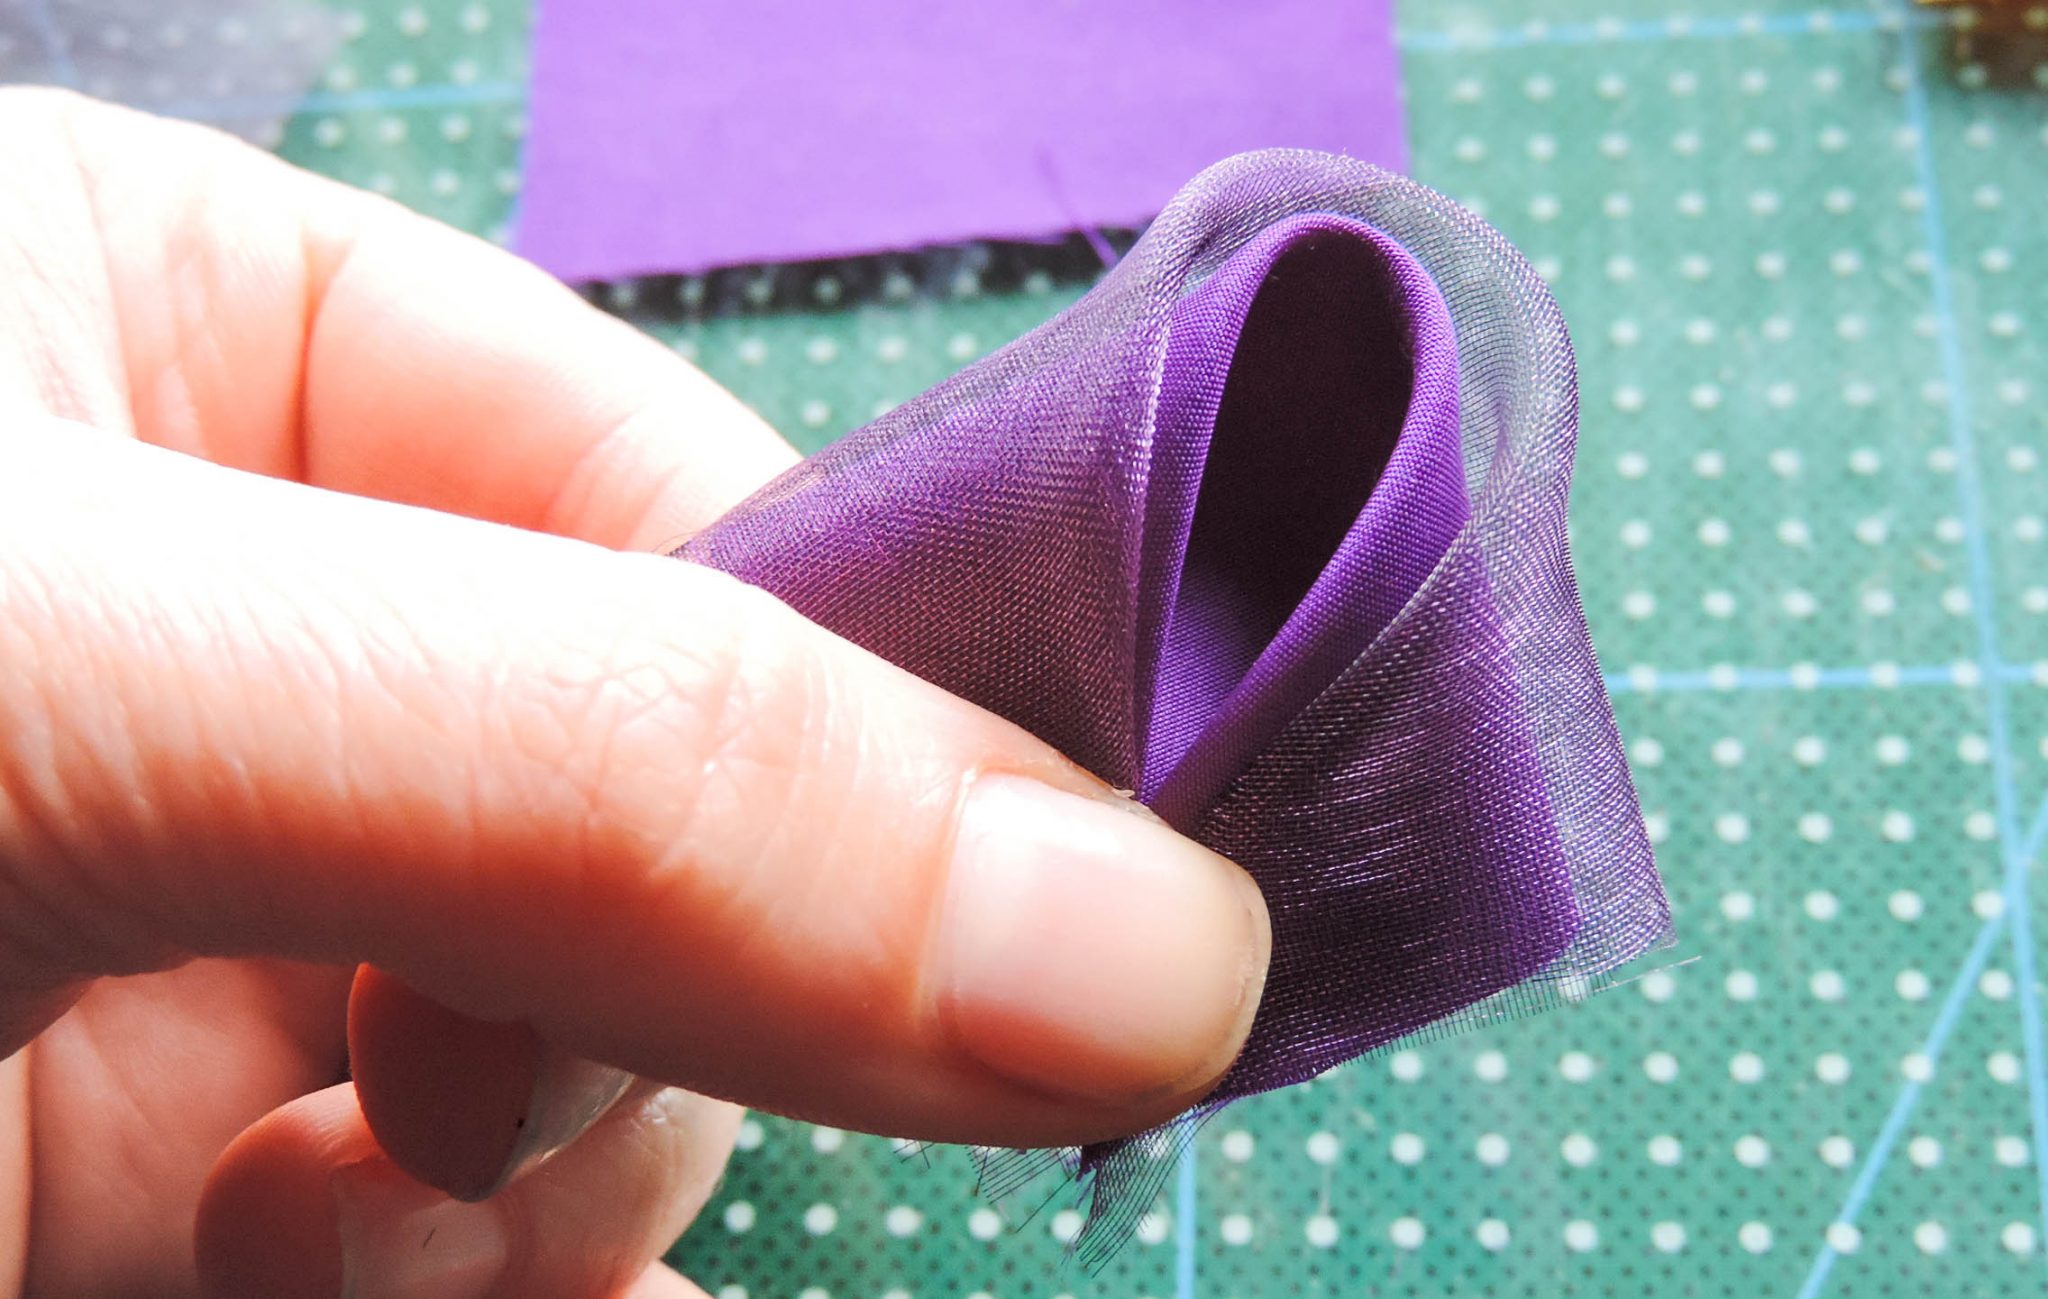
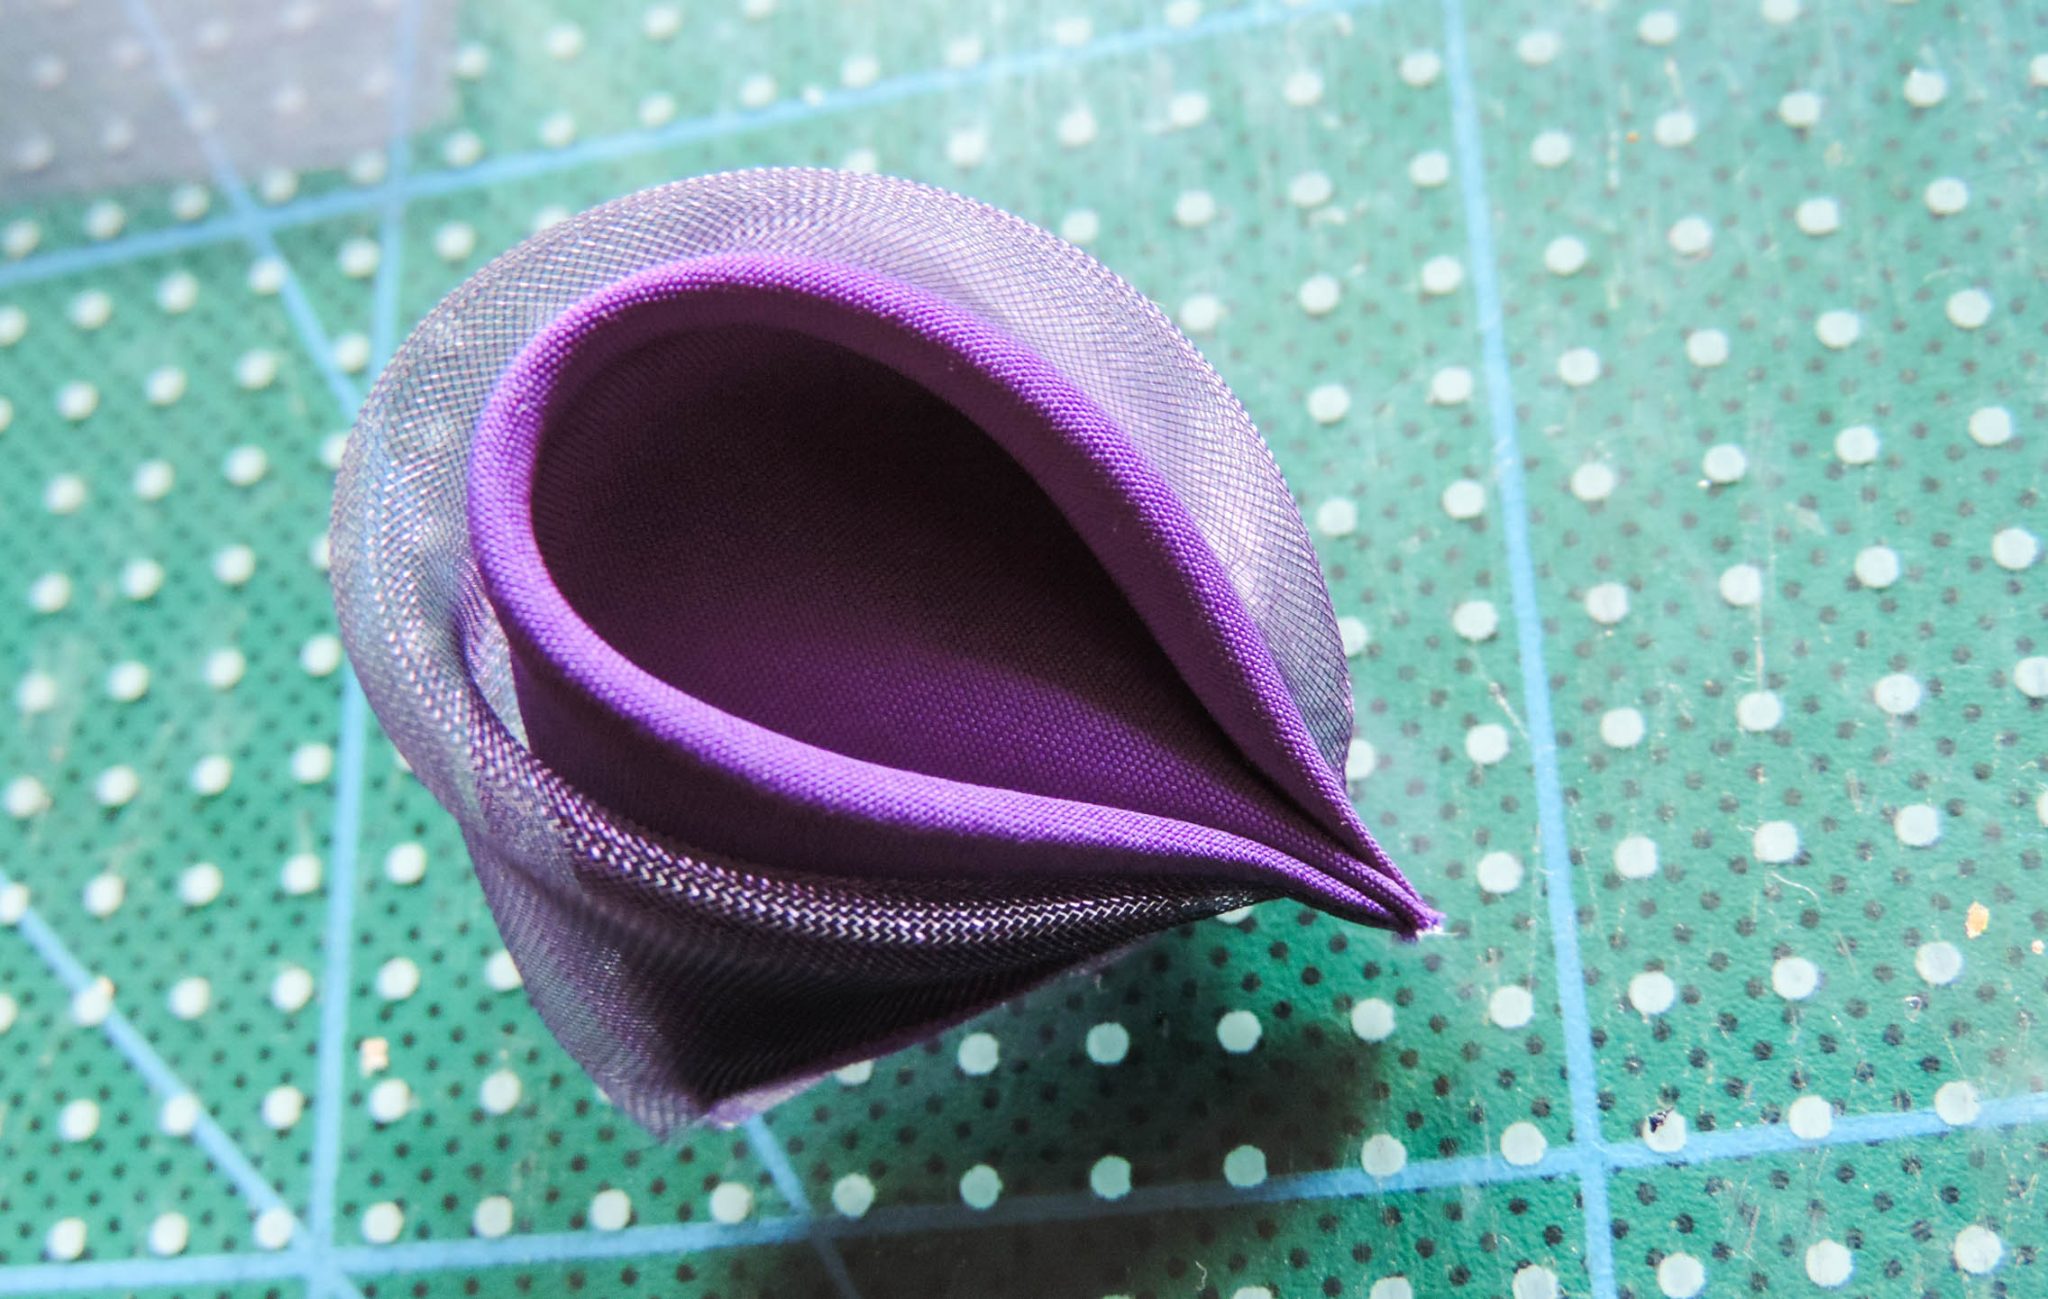
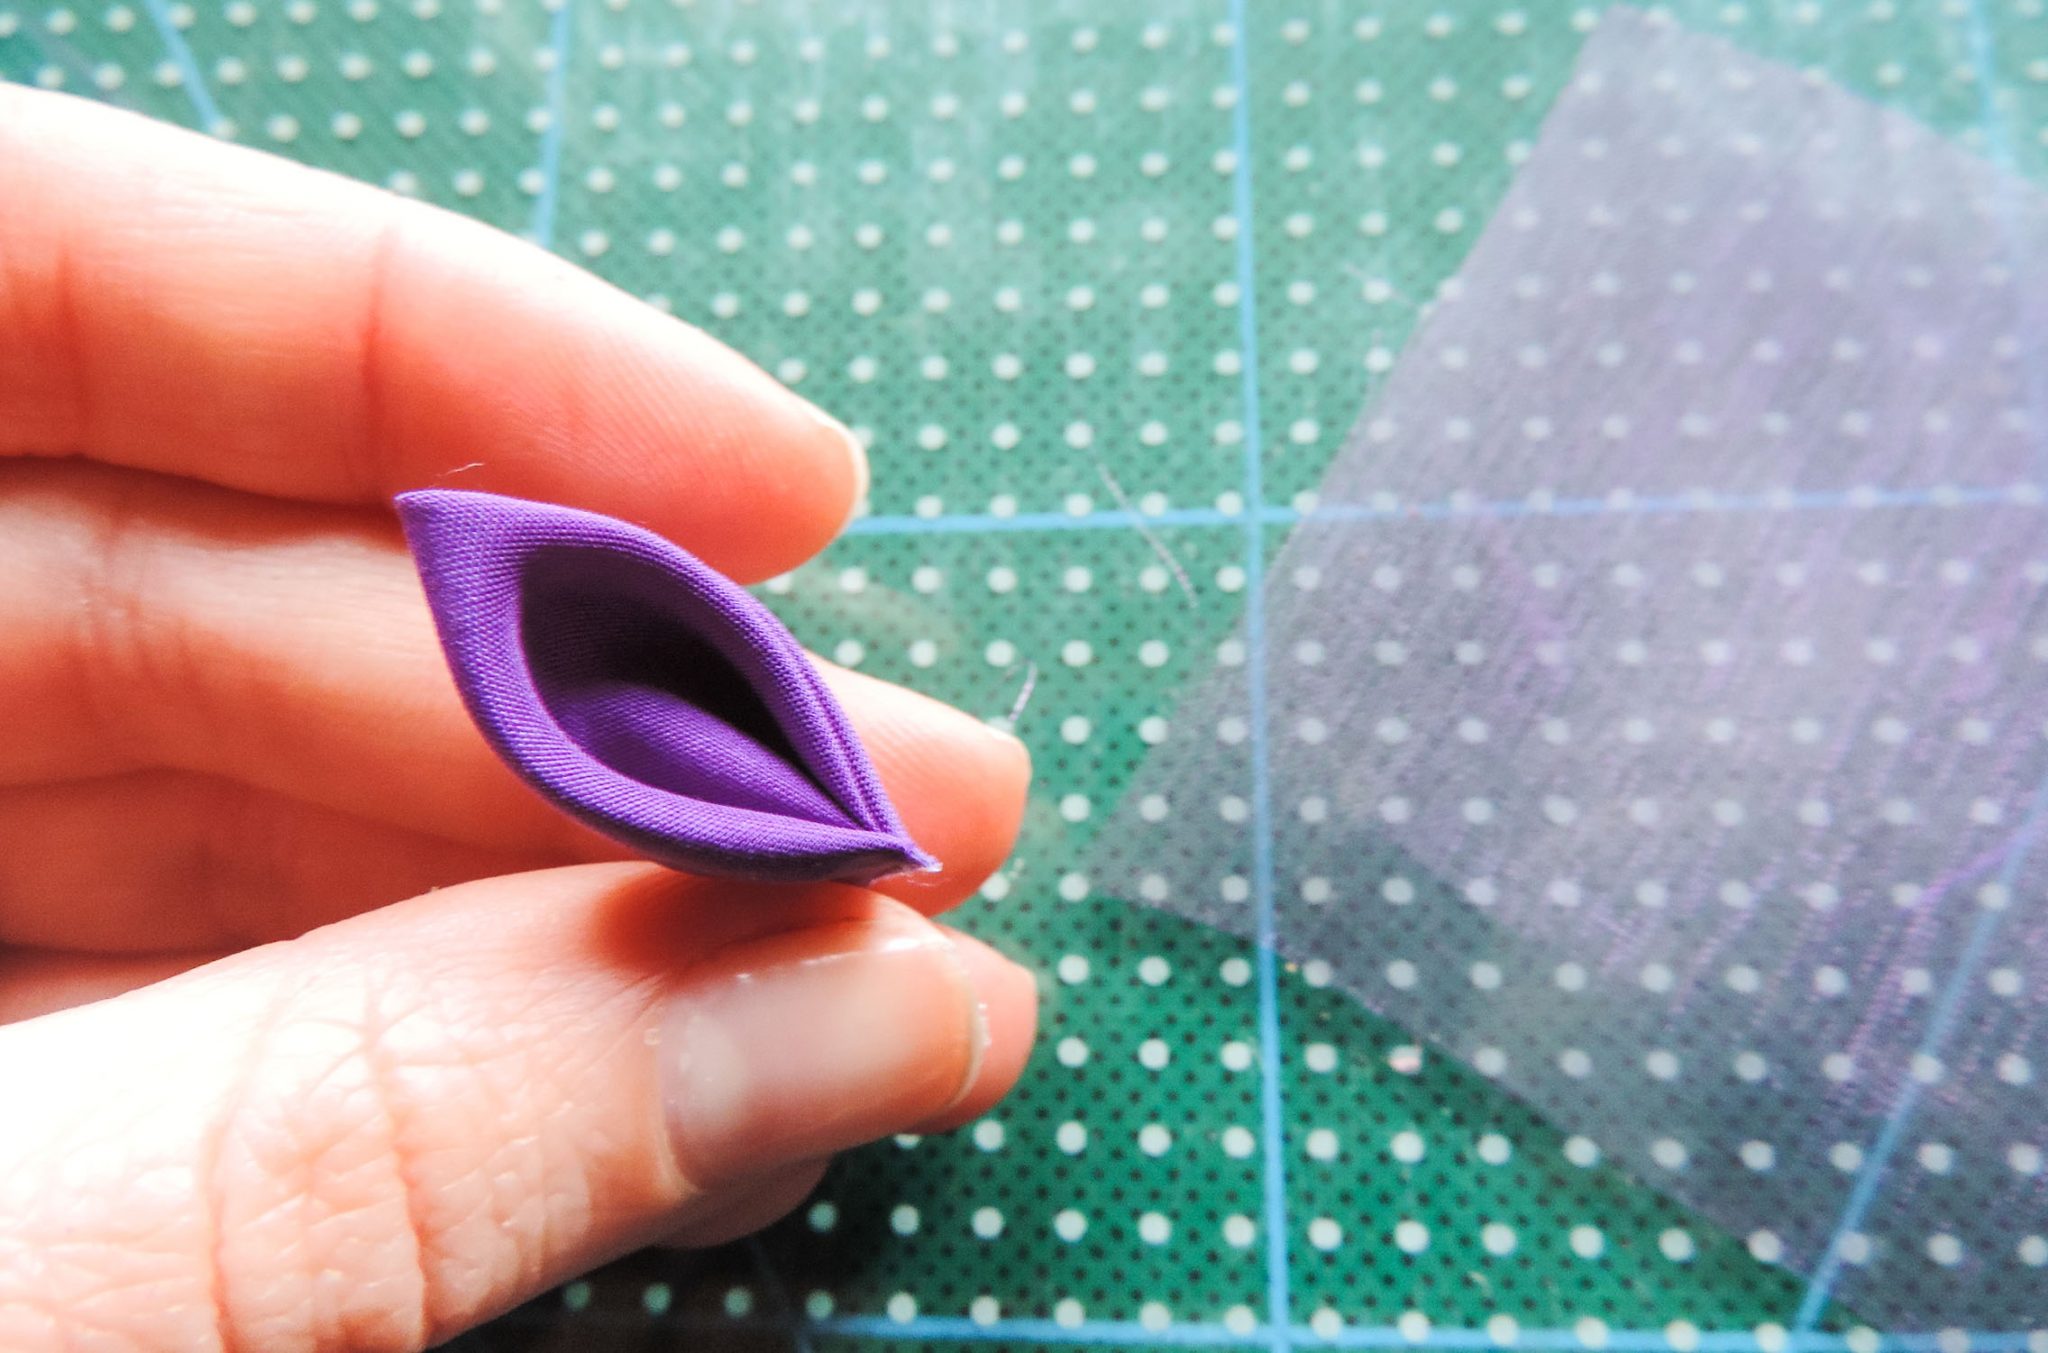
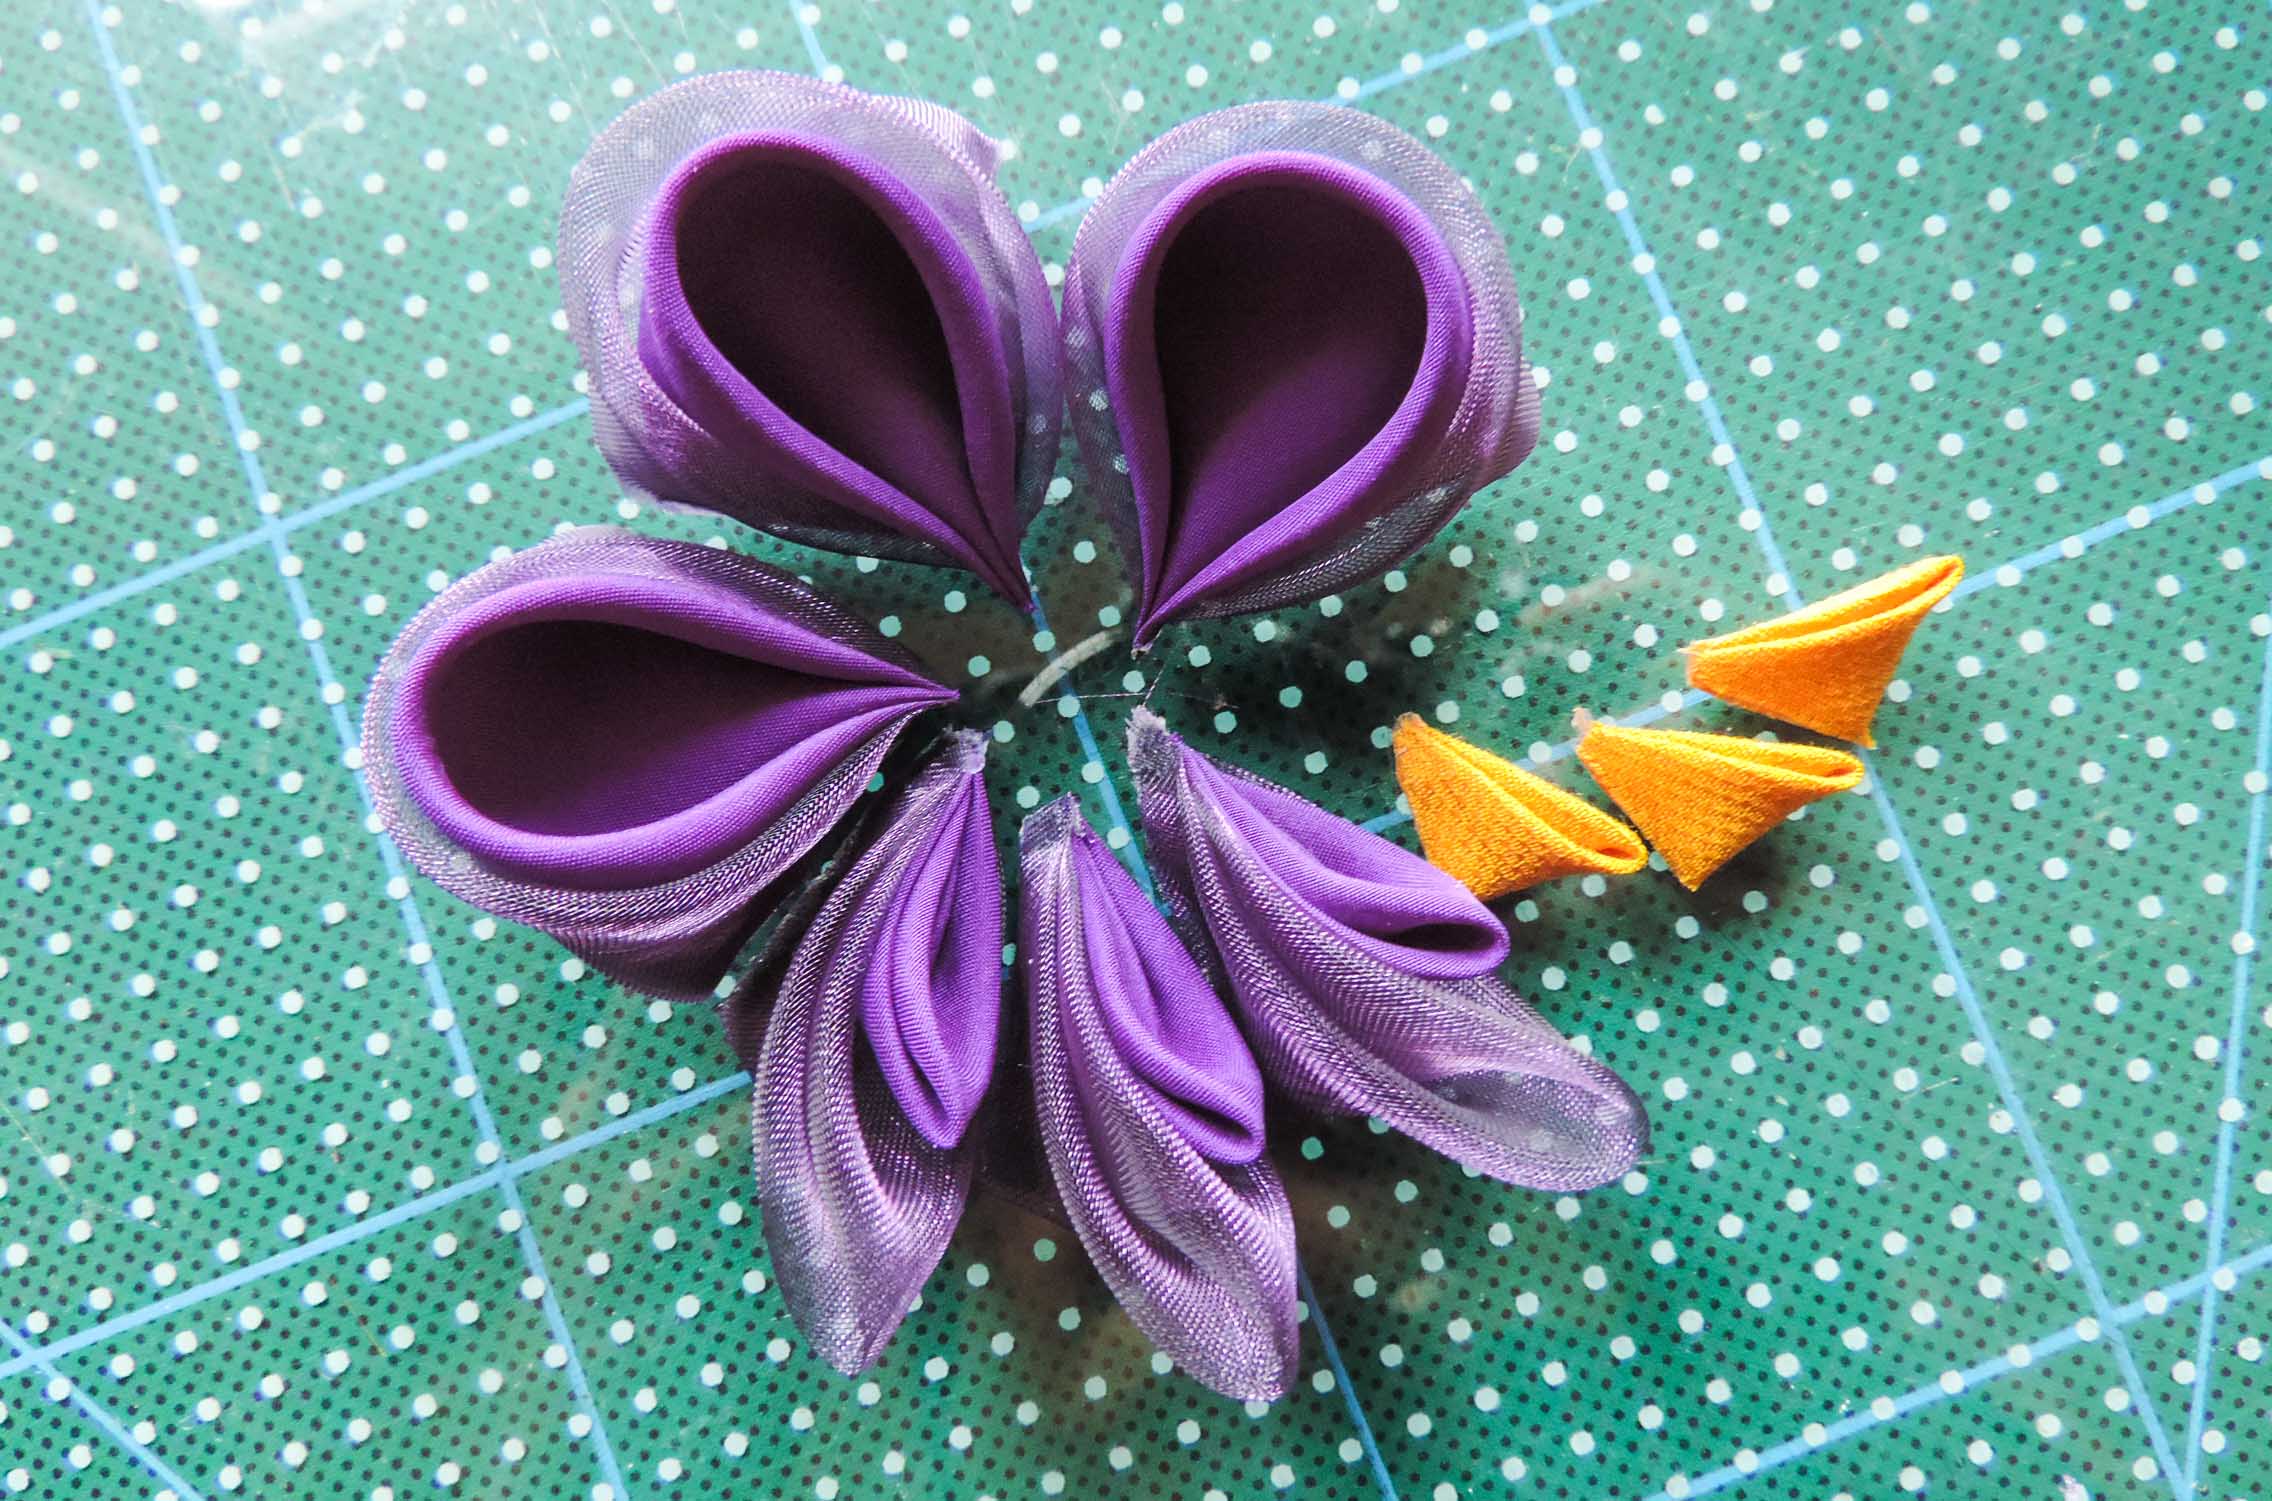
- Make three double round petals with one organza layer on the outside and one silk layer on the inside.
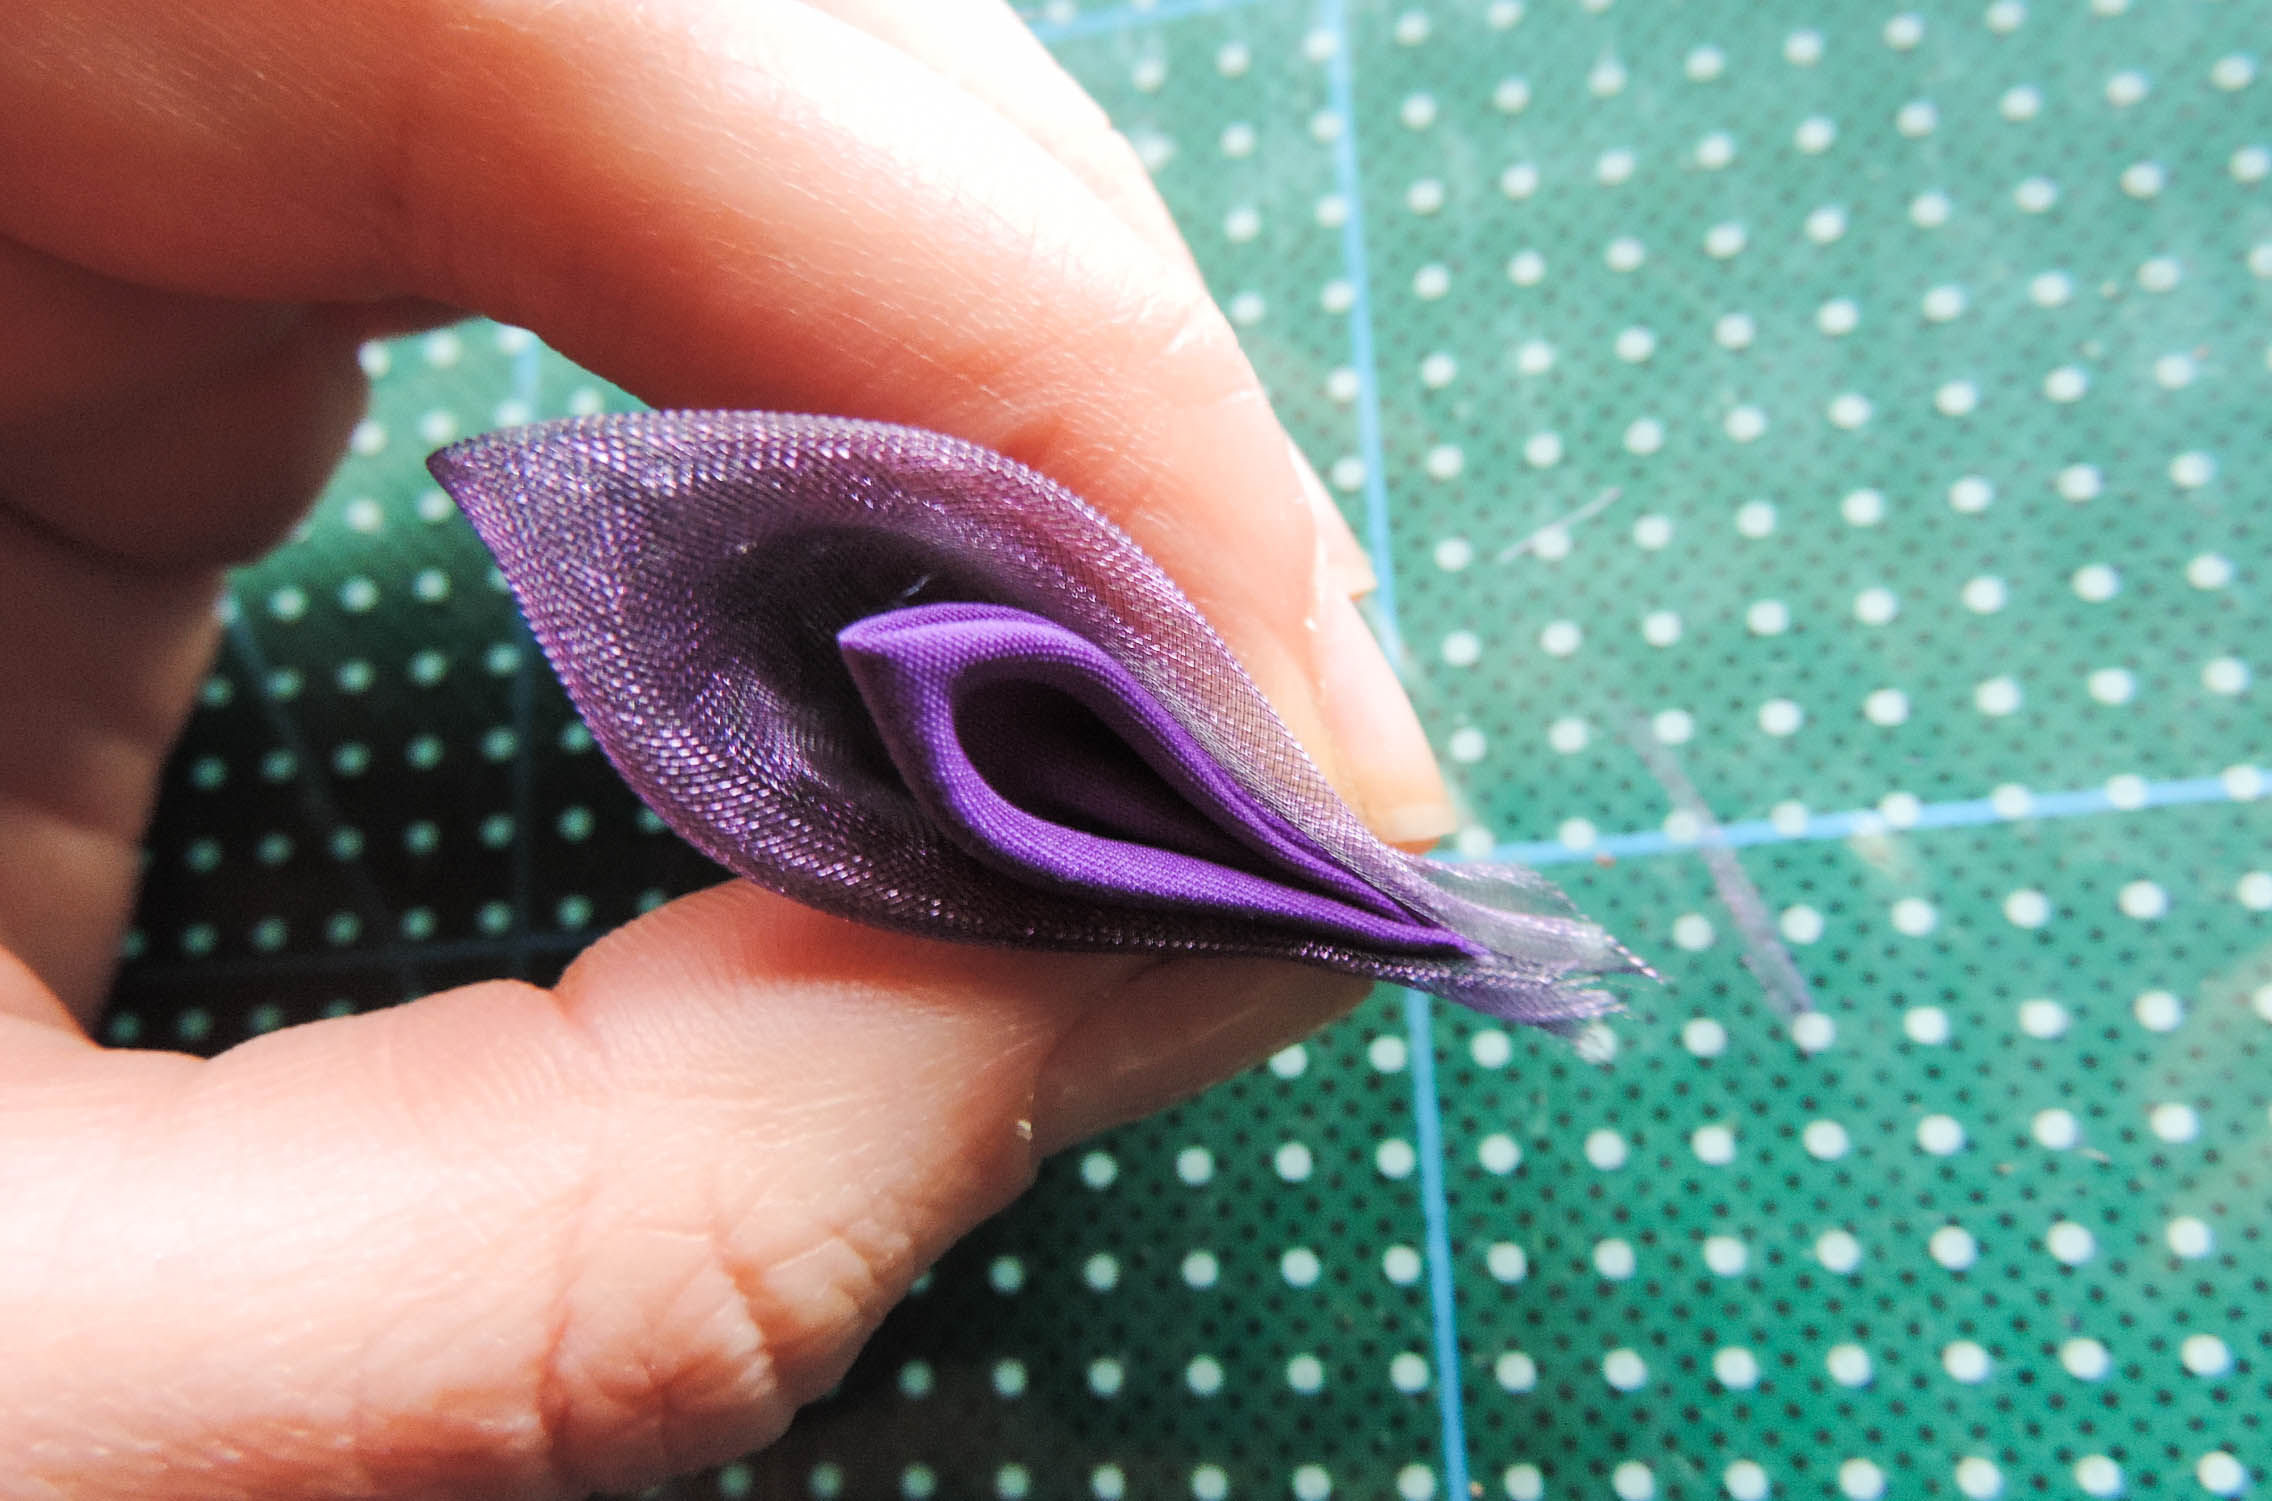
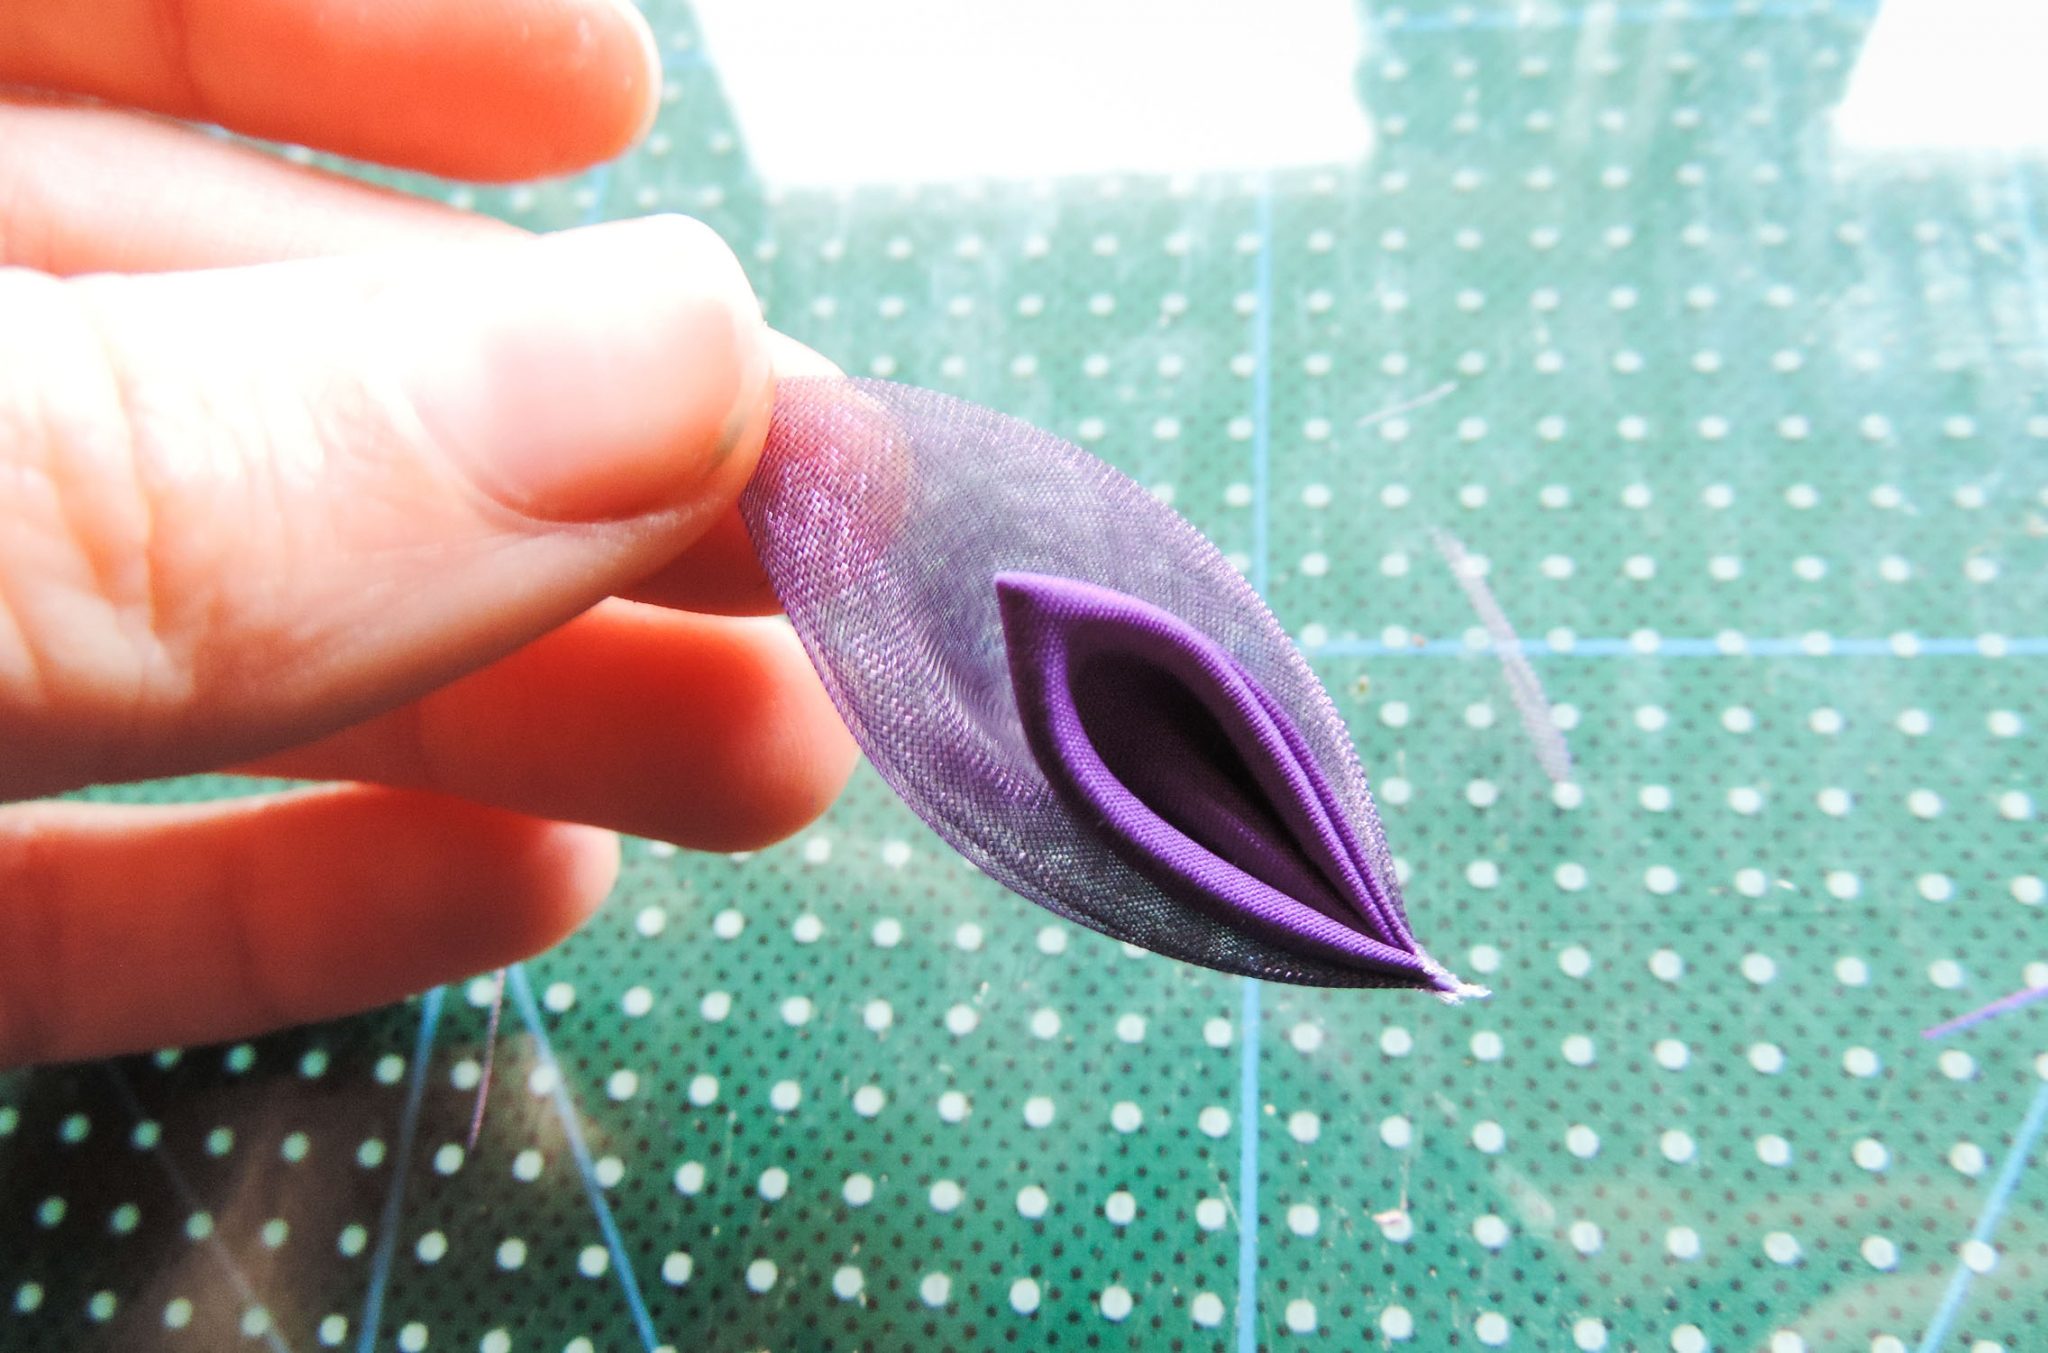
- Make three pointed round petals out of the remaining silk squares and surround each of them with a pointy organza petal;
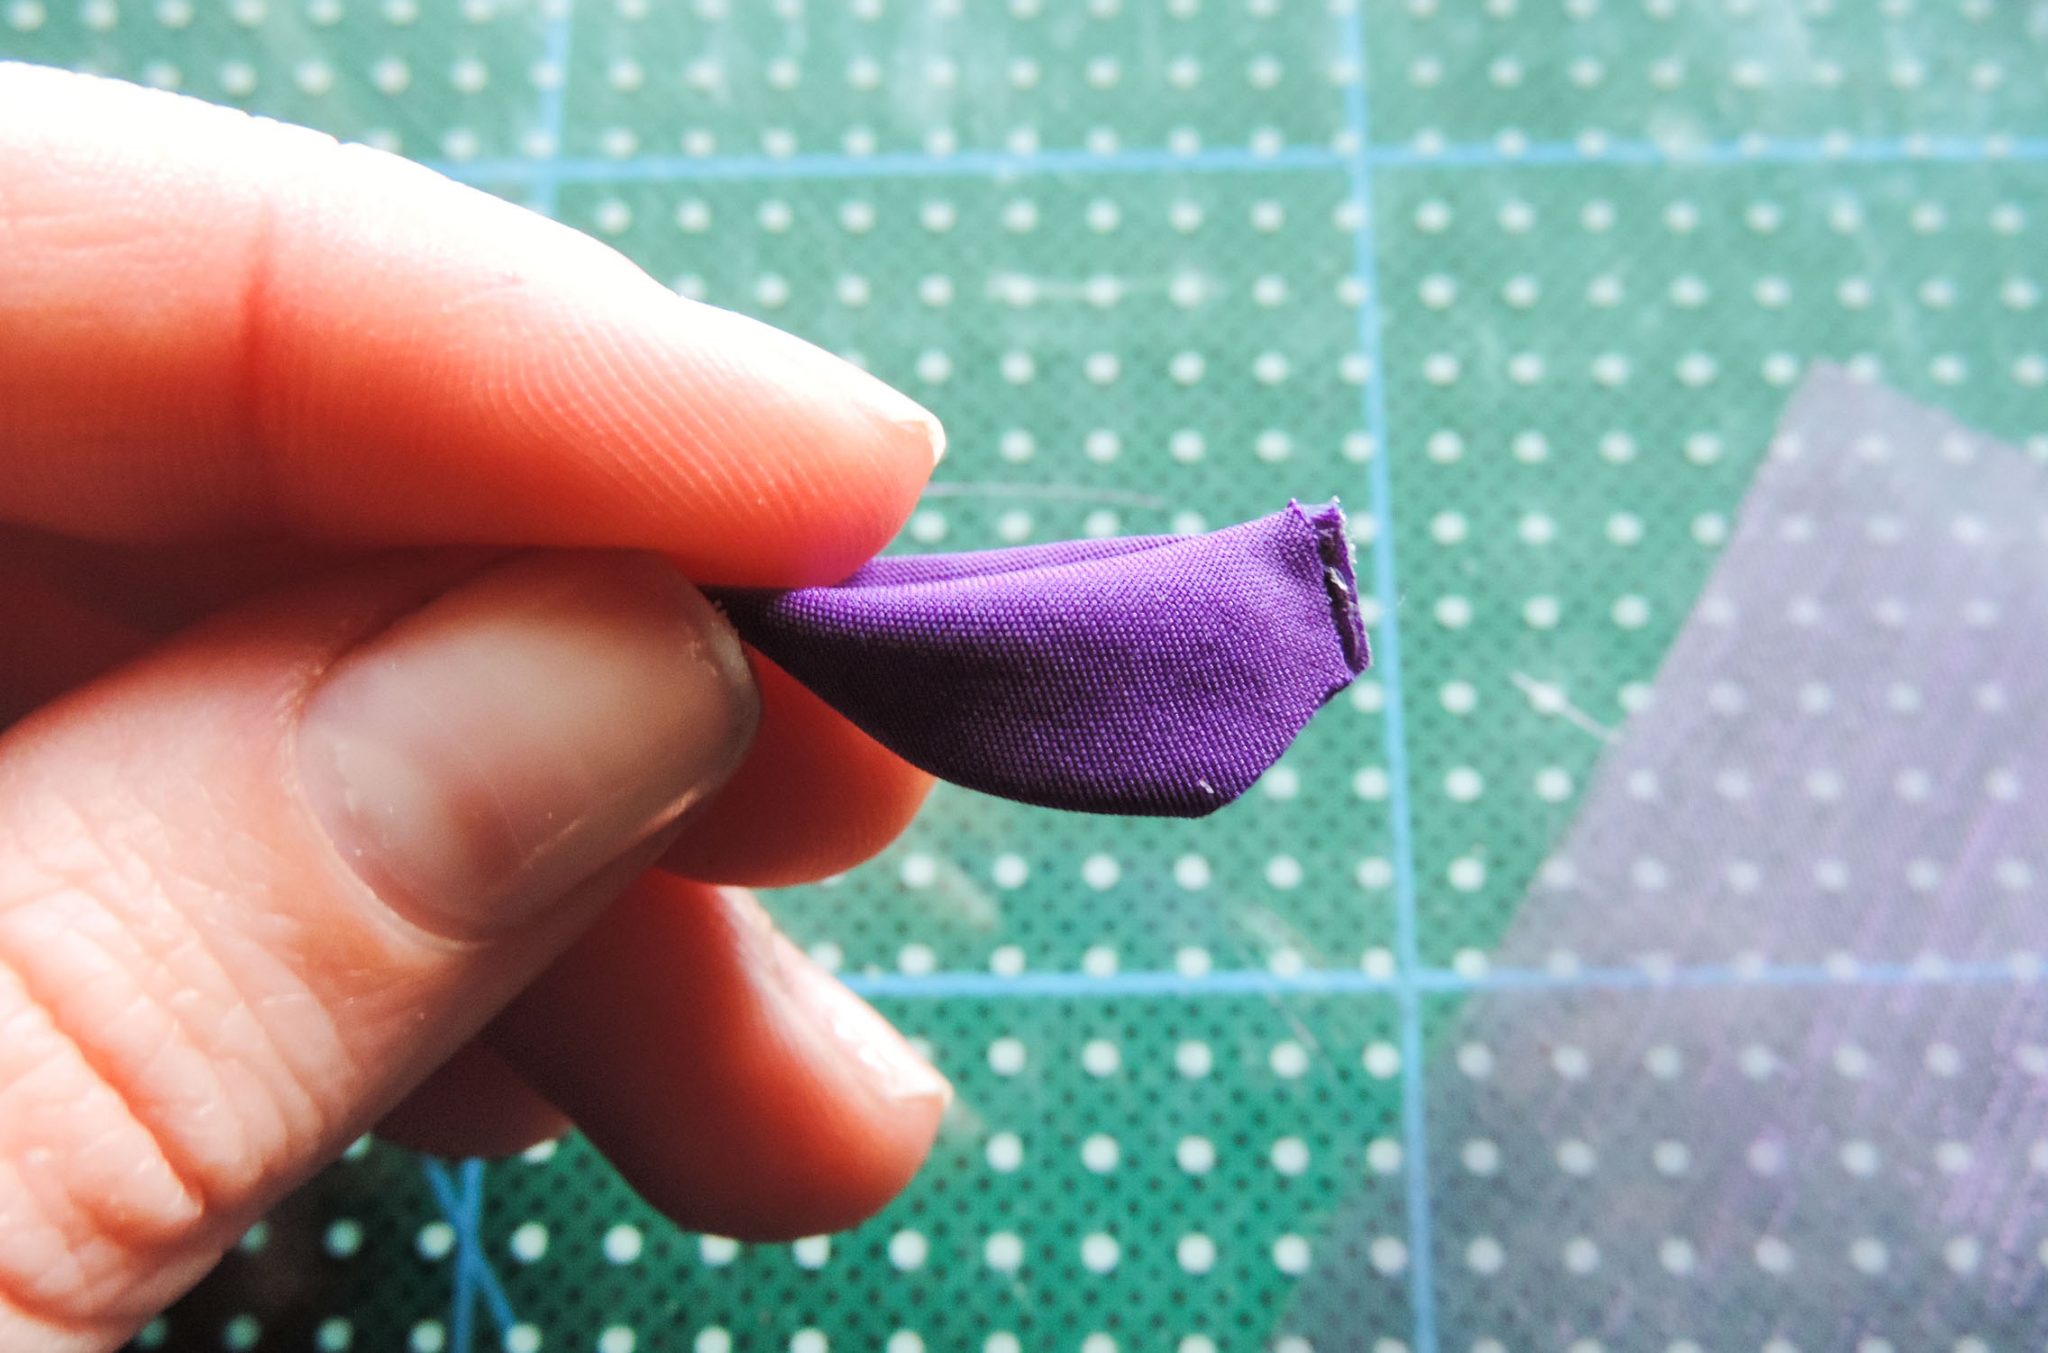
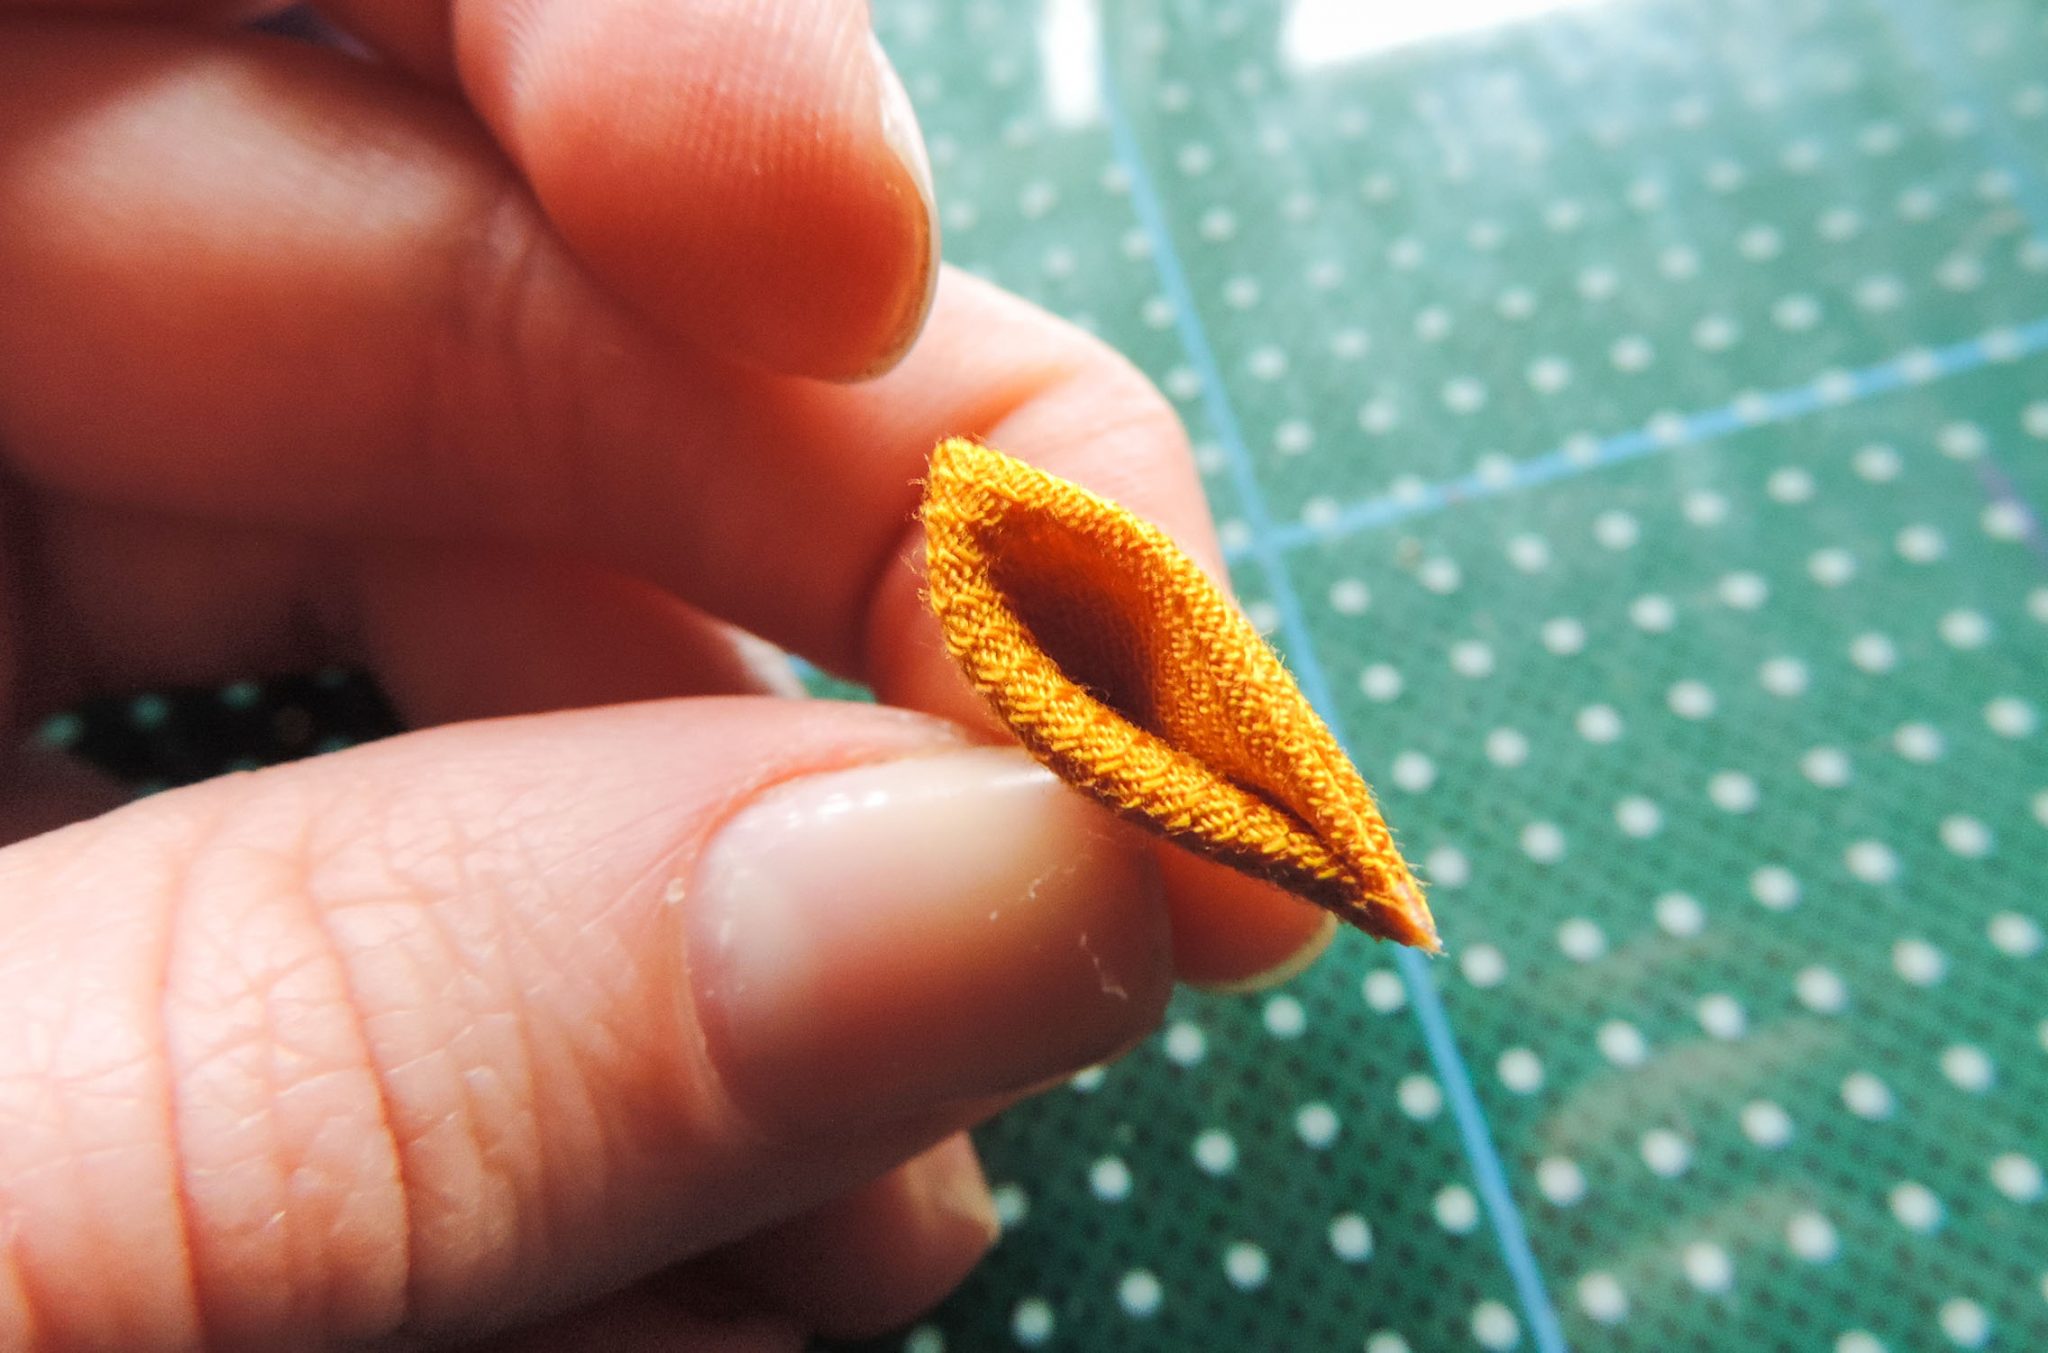
4. Make three pointy petals out of the small yellow squares.
- Seal everything and make sure there are no stray threads.
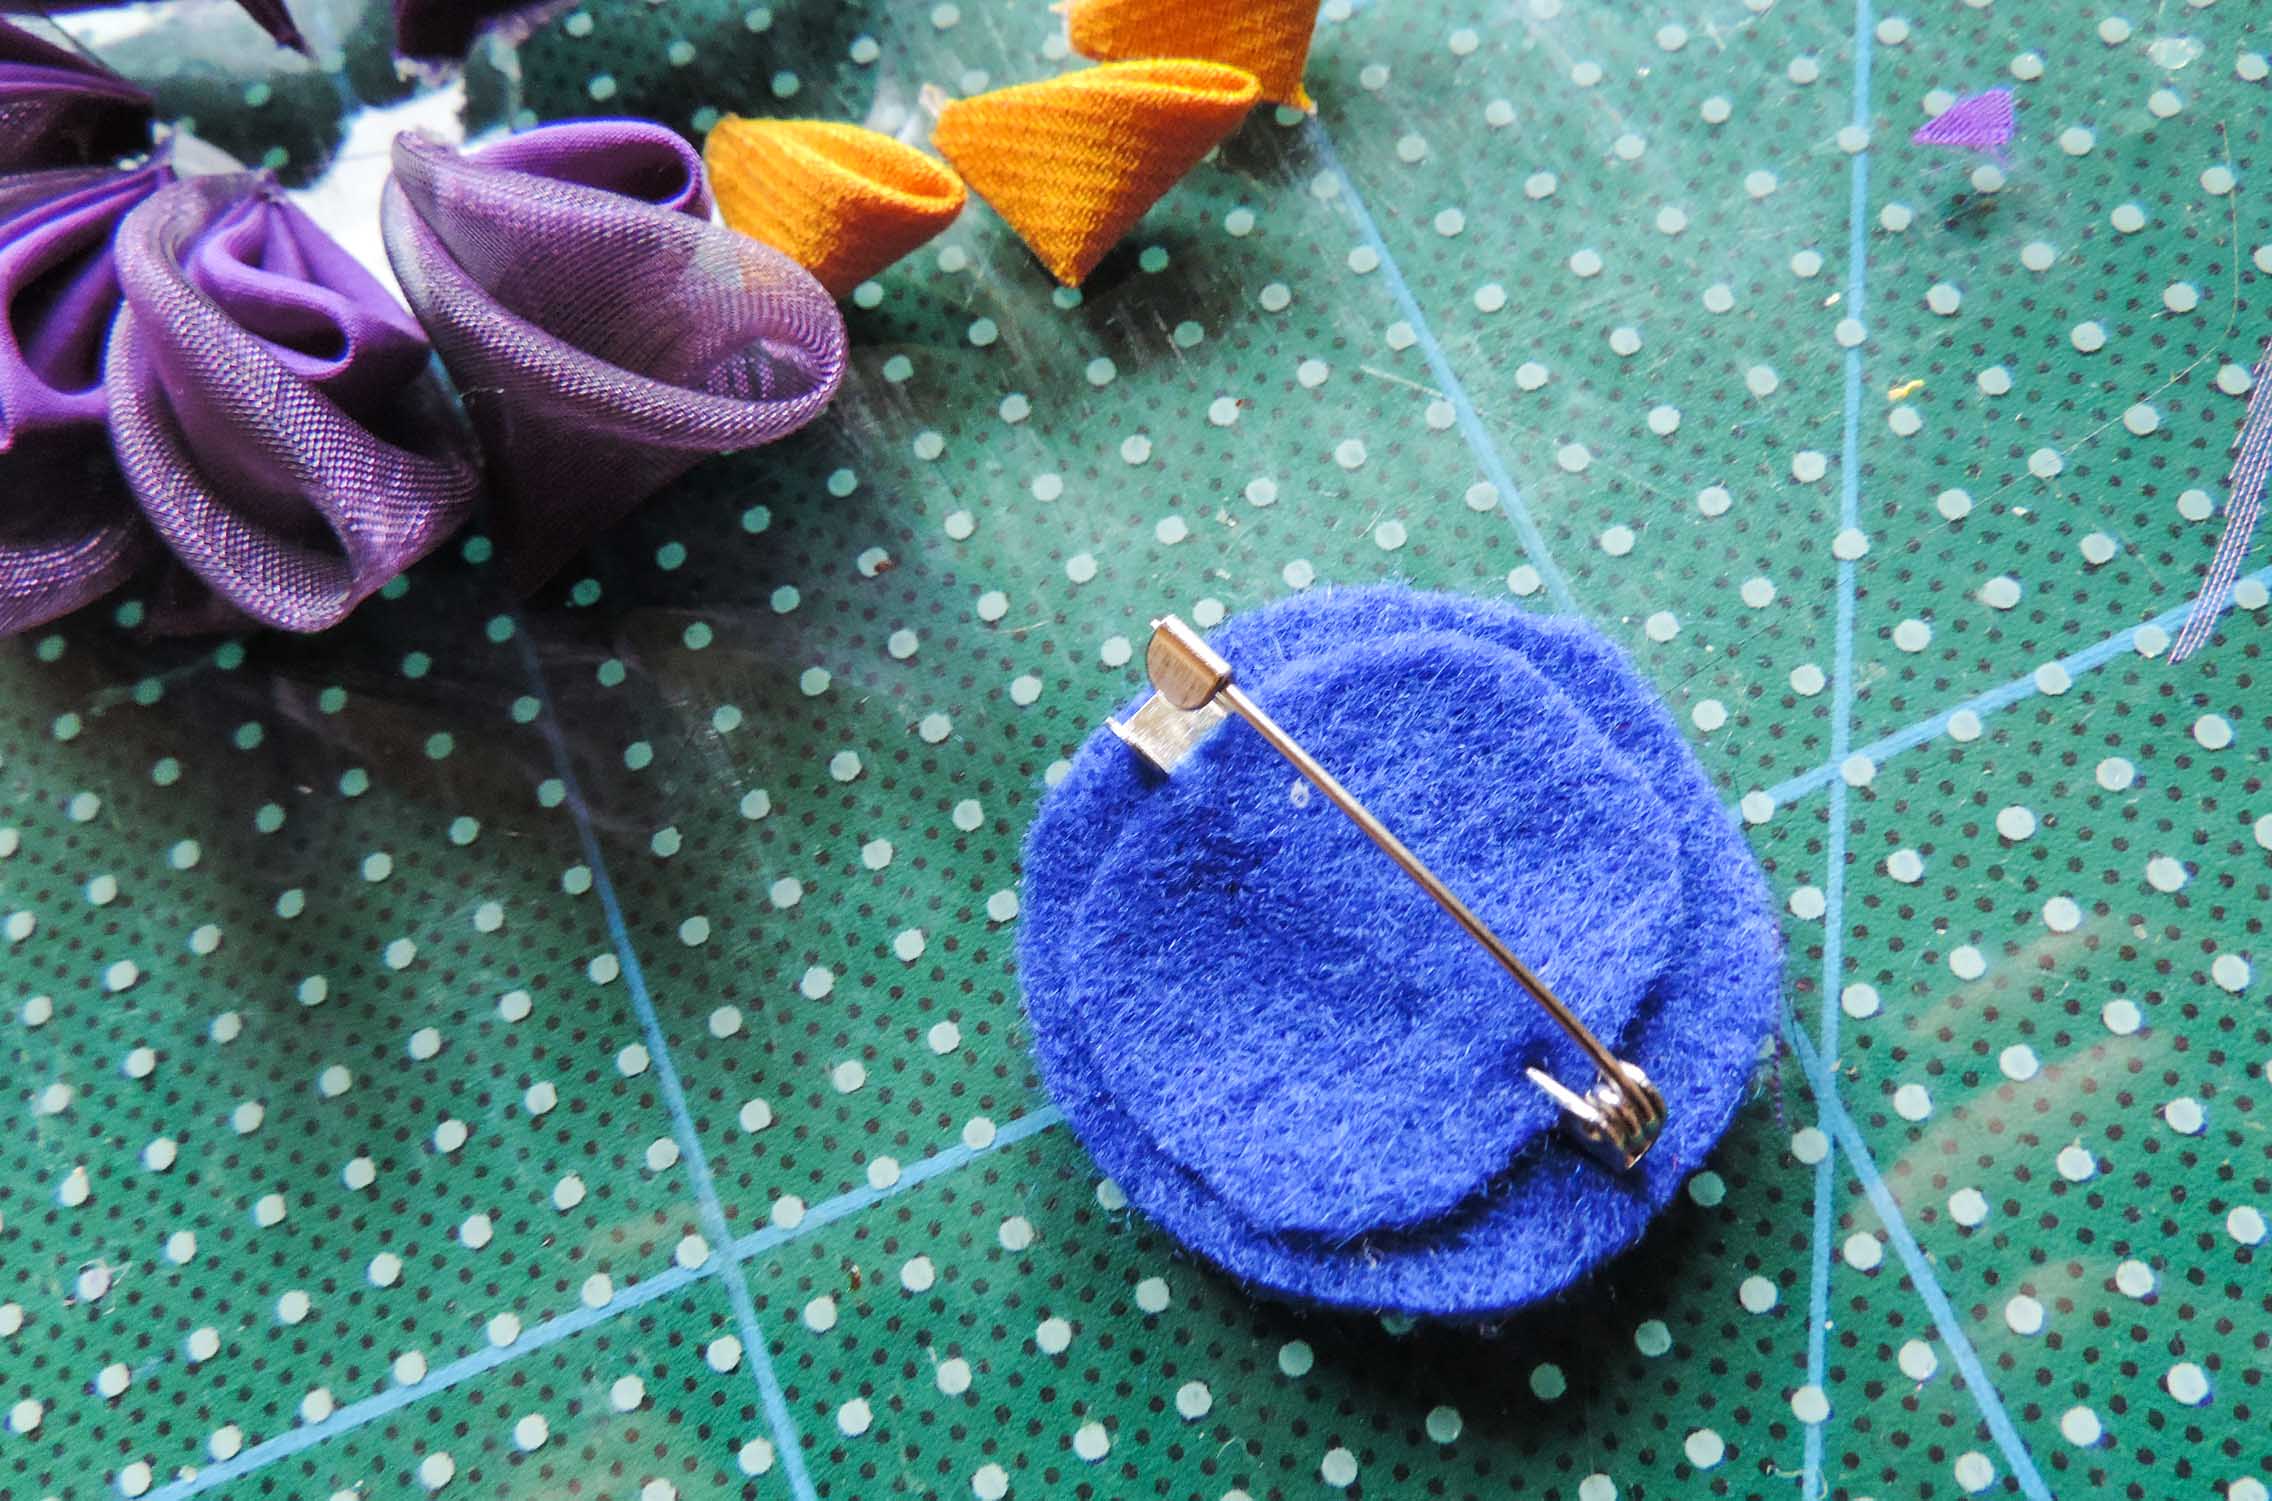
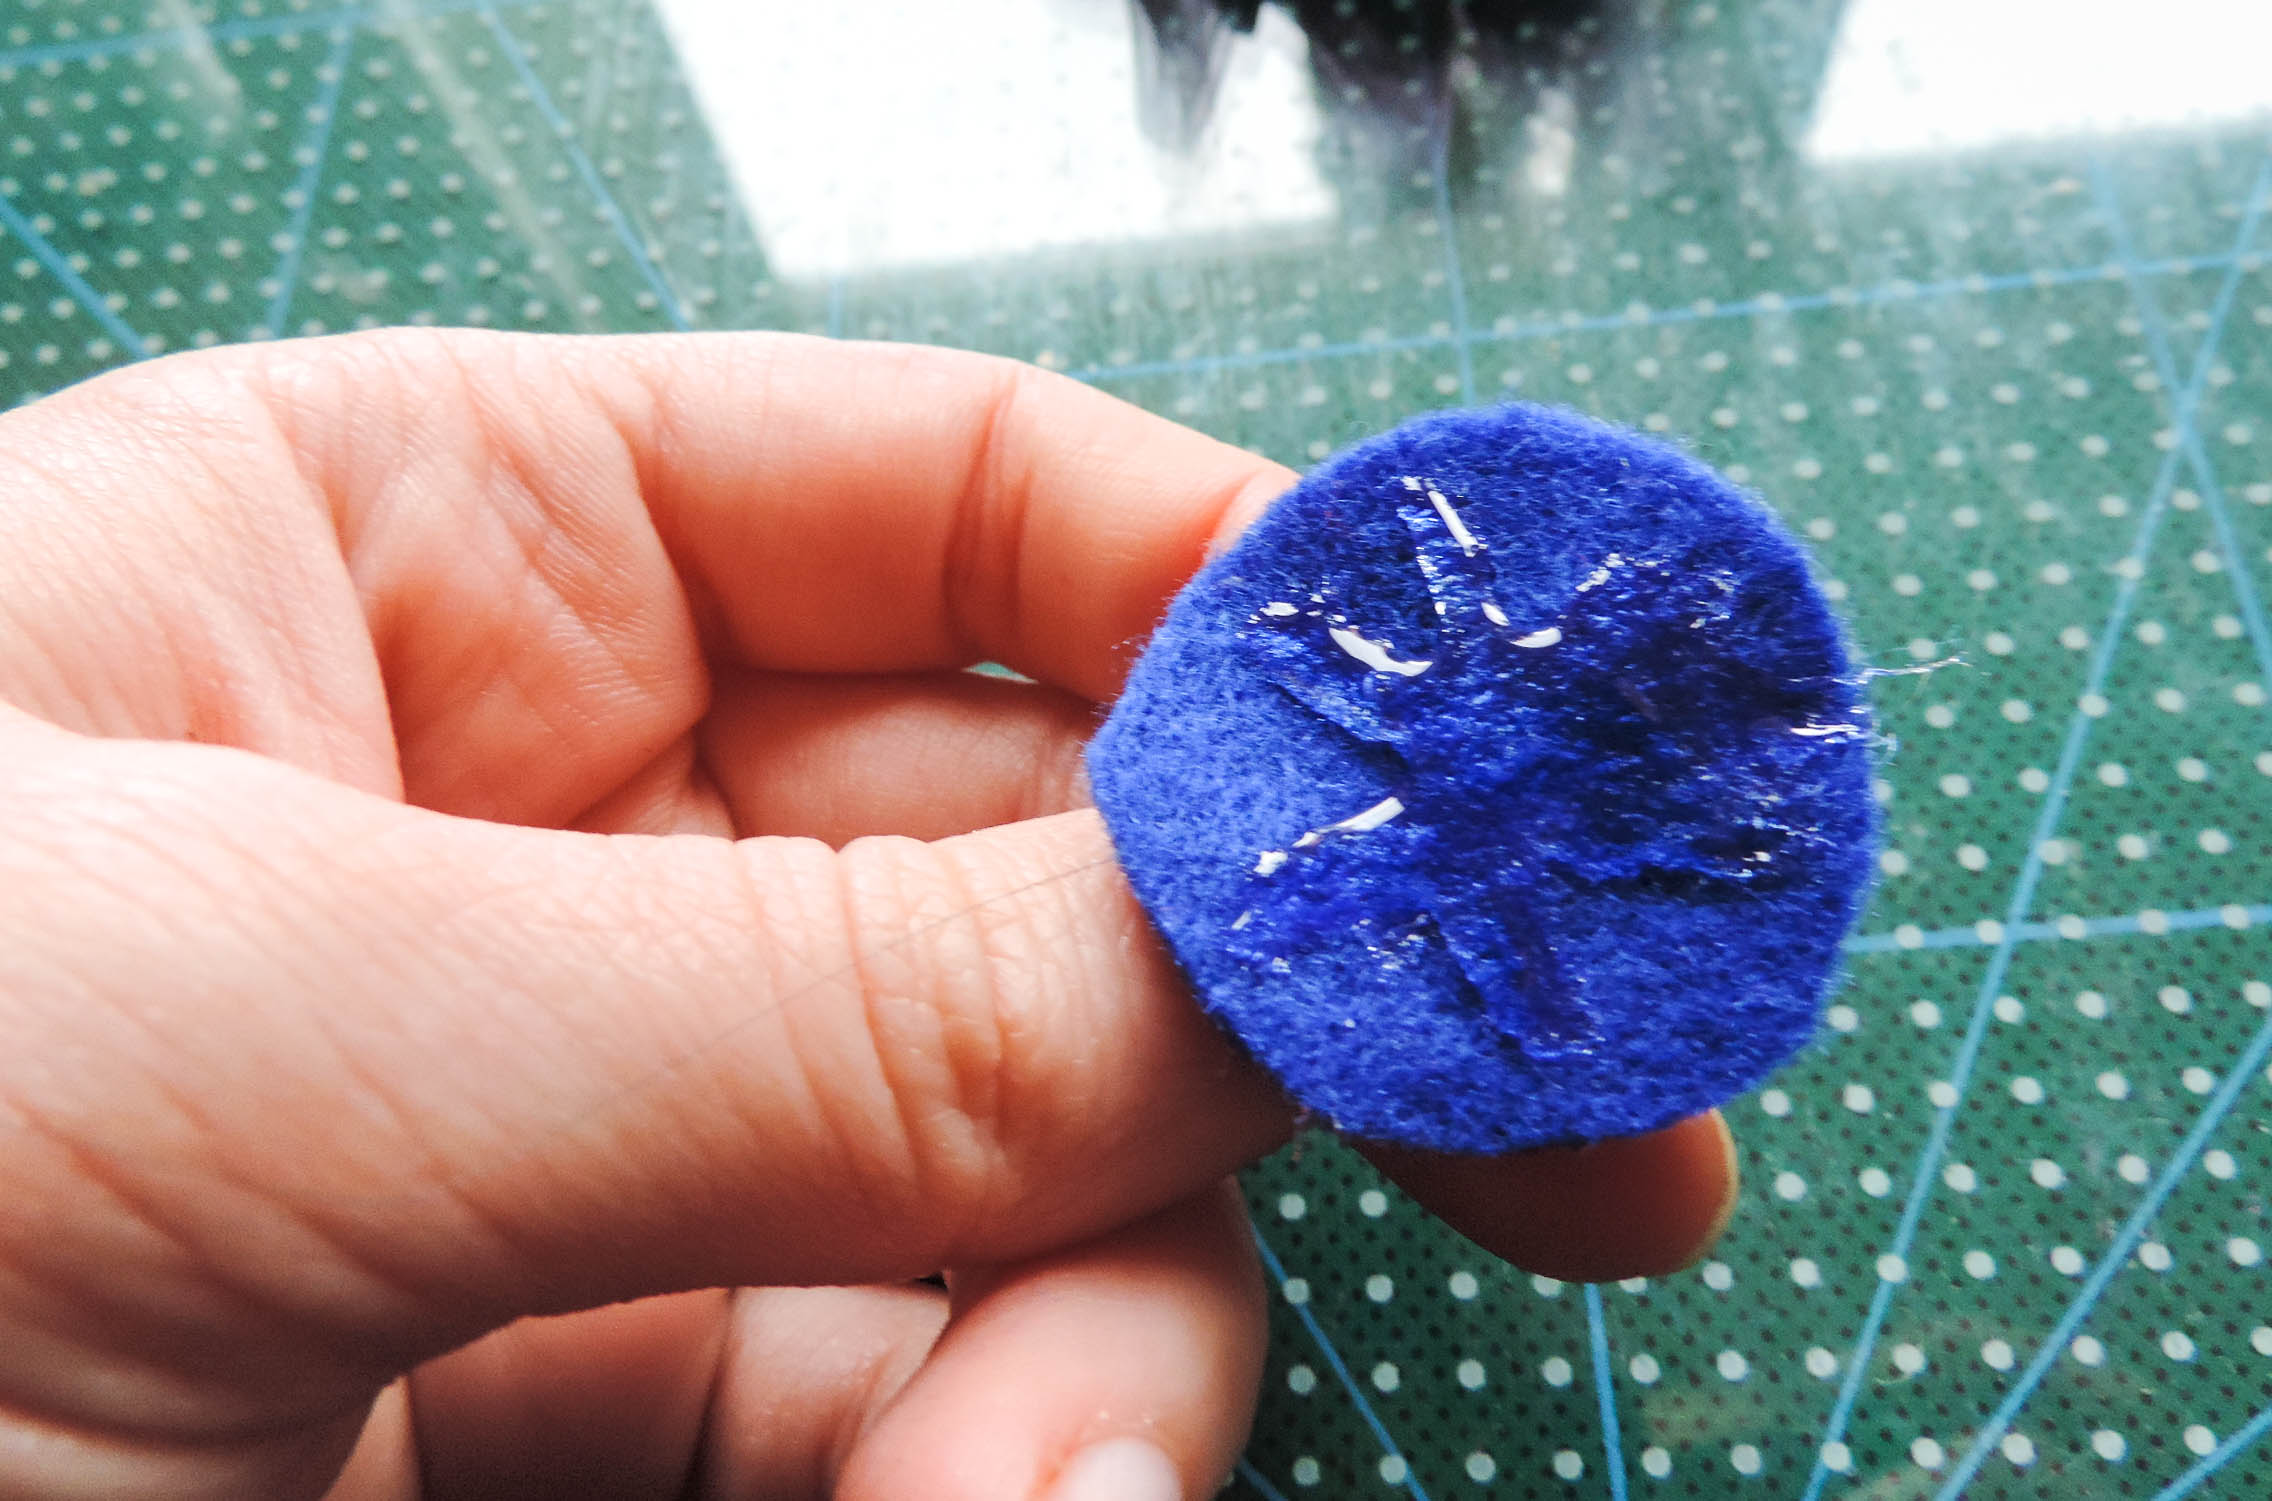
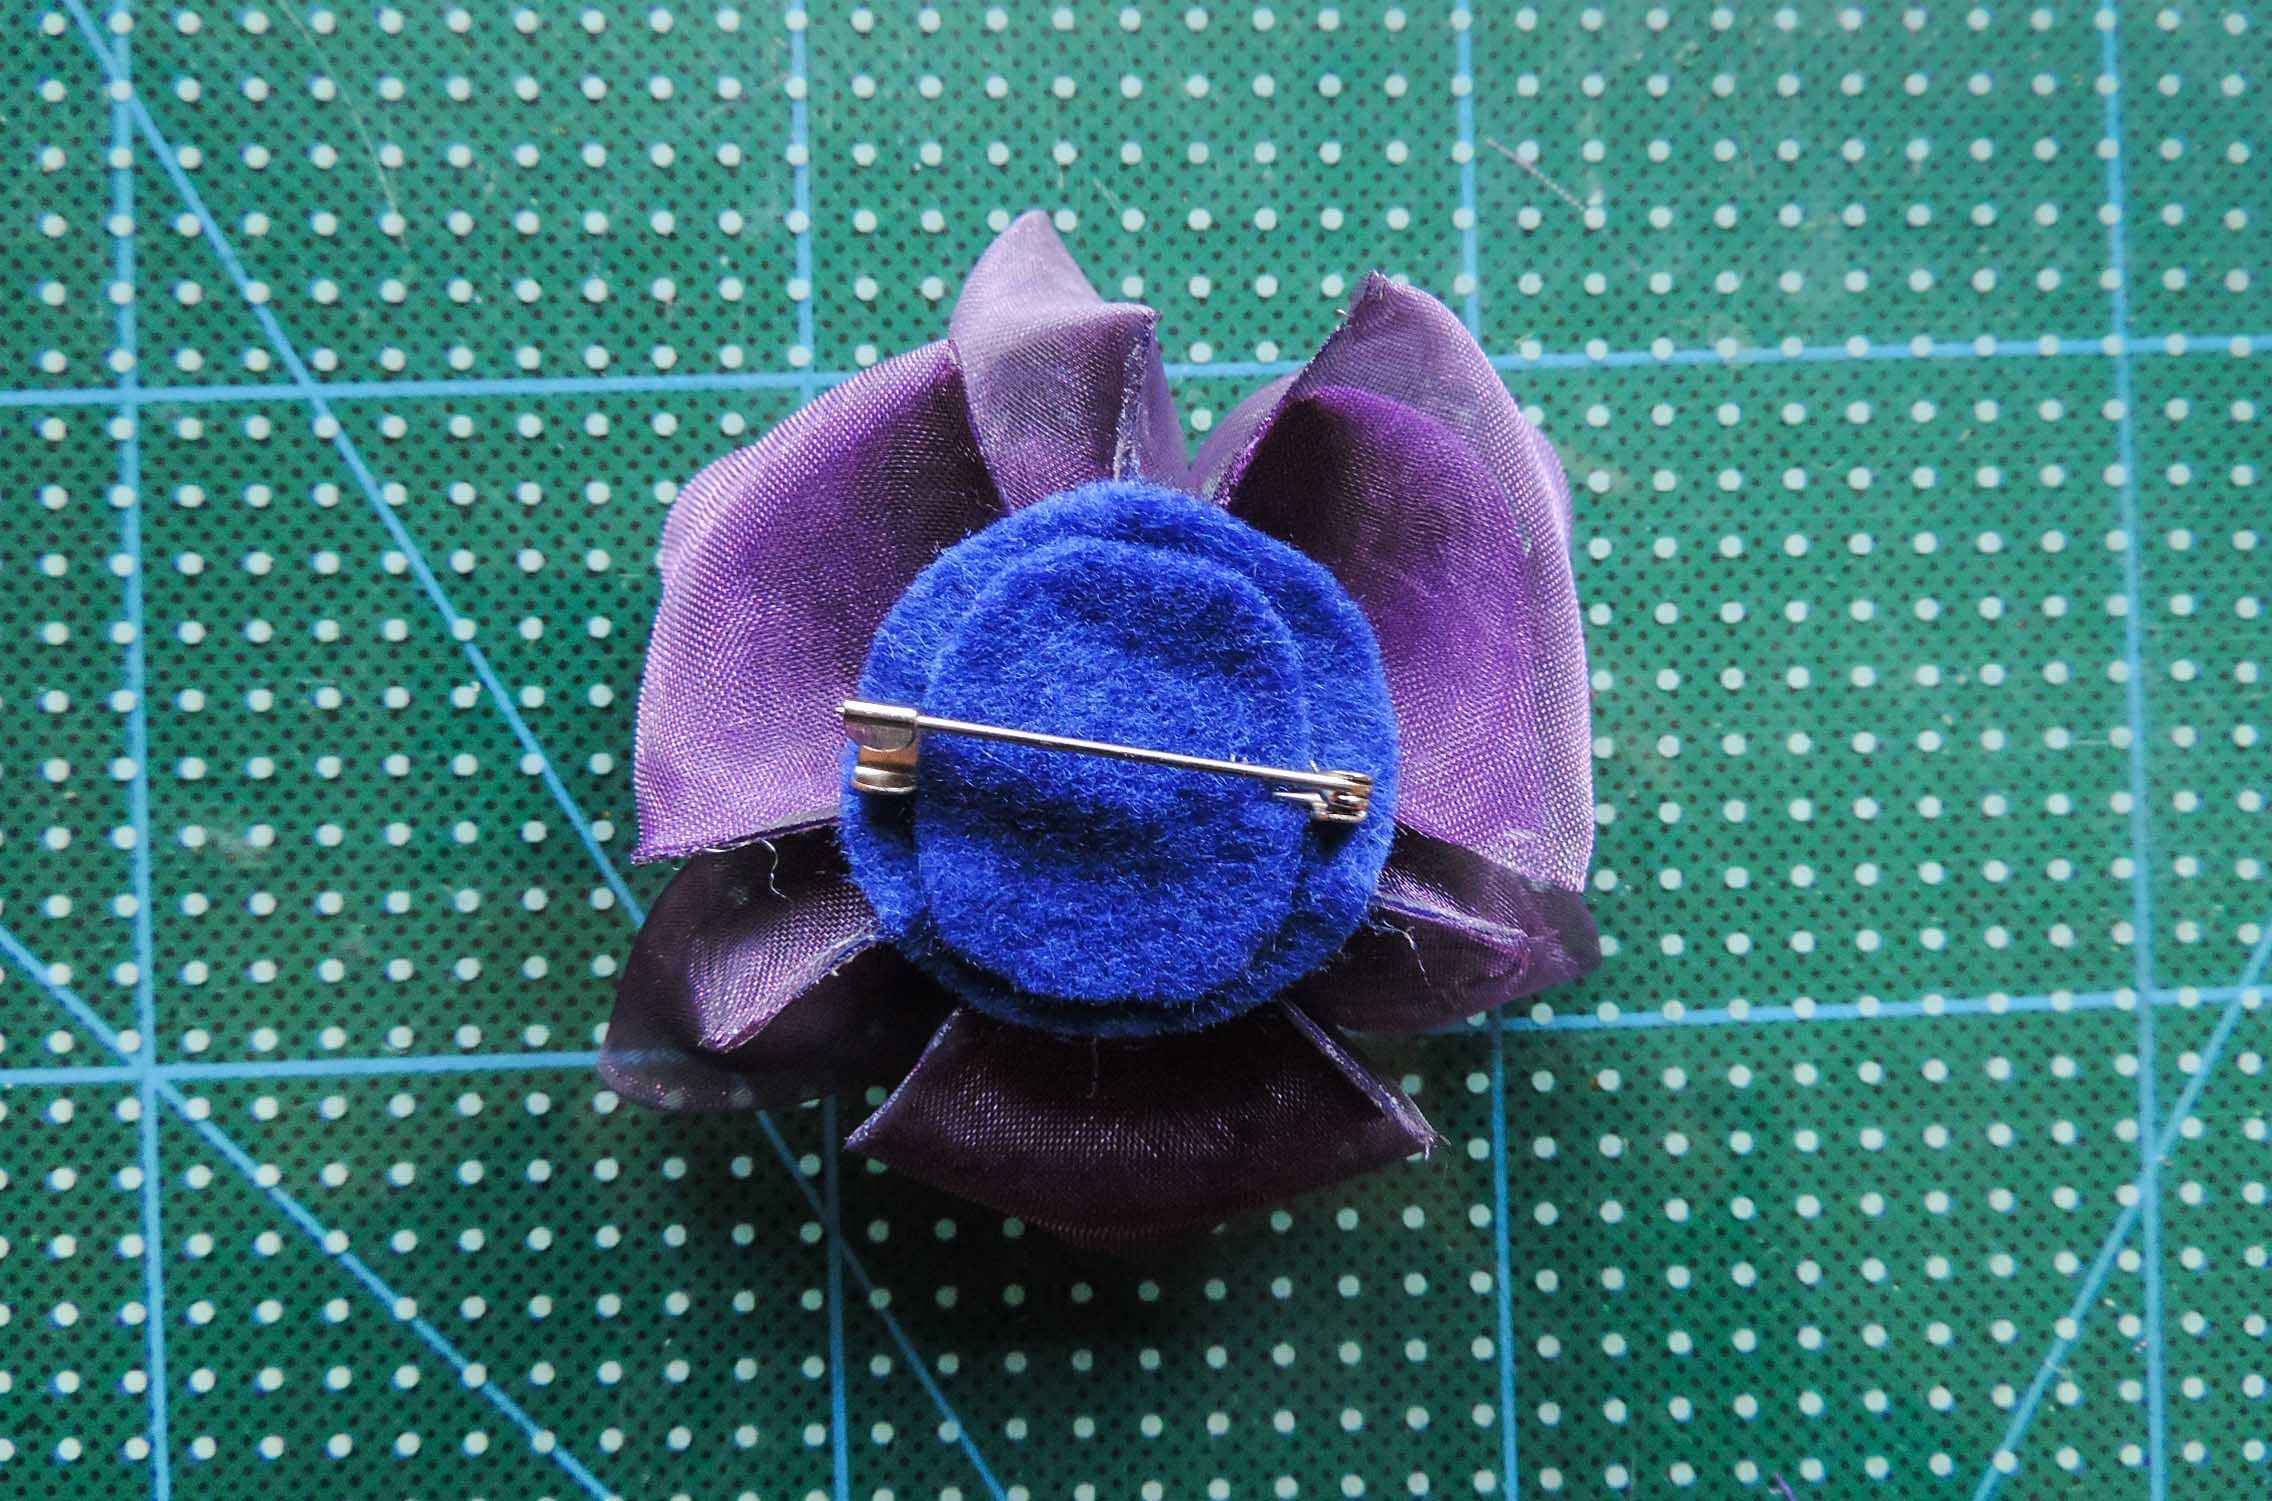
- Prepare the base: cut out a felt circle and attach your brooch pin or hair clip.
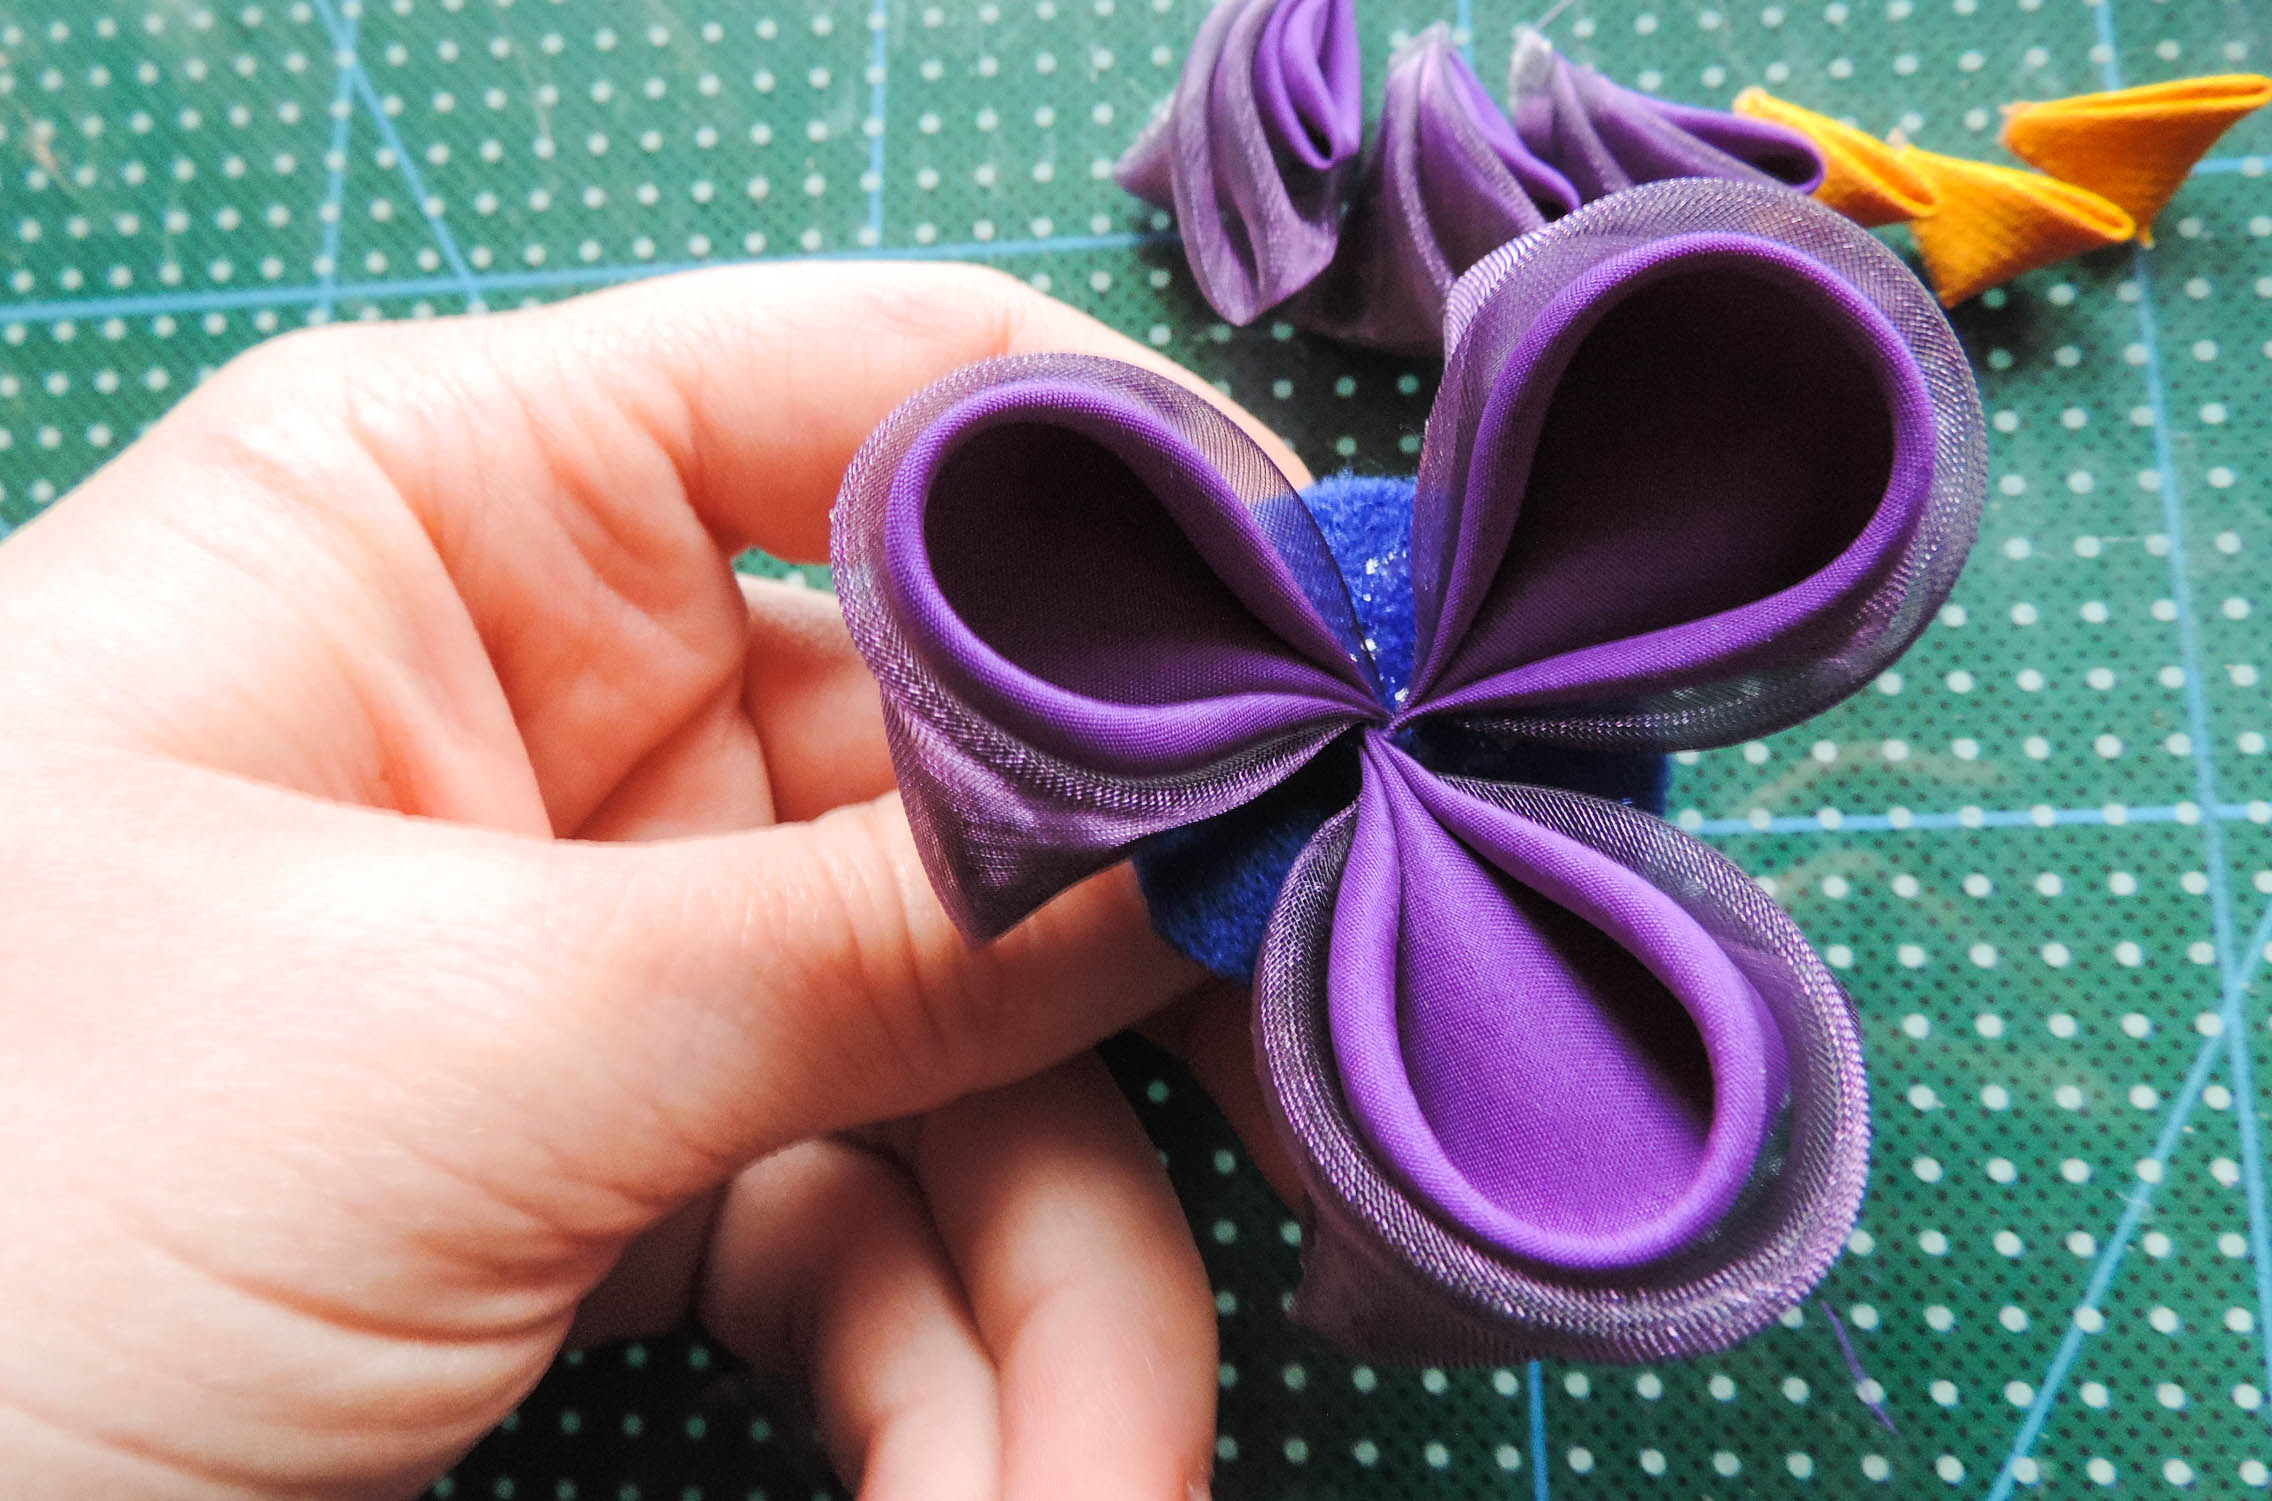
- Start attaching the petals: the three round ones first, distribute them around the center.
-
Add the three purple pointy petals between the round ones.
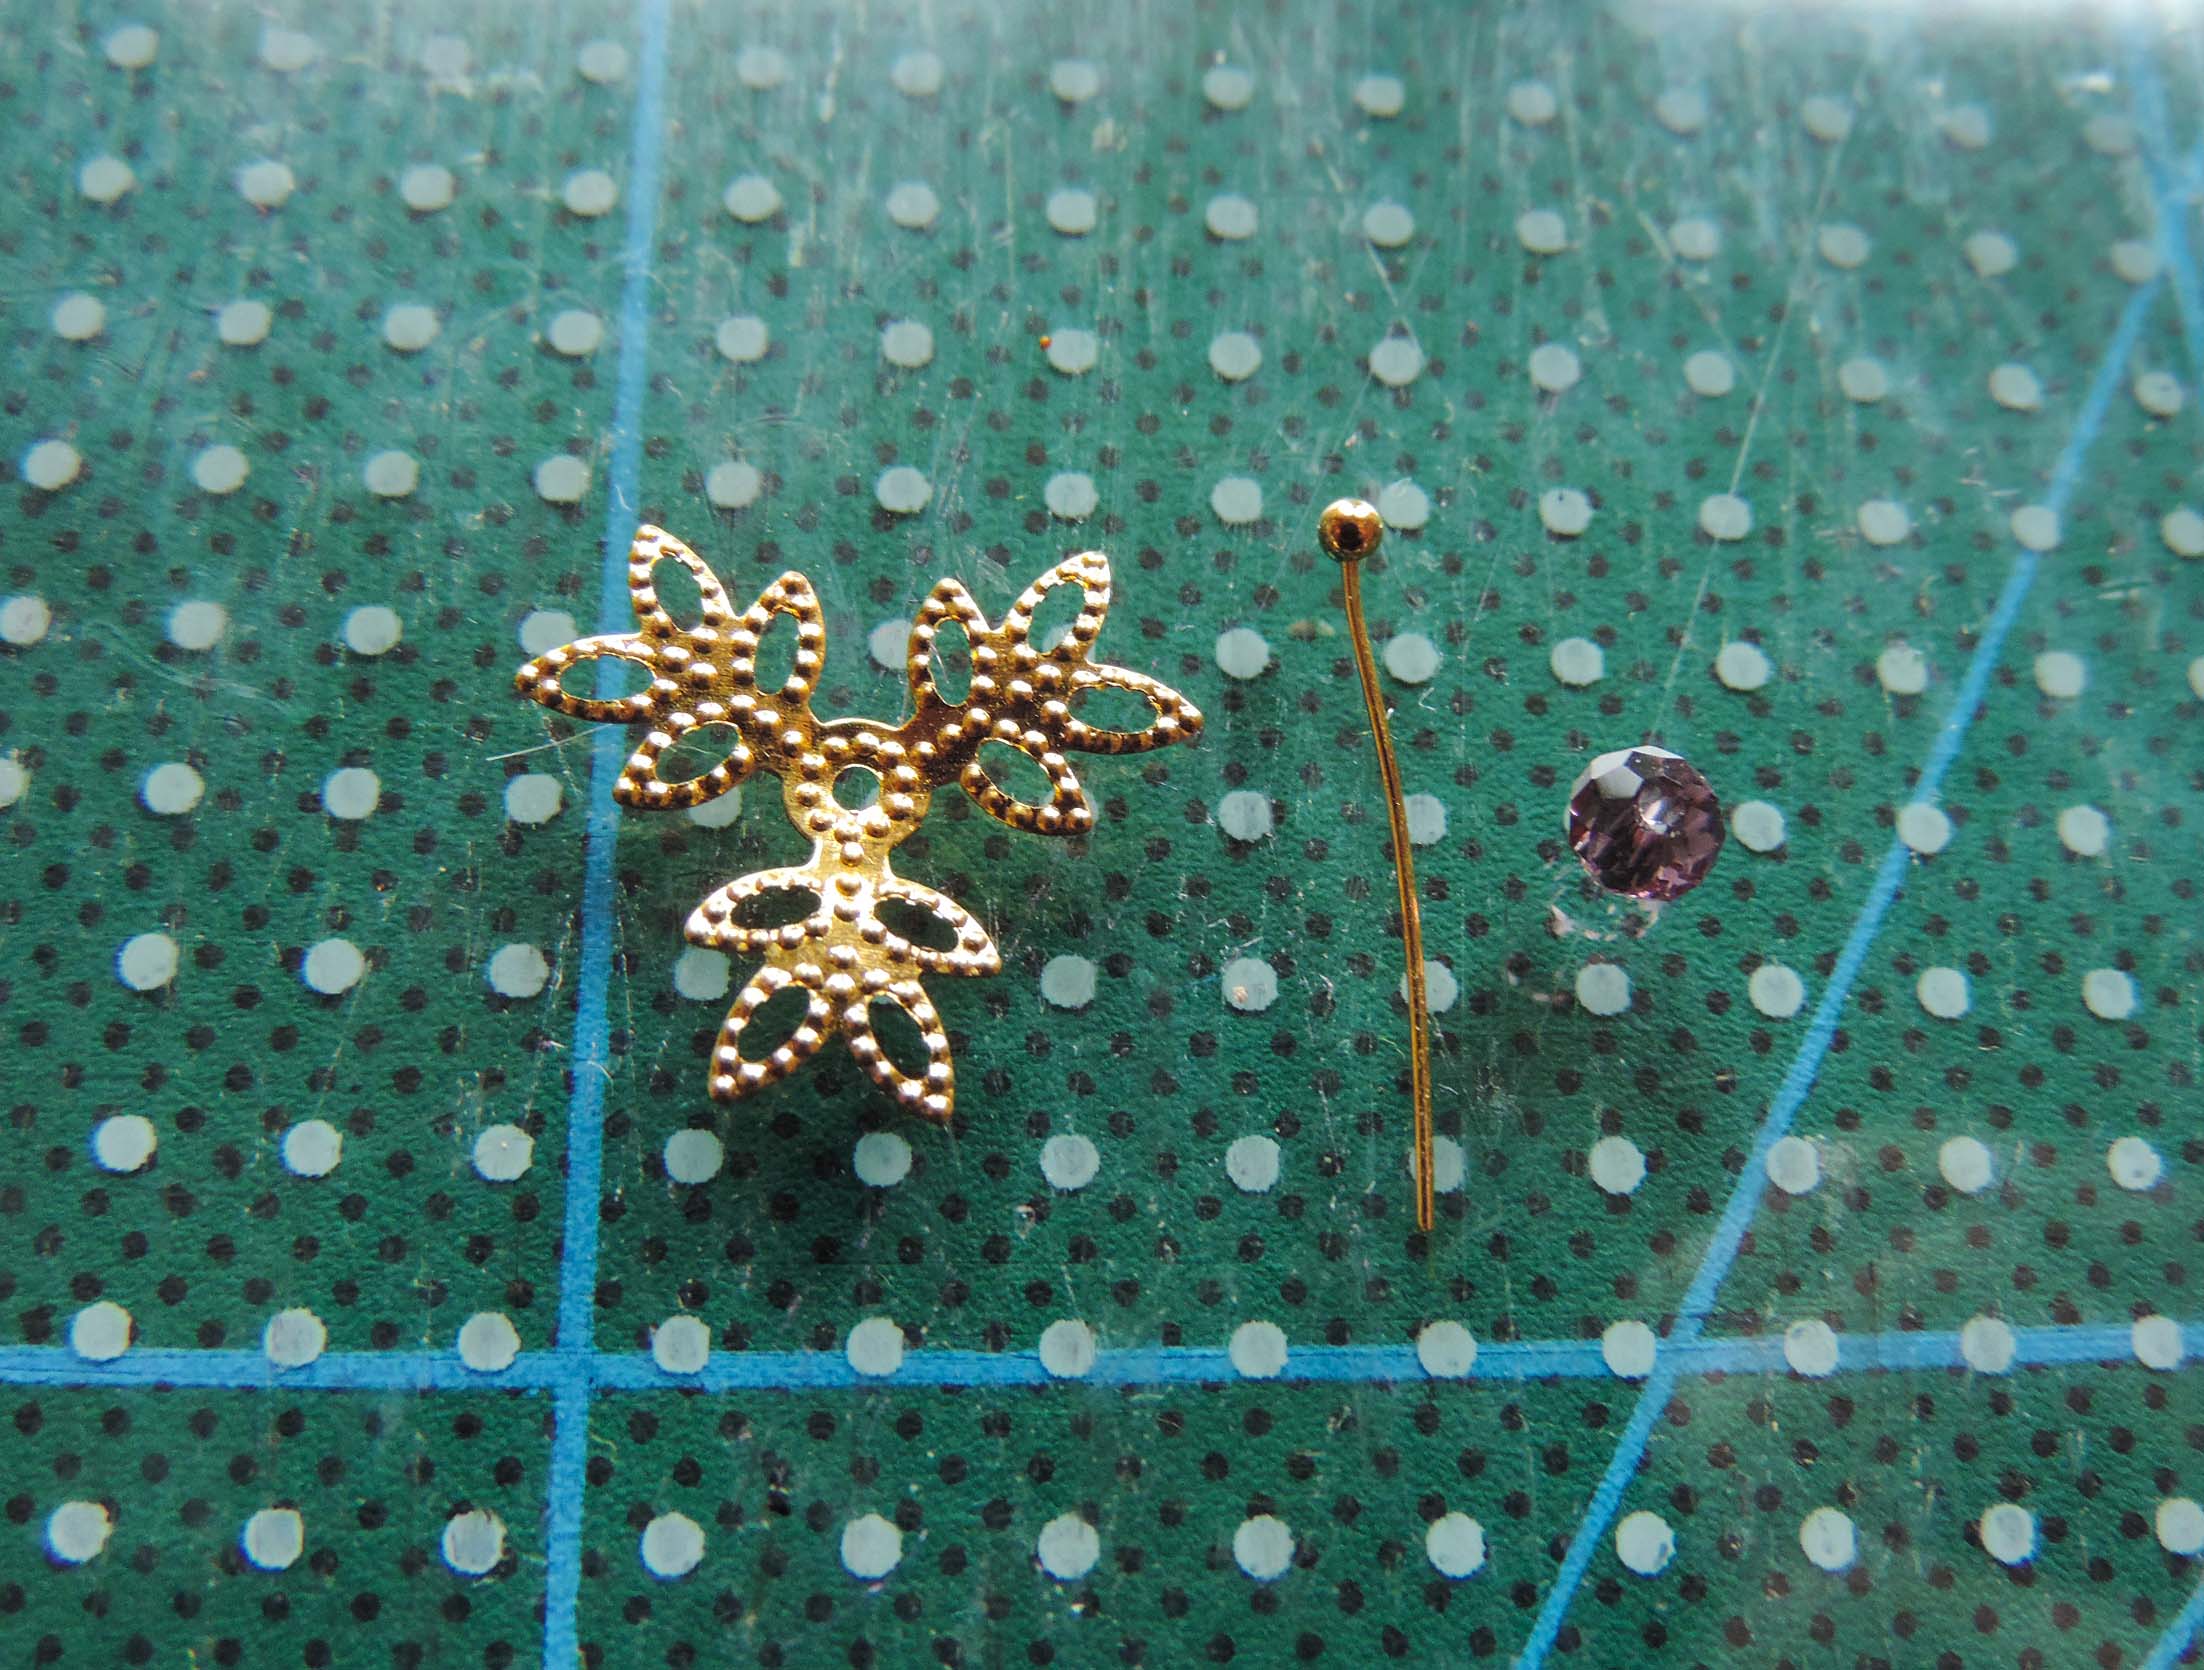
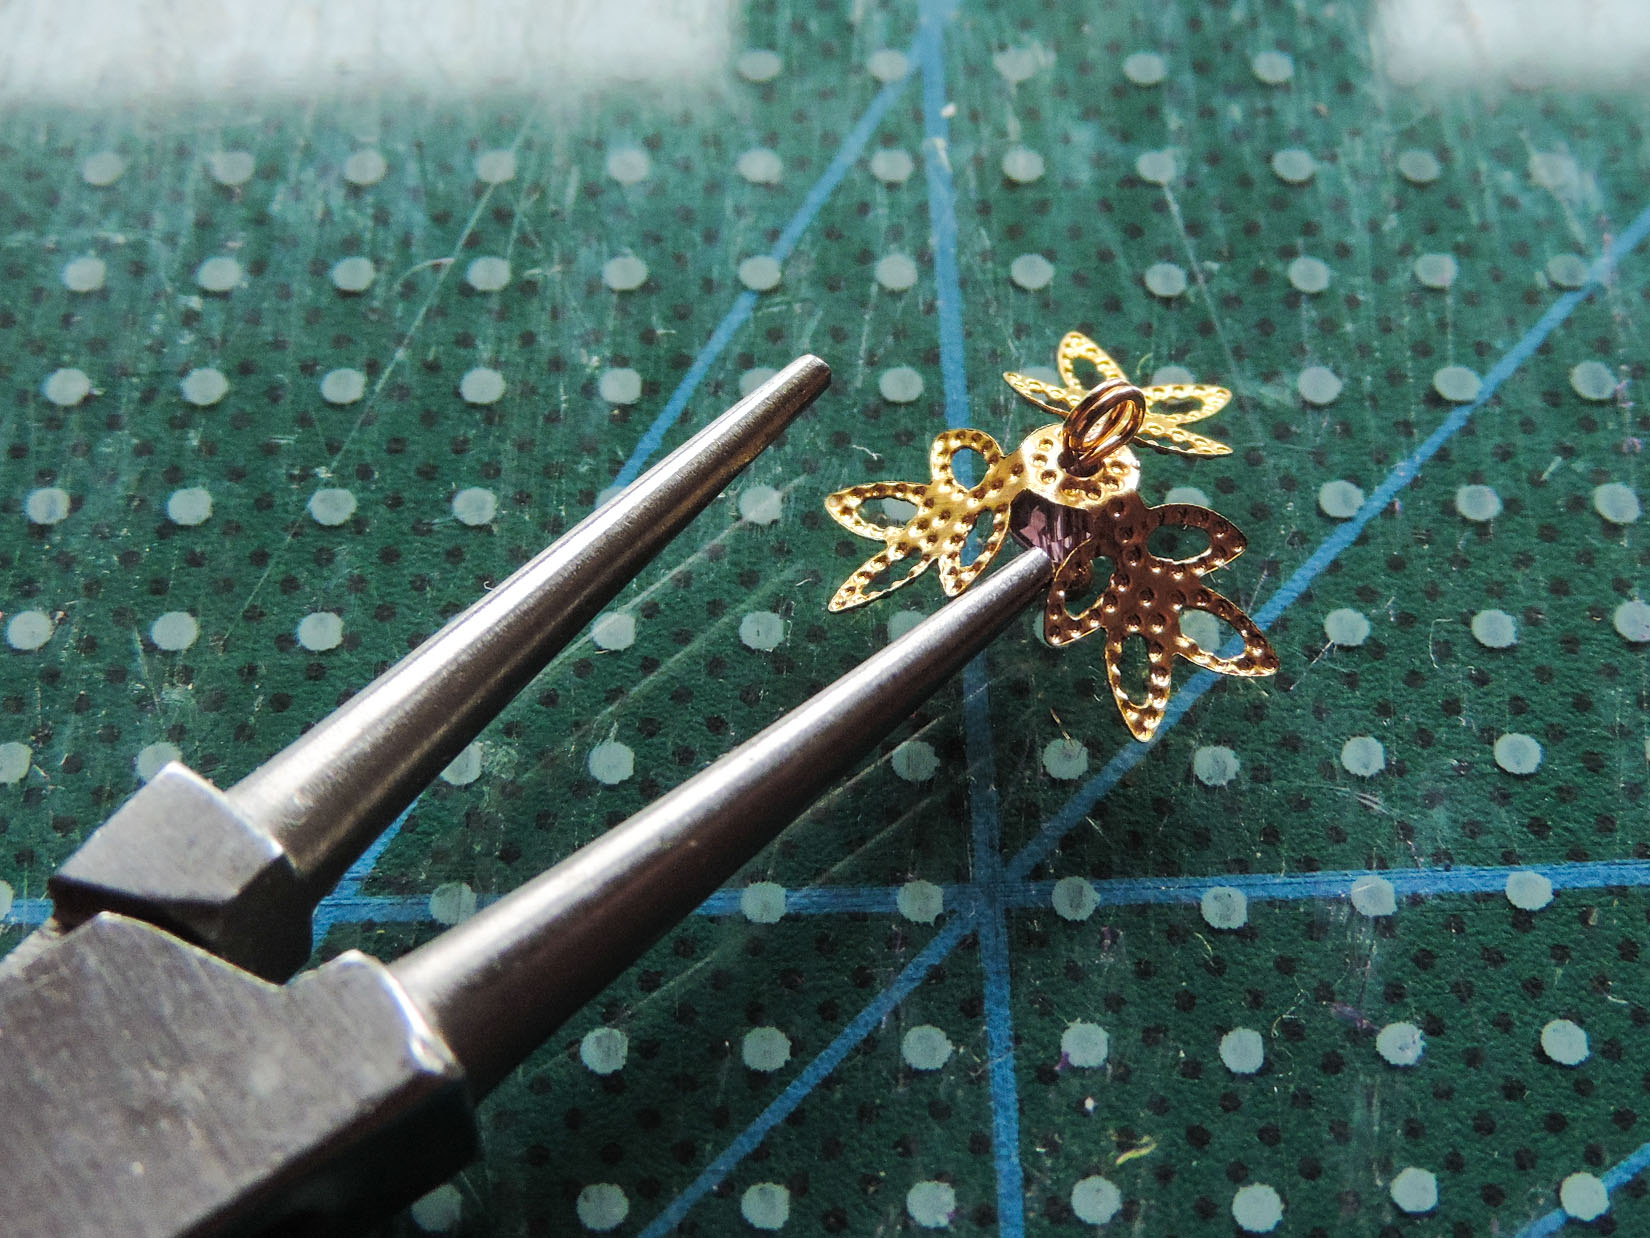
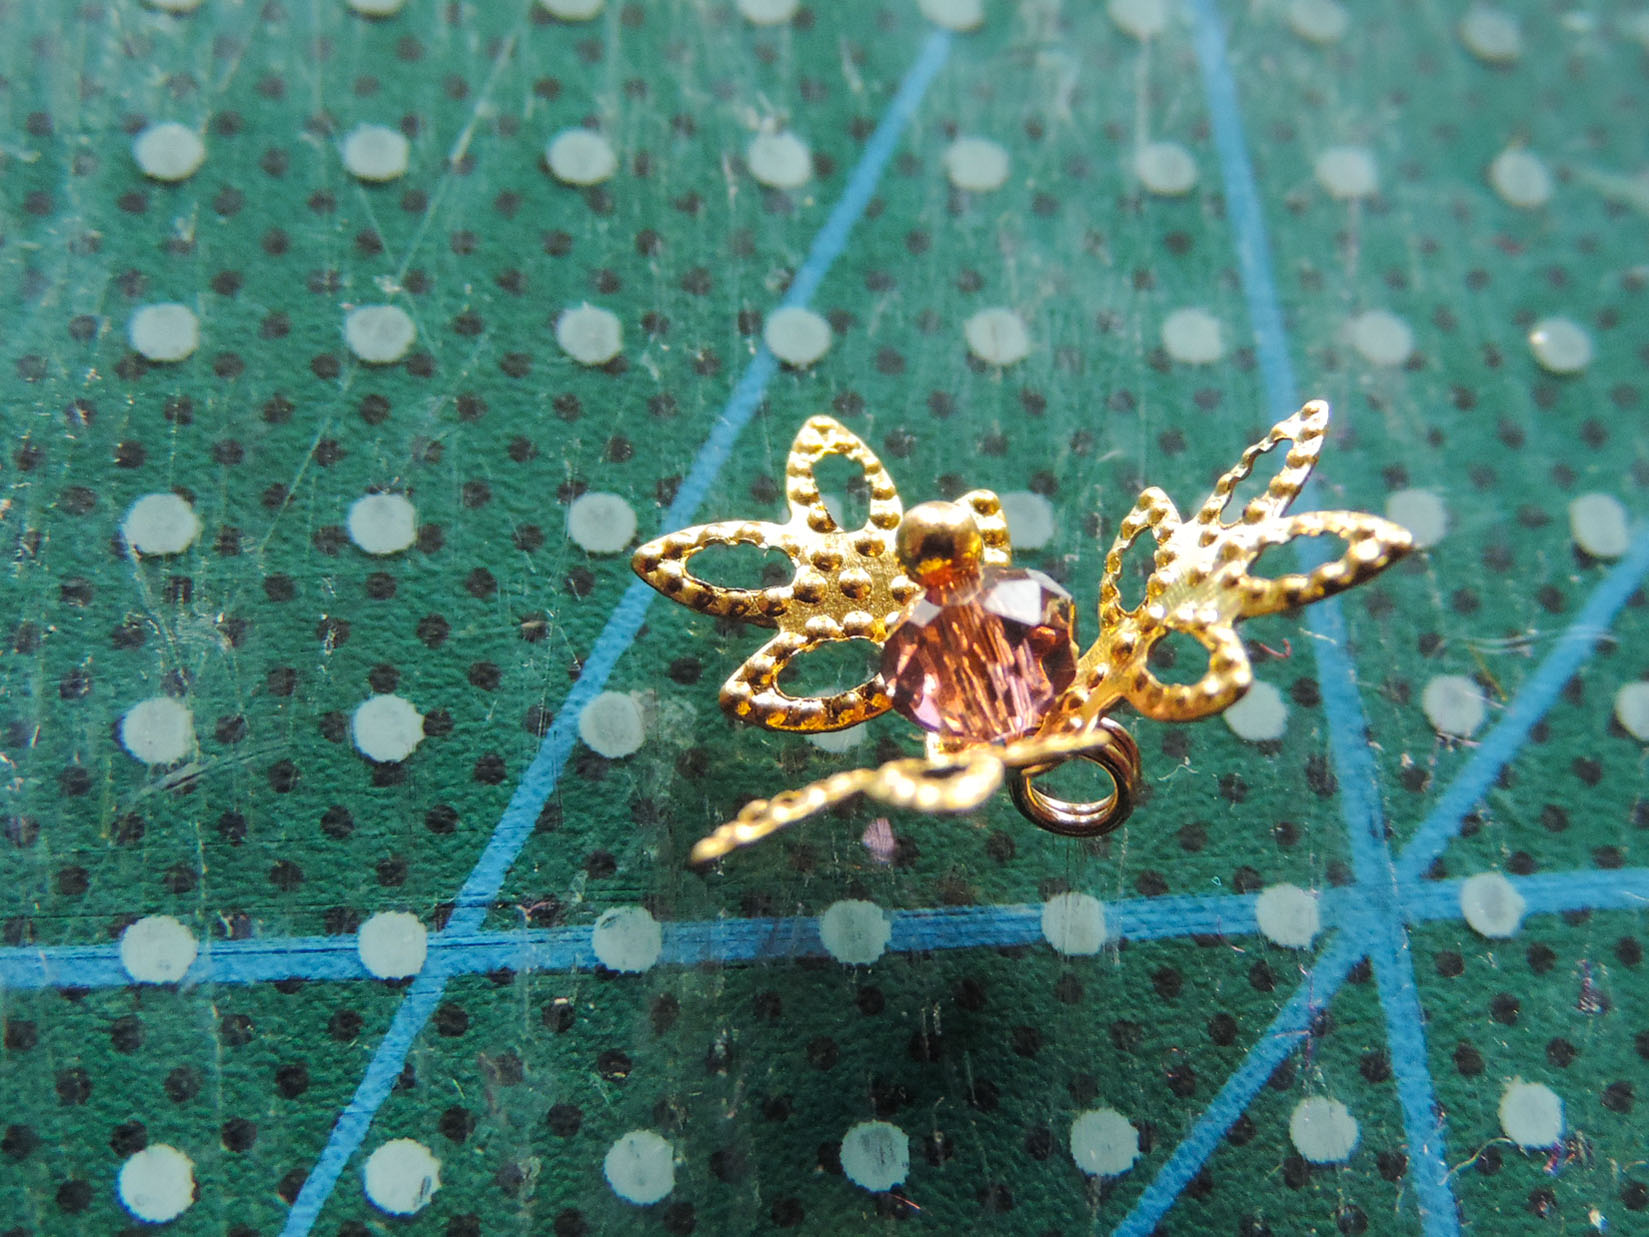
- Prepare the center piece – if you chose metallic elements, attach a bead to the filigree element by coiling the pin on the “wrong” side of the filigree element;
- Finally, attach the center piece and the three remaining petals; align them towards the center of each round petal.
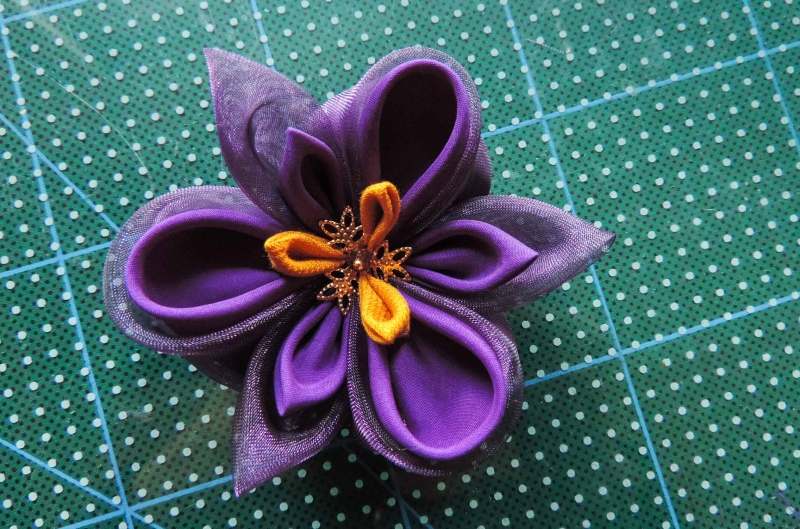
Your iris flower is finished. Yay! Now go out into the world, wearing it proudly, allow it to bring you joy and happiness.
If you loved this tutorial and know some friends who will love it too, please share. If you made this flower, send me pictures.
I would love to hear your comments and suggestions on how to make this tutorial better.
Thank you for being so awesome.
Lots of love,
Andrea
