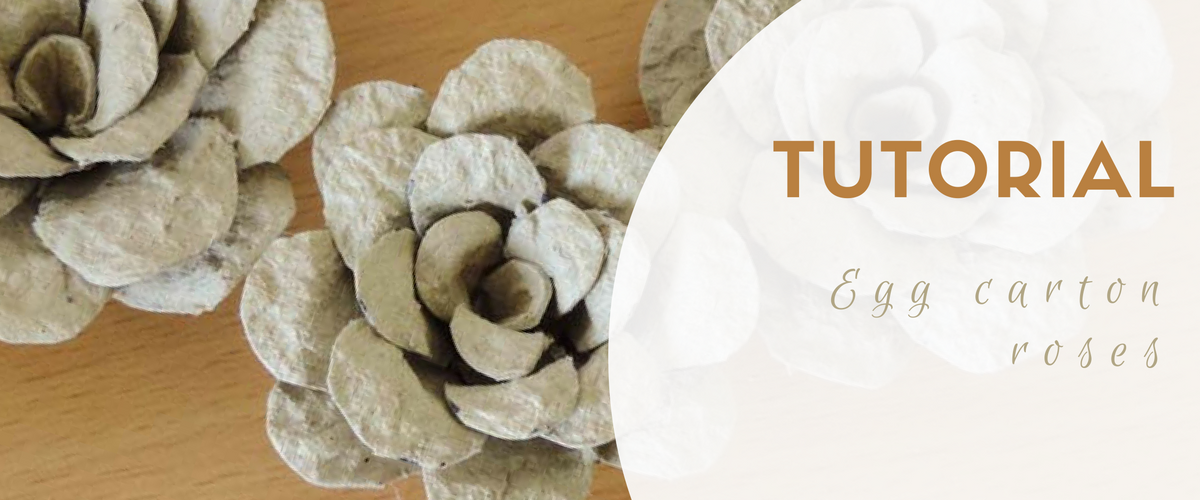
You’ve seen this image a thousand times. A gorgeous mirror surrounded by roses in full bloom. You know it would look perfect on your wall, the one decoration that’s missing.
But the tutorials that you’ve found online don’t really tell the story of how these beauties are made and assembled. They just show different pictures that are unconnected to one another.
How do you get from this to that?? Who knows, they never mention.
I also love this idea and recently found the perfect mirror to apply it to.
Originally, I had written this tutorial in Romanian, while I was studying in the Czech Republic, because I had a few egg cartons and was a bit bored (and hated the fact that I couldn’t find a decent tutorial).
Now that I have a pretty little round mirror and some colored egg cartons, it’s time to get down to it, right?
This tutorial is a bit taxing on the fingers, so make sure you use a heavy pair of scissors (not like the flimsy one that I used in the original tutorial).
Difficulty: beginner
The most complicated thing you have to do is cut through the egg cartons, making sure they will not tear.
This craft is so fun to do with children, but please monitor their use of the scissors and only use craft glue.
If you were looking for ideas for an afternoon craft session, this one should be perfect!
Tools and materials:
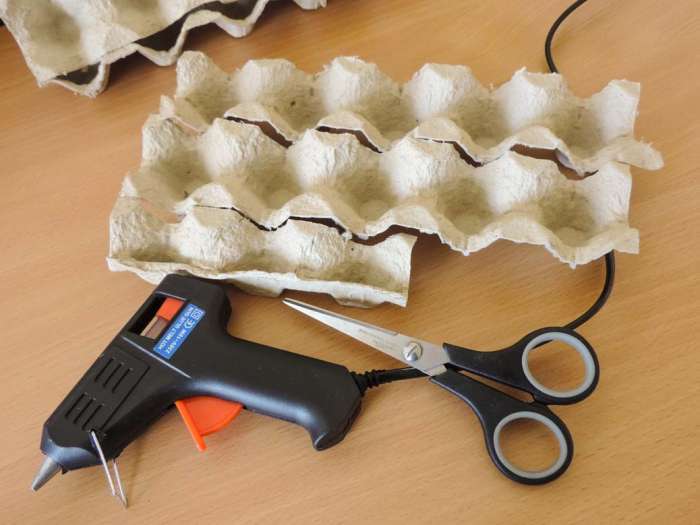
- egg cartons – either from packs of 6, 10 or 12 or the bulk ones with 30;
- a good pair of scissors – one that you use for crafts, not for fabrics!
- glue – craft glue, silicon, hot glue, anything that works with paper or cardboard.
Steps
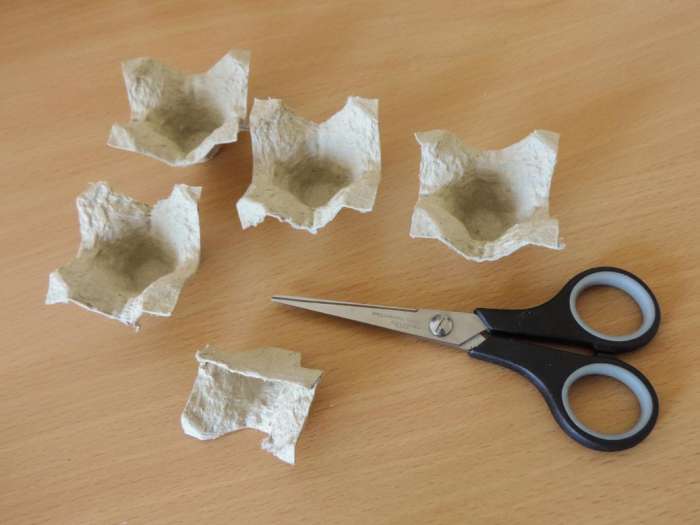
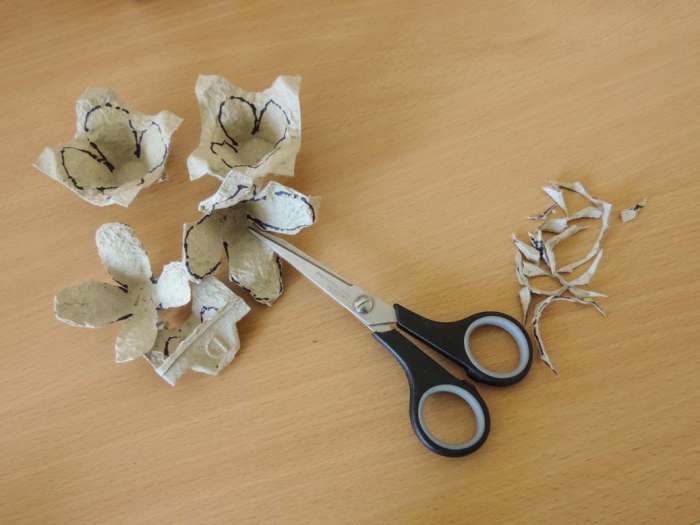
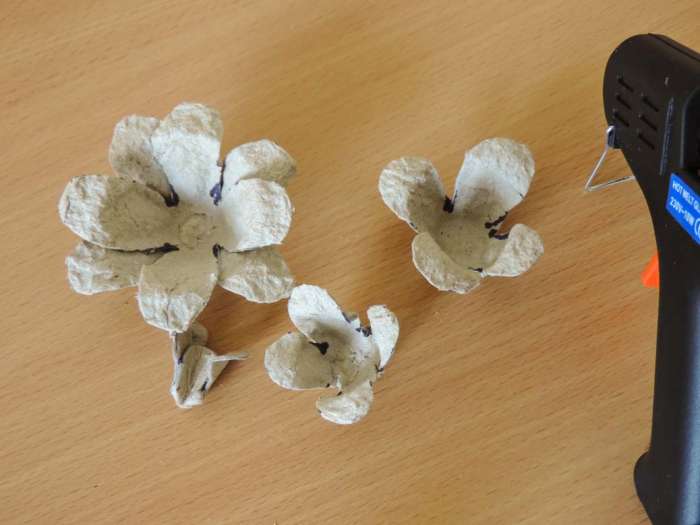
For each flower, cut out five little cups (egg holders). Make sure they’re clean (if you have egg cartons that were involved in ‘accidents’, please leave them out).
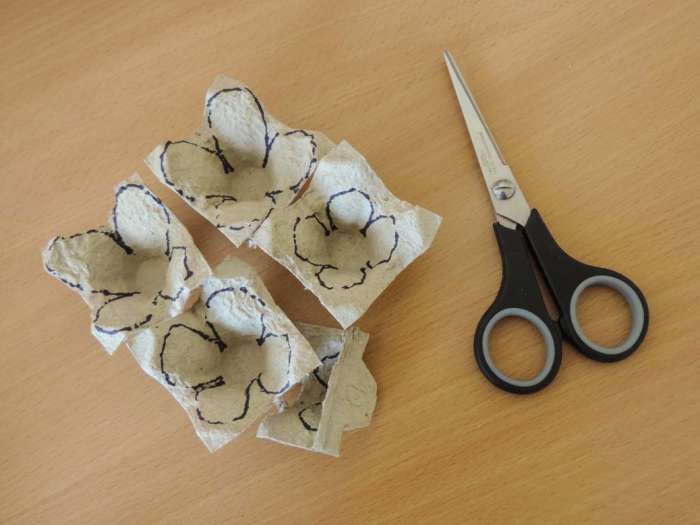
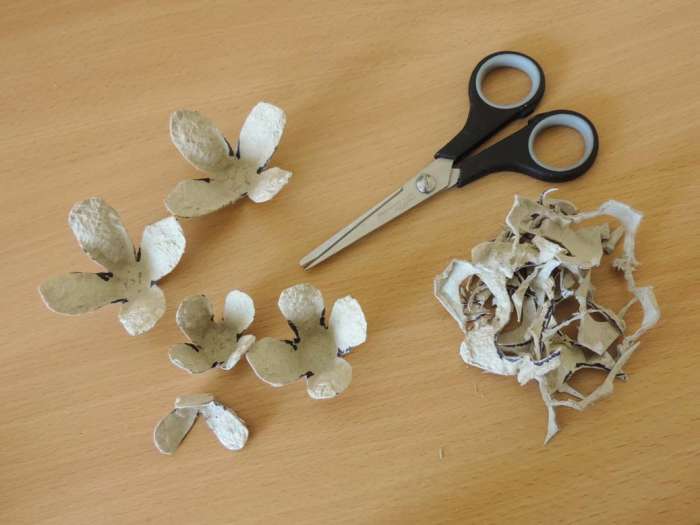
Cut out petals from the sides of the egg holders. Two large flowers, a medium sized one, a small one and a tiny one (for the middle).
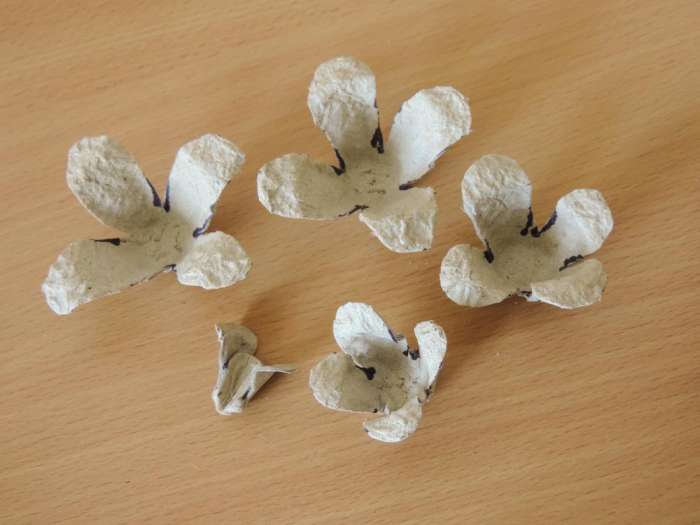
The most important step is shaping the petals. Using a pencil or your fingers, lightly fold back the petals, so they retain a rounded, laid-back appearance.
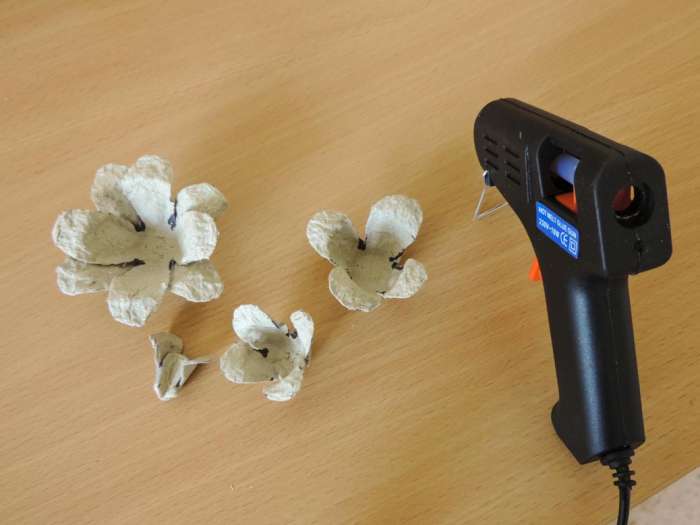
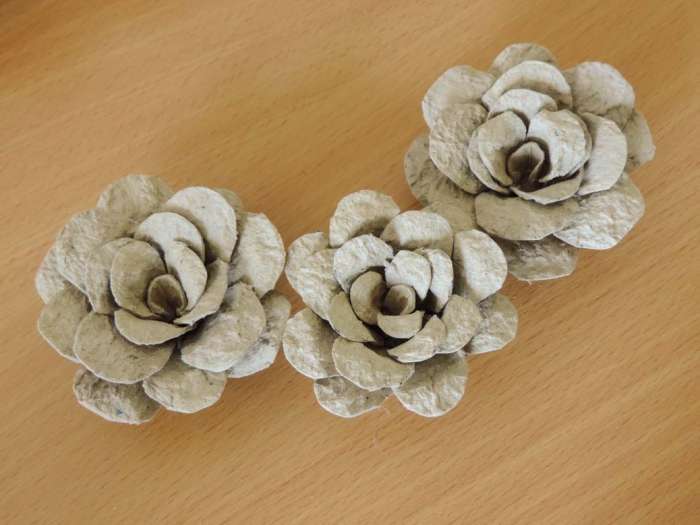
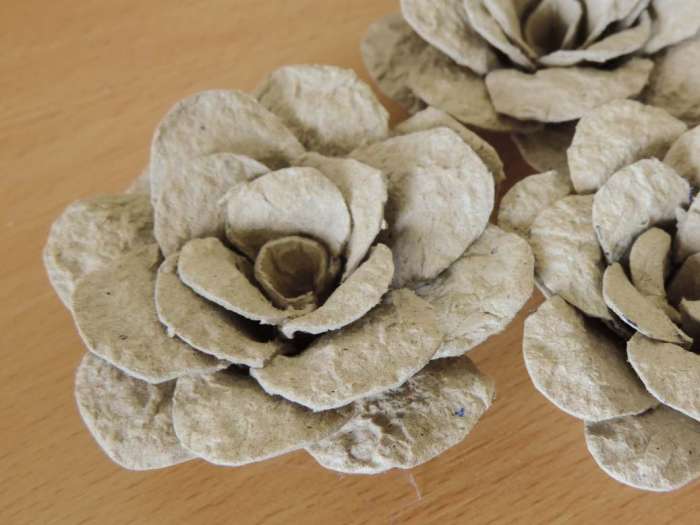
Glue the different layers, one on top of the other, making sure that they are not completely superimposed, so you have a nice distribution of petals.
Your flower is done! Wasn’t that easy? Now make some more and glue them around a mirror, a painting or whatever you want.
You can paint them, spray paint them, add some glitter, glue them to a base or add stems, the sky is the limit on what you could make with these pretty flowers.
I hope you enjoyed this tutorial and will make many pretty flowers using these steps.
Do share pictures or feedback, I’m always open to suggestions.
Also, don’t forget to share with your crafty friends, they will thank you for it.
Hugs,
Andrea

Beautiful! Great tutorial. Now, I must go purchase some eggs. 🙂
Thanks! You’ll need quite a few egg cartons. Your friends probably have some 😉
Just gorgeous, can’t beleive what one can do with useless materials
Thanks, they’re not that useless after all, are they? 😀
Love your work!
Thank you, Maria!
What did you do with the smallest (center) flower to make it look this way? I have followed your instructions and they are wonderful up to this point. I’m not getting the same finished look you have here. Please help!
Dear Sherill,
Thank you for your question (sorry it got marked as spam for a while, I’ll blame it on my plugins). As you noticed, the small flower in the middle only has three petals. I cut it from the side of the carton. The small petal is folded and pushed in the middle and the other two are rounded like all the other petals. They encase the smallest petal. Does that make sense?
Hope that helps.
If you have more questions, don’t hesitate to ask, your comment will be approved automatically.
Hugs,
Andrea
It’s sooo good…I tried it and I’m sooo satisfied!!
Thank you, Fathima!
Ces fleurs sont splendides, je vais me mettre en quête de boîtes à œufs ? Merci pour vos explications
Merci, Marie! Si tu as des photos, je voudrais les voir.
Bisous,
Andrea