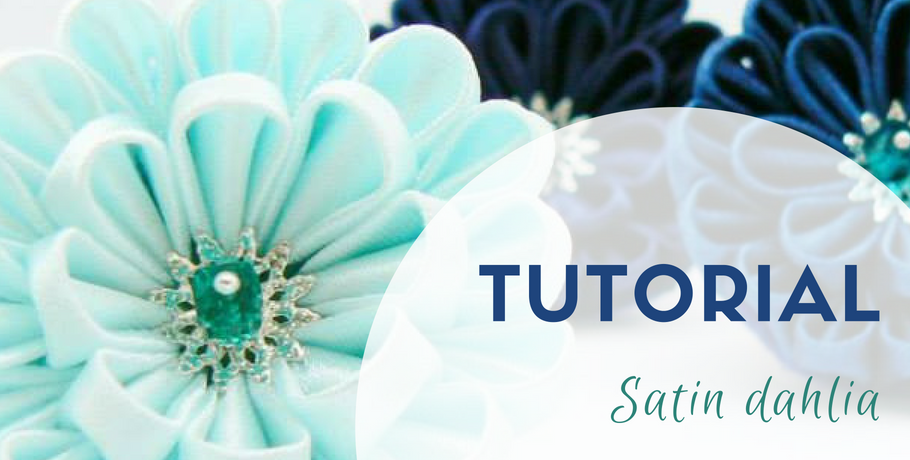
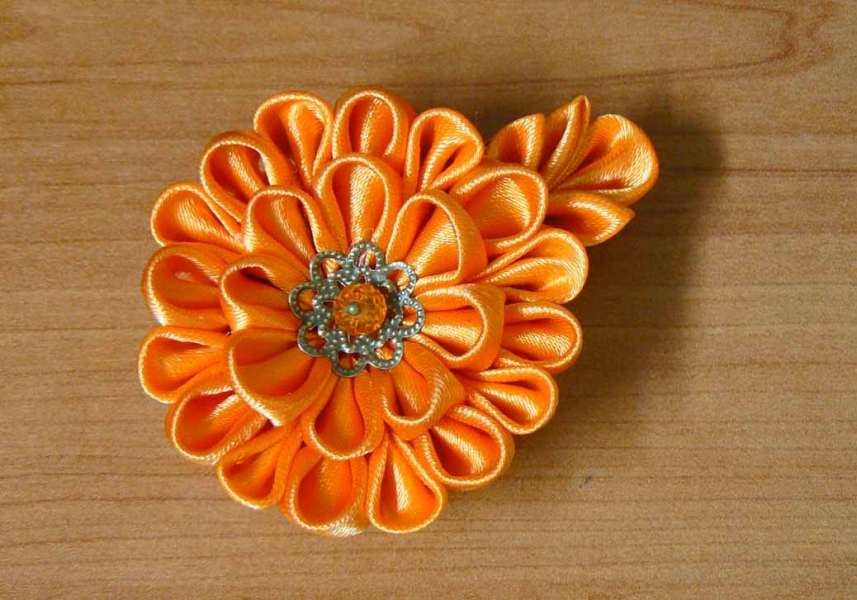
Follow this tutorial to create cute tiny dahlias that you can wear in your hair, as a brooch or give as presents to your loved ones.
The dahlia is a generous flower, enveloping you in its perfume, charming you with its numerous soft petals. No wonder it’s the official flower of Mexico, it symbolizes the joy and exuberance of this people.
My grandmother has these flowers in her garden and whenever I visit her (mostly during the summer), her garden is full of colorful, rich blooms.
You can bring these flowers in your life by following the easy steps in this tutorial and then making your own variation. There are countless varieties of dahlias, each one more beautiful than the next.
The first time I created this flower, I was experimenting with the petals. I loved it so much that I recreated it in different sizes and color combinations.
What I like most about this design is that the flower is quite strong and can take up a lot of pressure. You can wear it for a long time and it will not lose its shape, unlike some more fragile designs.
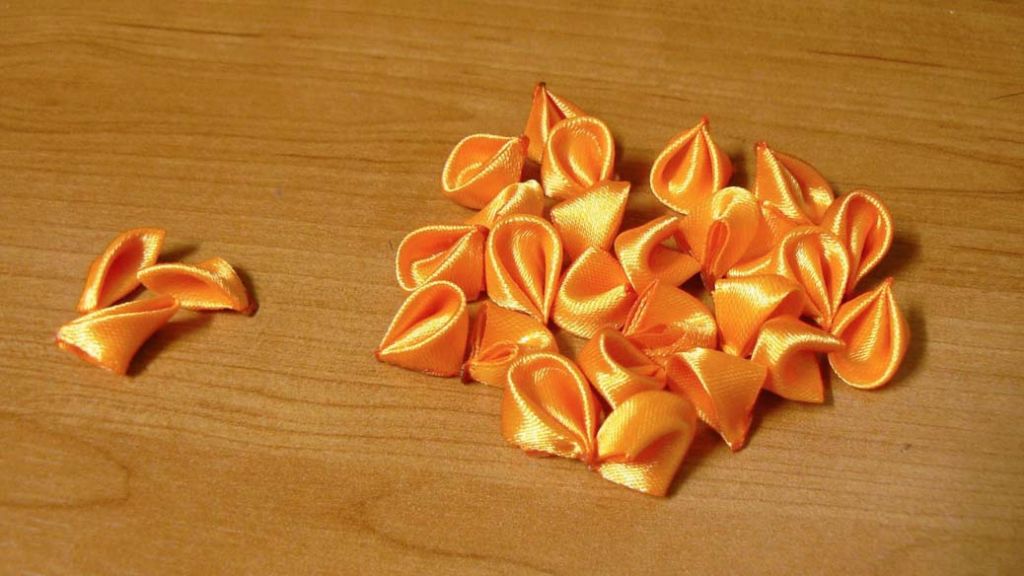
The design itself is quite simple, the most difficult part is cutting the squares and shaping all the necessary petals (28-30 or a few more) and making them the same size.
In order to make my life easier, I use satin ribbon. I recommend it, especially if you’re a beginner. At first I experimented with a ribbon that I didn’t actually like in other designs (the cherry blossom) and I was shocked at how good it looked with many petals. That was like a revelation for me back then.
The color of the ribbon? Fiery red, like the one in the picture above…
The satin in ribbons is a bit different from the one used in clothing. The one I recommend working with for these flowers is one-sided (it is only shiny on one side). The double-sided satin ribbon is really beautiful, but it is a pain when you try to make a flower out of it. Besides, it’s much more expensive.
Since it’s a very light fabric, it will frill very fast, so when you cut squares out of it, you might find, surprised, that half of your squares are unusable. That’s why I normally seal the edges of the cut squares.
You can seal the edges with an open flame (‘low’ tech) or you can use a soldering iron with a blade-like tip to cut the ribbon to begin with (‘high’ tech, but much faster). I’ve used both methods and am really happy with my Dremel soldering iron now that I make more flowers and need speed and precision.
You can use any size ribbon, down to 20 mm (I haven’t tried narrower ribbon, but at 20×20 mm the fabric is too thick to be workable).
If you have any leftover ribbons from previous projects, you can give them a new life using this tutorial. Mixing colors is a lot of fun and highly recommended!
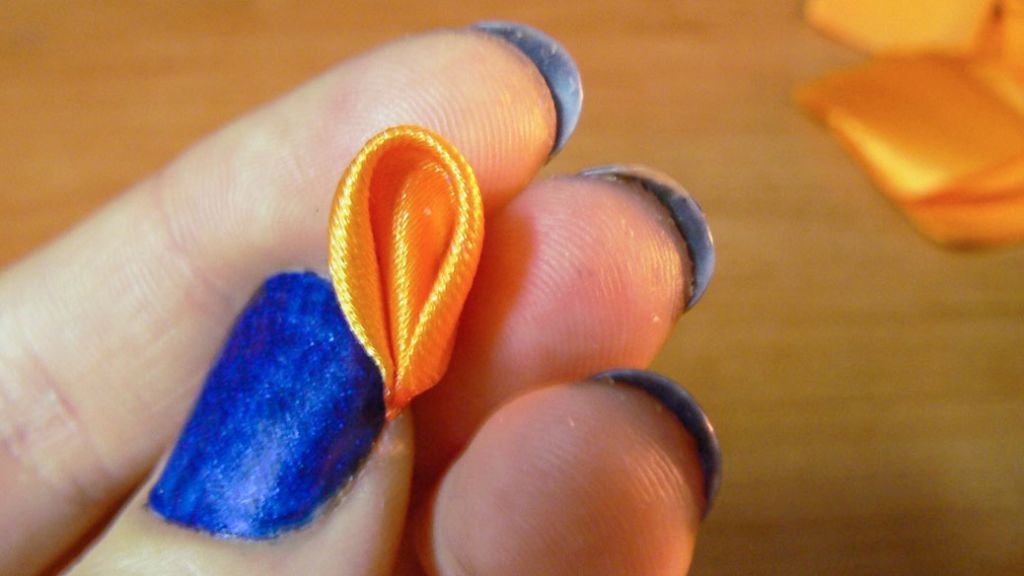
All you need to know is how to make a round petal. You can learn that from this tutorial in case you don’t already know it. Practice on larger squares at first, until the petals have an acceptable shape, then try some smaller ones. Don’t worry if they’re not perfect, they shouldn’t be. Express yourself, relax and enjoy the journey.
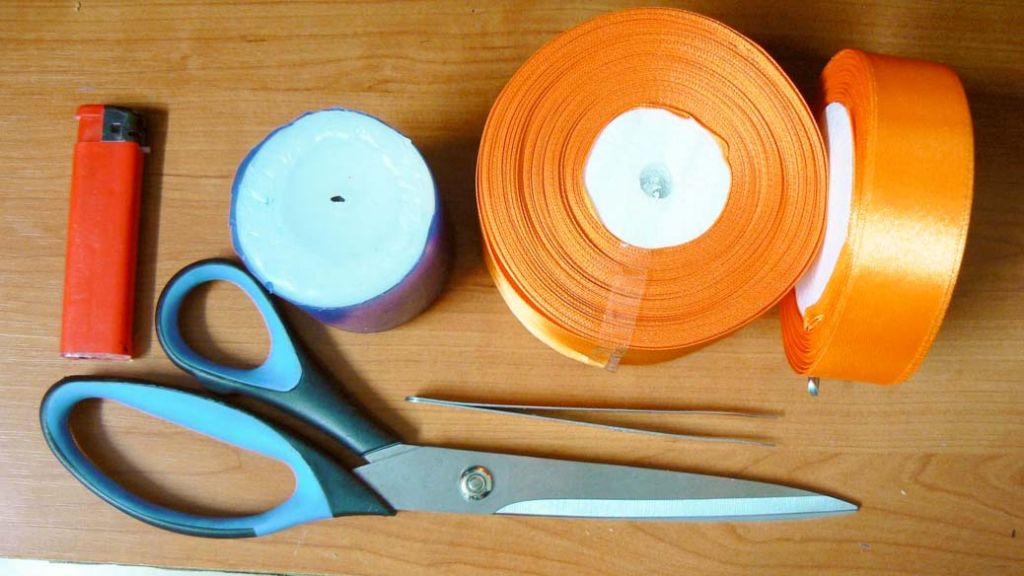
Necessary tools:
- scissors
- candle and lighter – or a soldering iron with a sharp tip;
- tweezers;
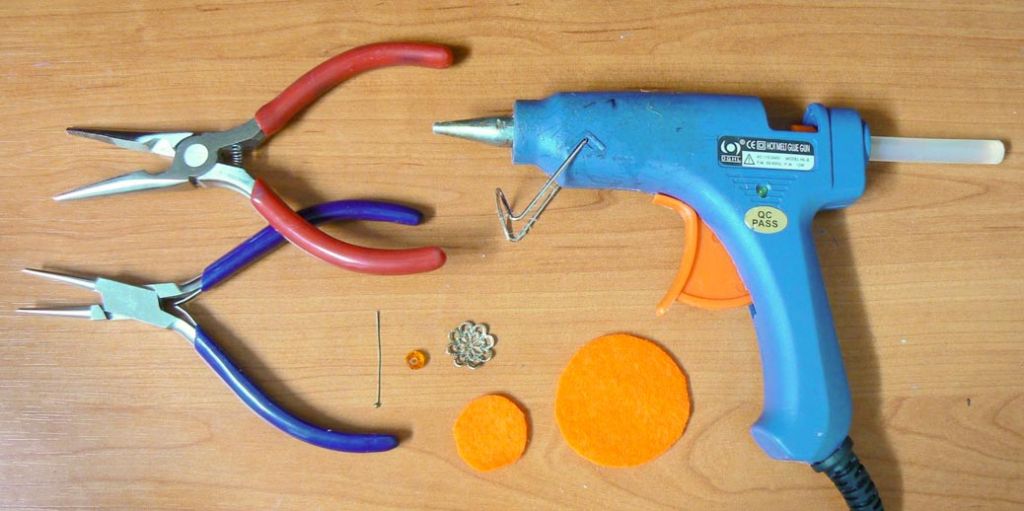
- silicone (hot glue) gun or textile glue;
- optional: pliers for the central parts of the flowers.
Materials:
- satin ribbon 25 mm up to 50 mm wide – you need between 0.7 and 1.4 meters, depending on the width of your ribbon;
- brooch pin or hair clip;
- a round piece of felt as wide as the final flower (or a bit smaller, I’m using two because of my double base which is a bit rounded);
- central elements (I usually attach a bead, a flat bead cap and a round head pin or stamens);
Steps:
- Cut out 28 squares. If you only want the flower without the ‘leaves’, only cut 24 squares. You can experiment with the number of petals per row, but from my experience, 8 is the most suitable number. If you go with another count, make sure the is enough space in the middle and that you make enough petals for the outer row (twice the number of petals from the inner row). If you use a soldering iron to cut the squares, skip to step 3.
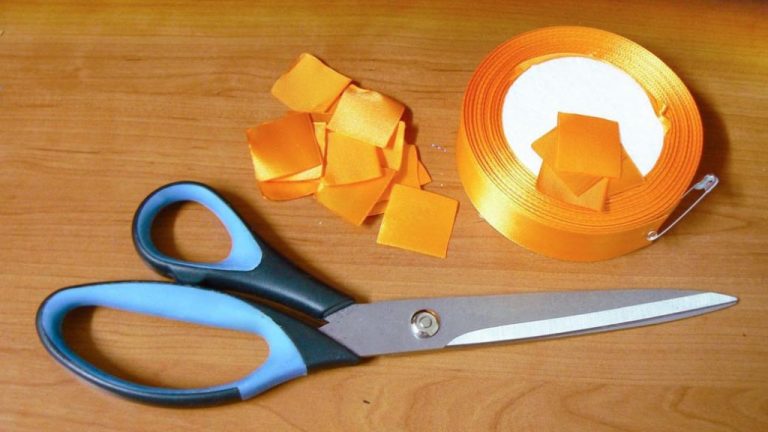
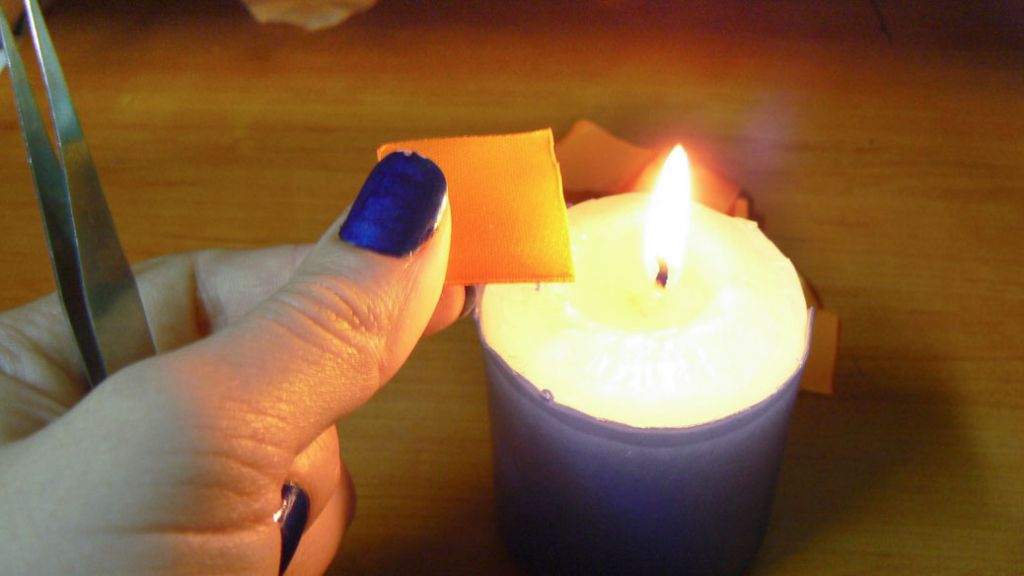
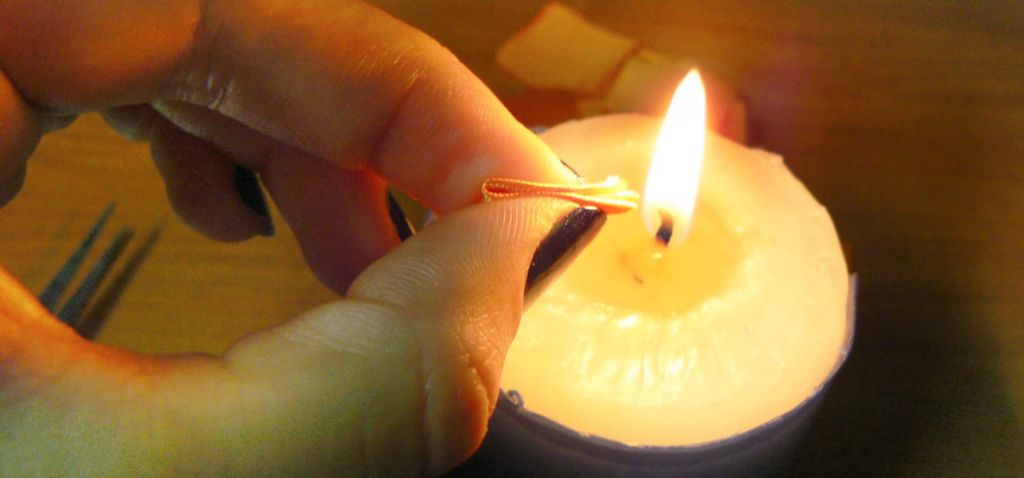
- Light up your candle and lightly seal the two raw edges of all the squares. You can do this after cutting each square or after cutting all of them (if you’re making more than one flower, I suggest doing this in batches). This way you can deposit the extra squares and use them later for other projects.
- Use the lit candle to create the petals (here is the tutorial). Since the fabric is synthetic, all the layers will melt together when you take them close to the flame. Do not touch the flame with the fabric, do not touch the molten plastic (use the tweezers!) and cut off any long fibers, or else they will light up an burn faster than you can stop them and they’ll ruin your petal. I did it and it was no fun.
- Hold on to three squares and make pointy petals with them (tutorial) if you want leaves (you could also use a different color).
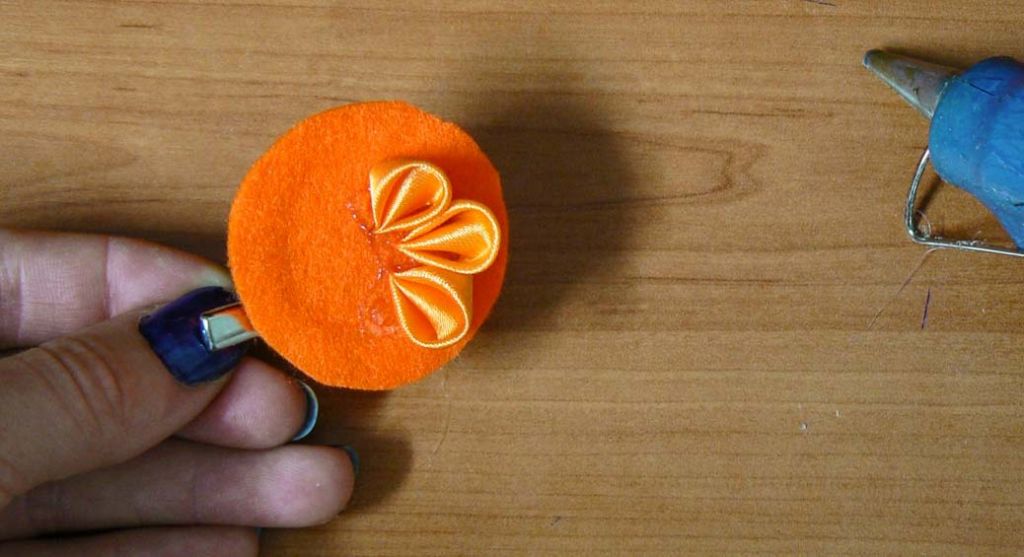
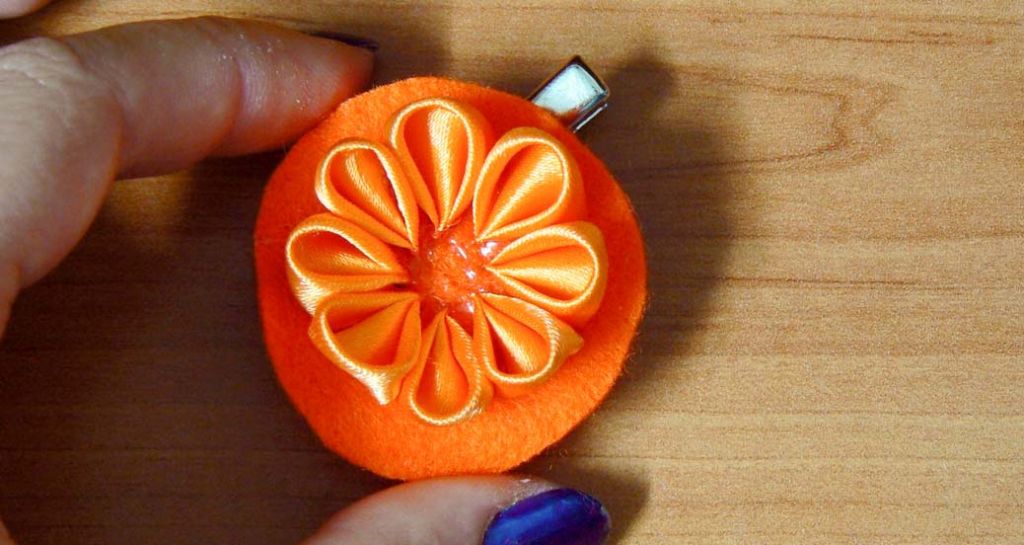
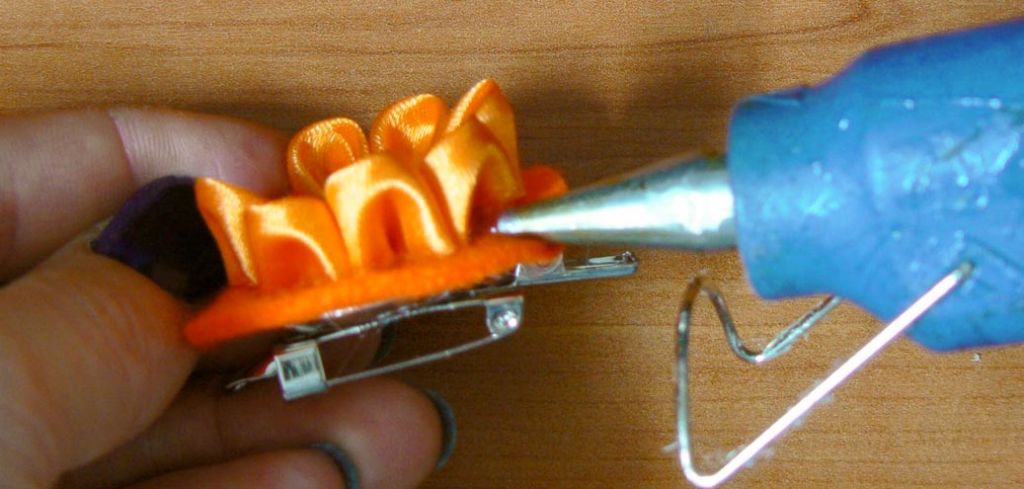
- Prepare the base for assembly. Glue/attach the brooch pin or hair clip to the felt circle and wait for the glue to cool off. You’ll use the pin or clip to hold the base while assembling the flower. Put a bit of hot glue in the middle of the base, creating half a circle.
- Place the first four petals and arrange them in a half circle. Then complete the circle with glue and attach the next four petals. Waiting between these two steps is important for an even distribution of the petals.
- On the second row, the petals will be glued individually. First pun some glue in the back of one petal and attach a new petal there. Wait for it to cool down and to the same thing behind the next petal. Make sure there is enough space between them. After attaching these 8 petals, the next ones will be glued in those spaces that you just left.
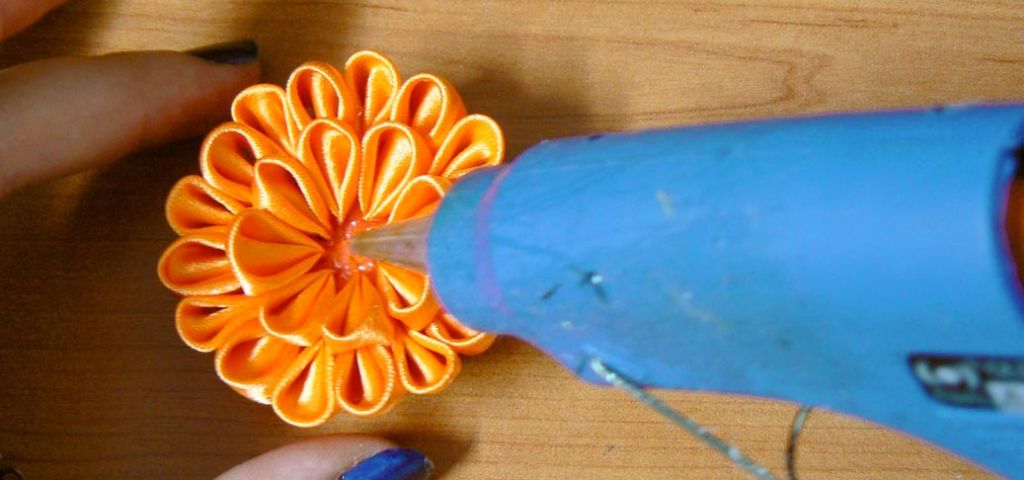
- Place a bit of glue between two of the petals on the outer row (and a little bit between the two on the first row) and push a new petal in place. Wait for the silicone to cool down and repeat for the next 7 petals.
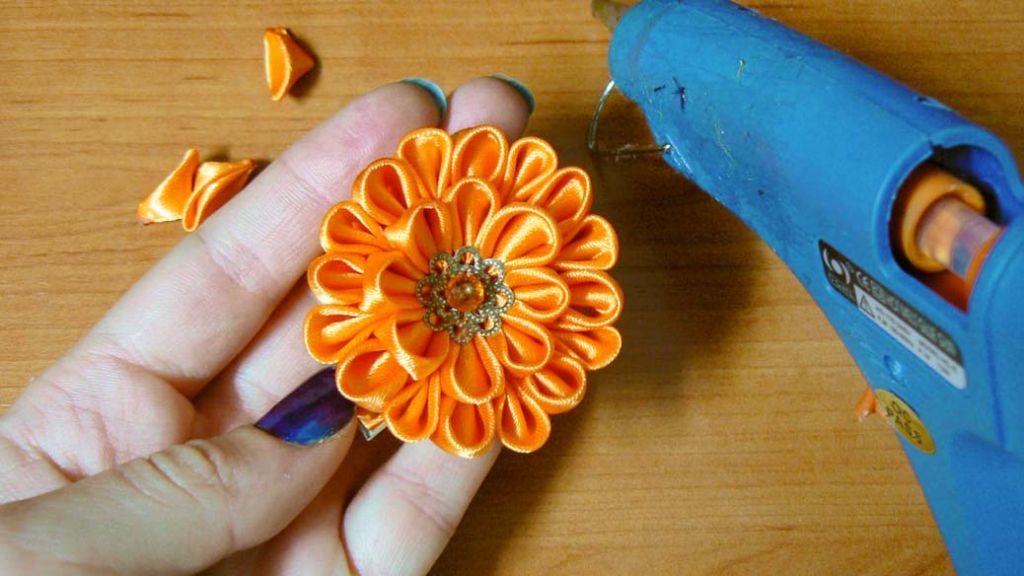
- The final step: attach something in the middle.
That’s it, you’re done!
Wear this beautiful flower proudly and happily, you made it unique with your own touch. Give it as a present to someone you love and they’ll appreciate it more than you think. And never stop caring!
For any questions, feedback, ideas or just to say hi, I’m available in the comments section.
Remember to share if you know others who’ll enjoy this tutorial.
If you want me to let you know when I publish other awesome tutorials like this one, sign up on the left.
Love,
Andrea

